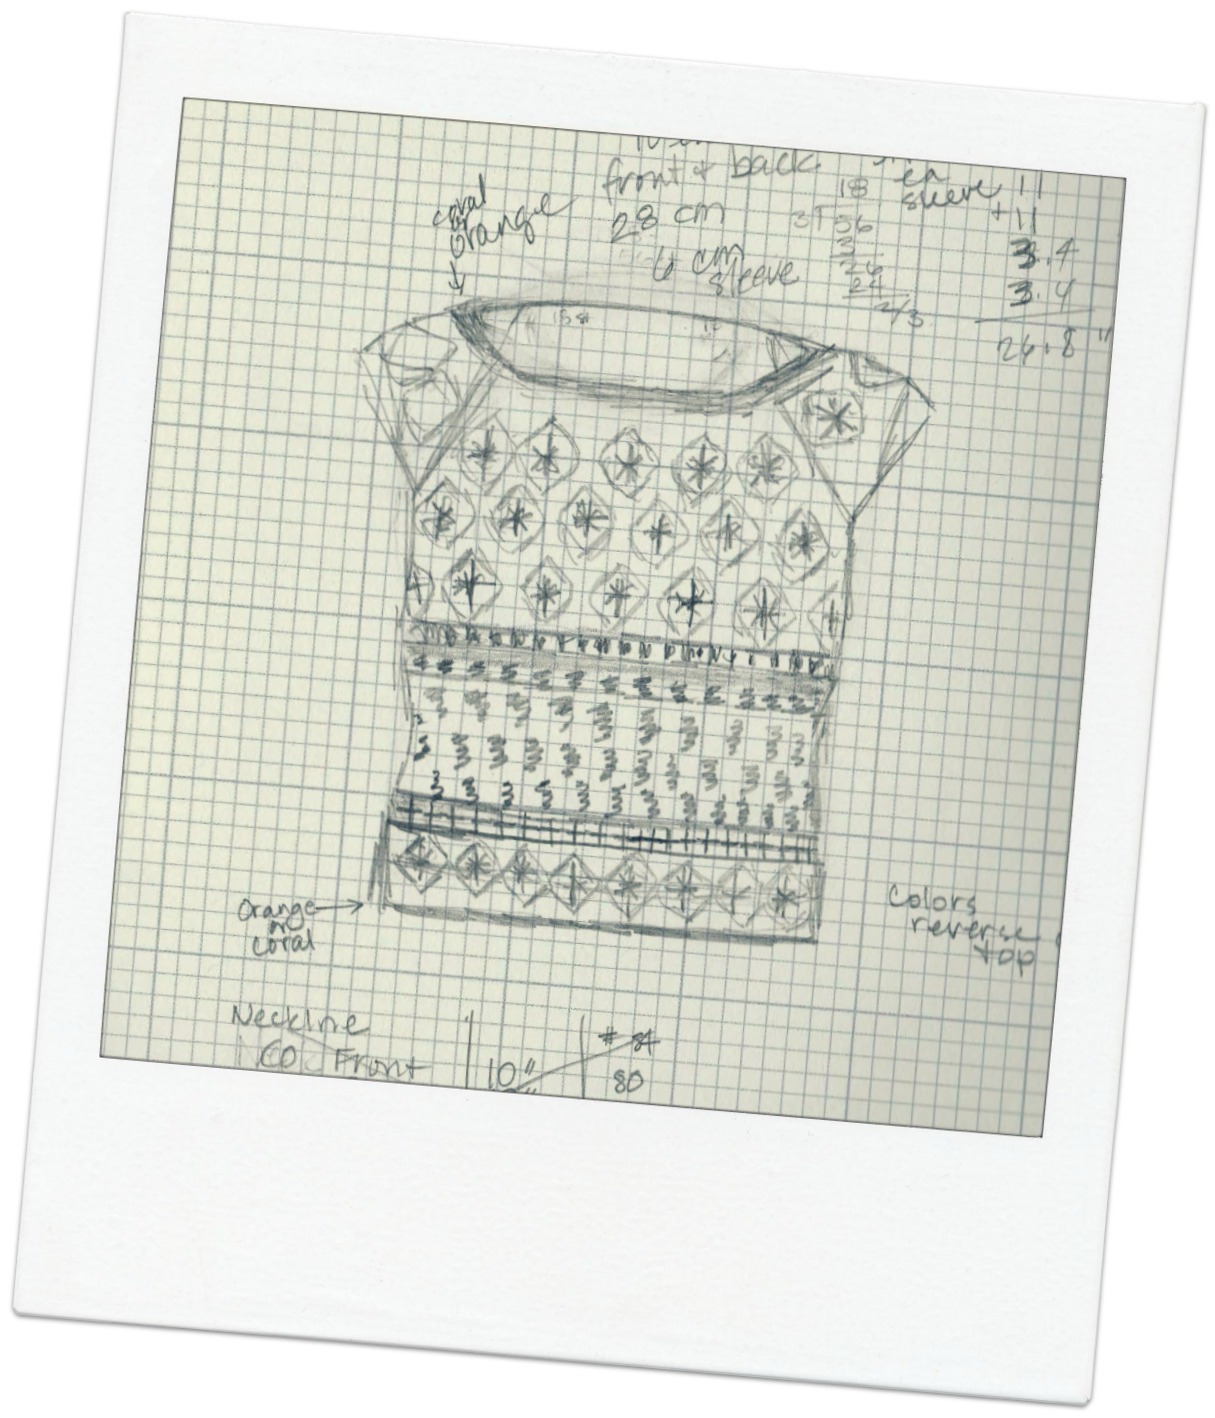
It’s quite interesting to me, designing knitting patterns. Not only in the ways you might expect: the conception of an idea, the swatching and trying out the different possibilities, even working out the most logical way to lay out the instructions. But also in this unexpected way: my sense of responsibility to my audience – the knitters who will be following my instructions and expecting beautiful results.
This sense of responsibility can and does cause anxiety. It is the reason that it’s taken more than 3 years to go from conception to publication for the Willamette Valley Tee.
The very first post about this sweater was published on August 9, 2015 (What I Learned from the Swatch).
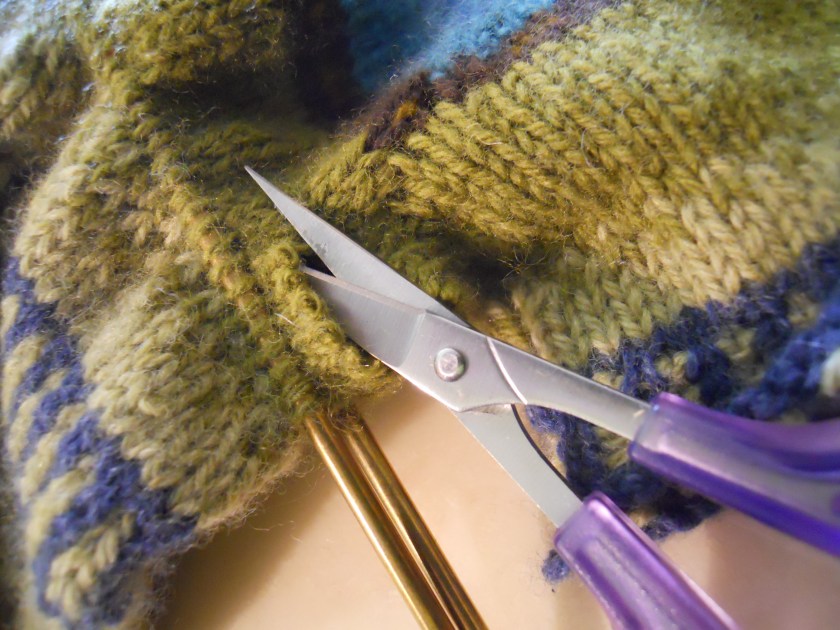
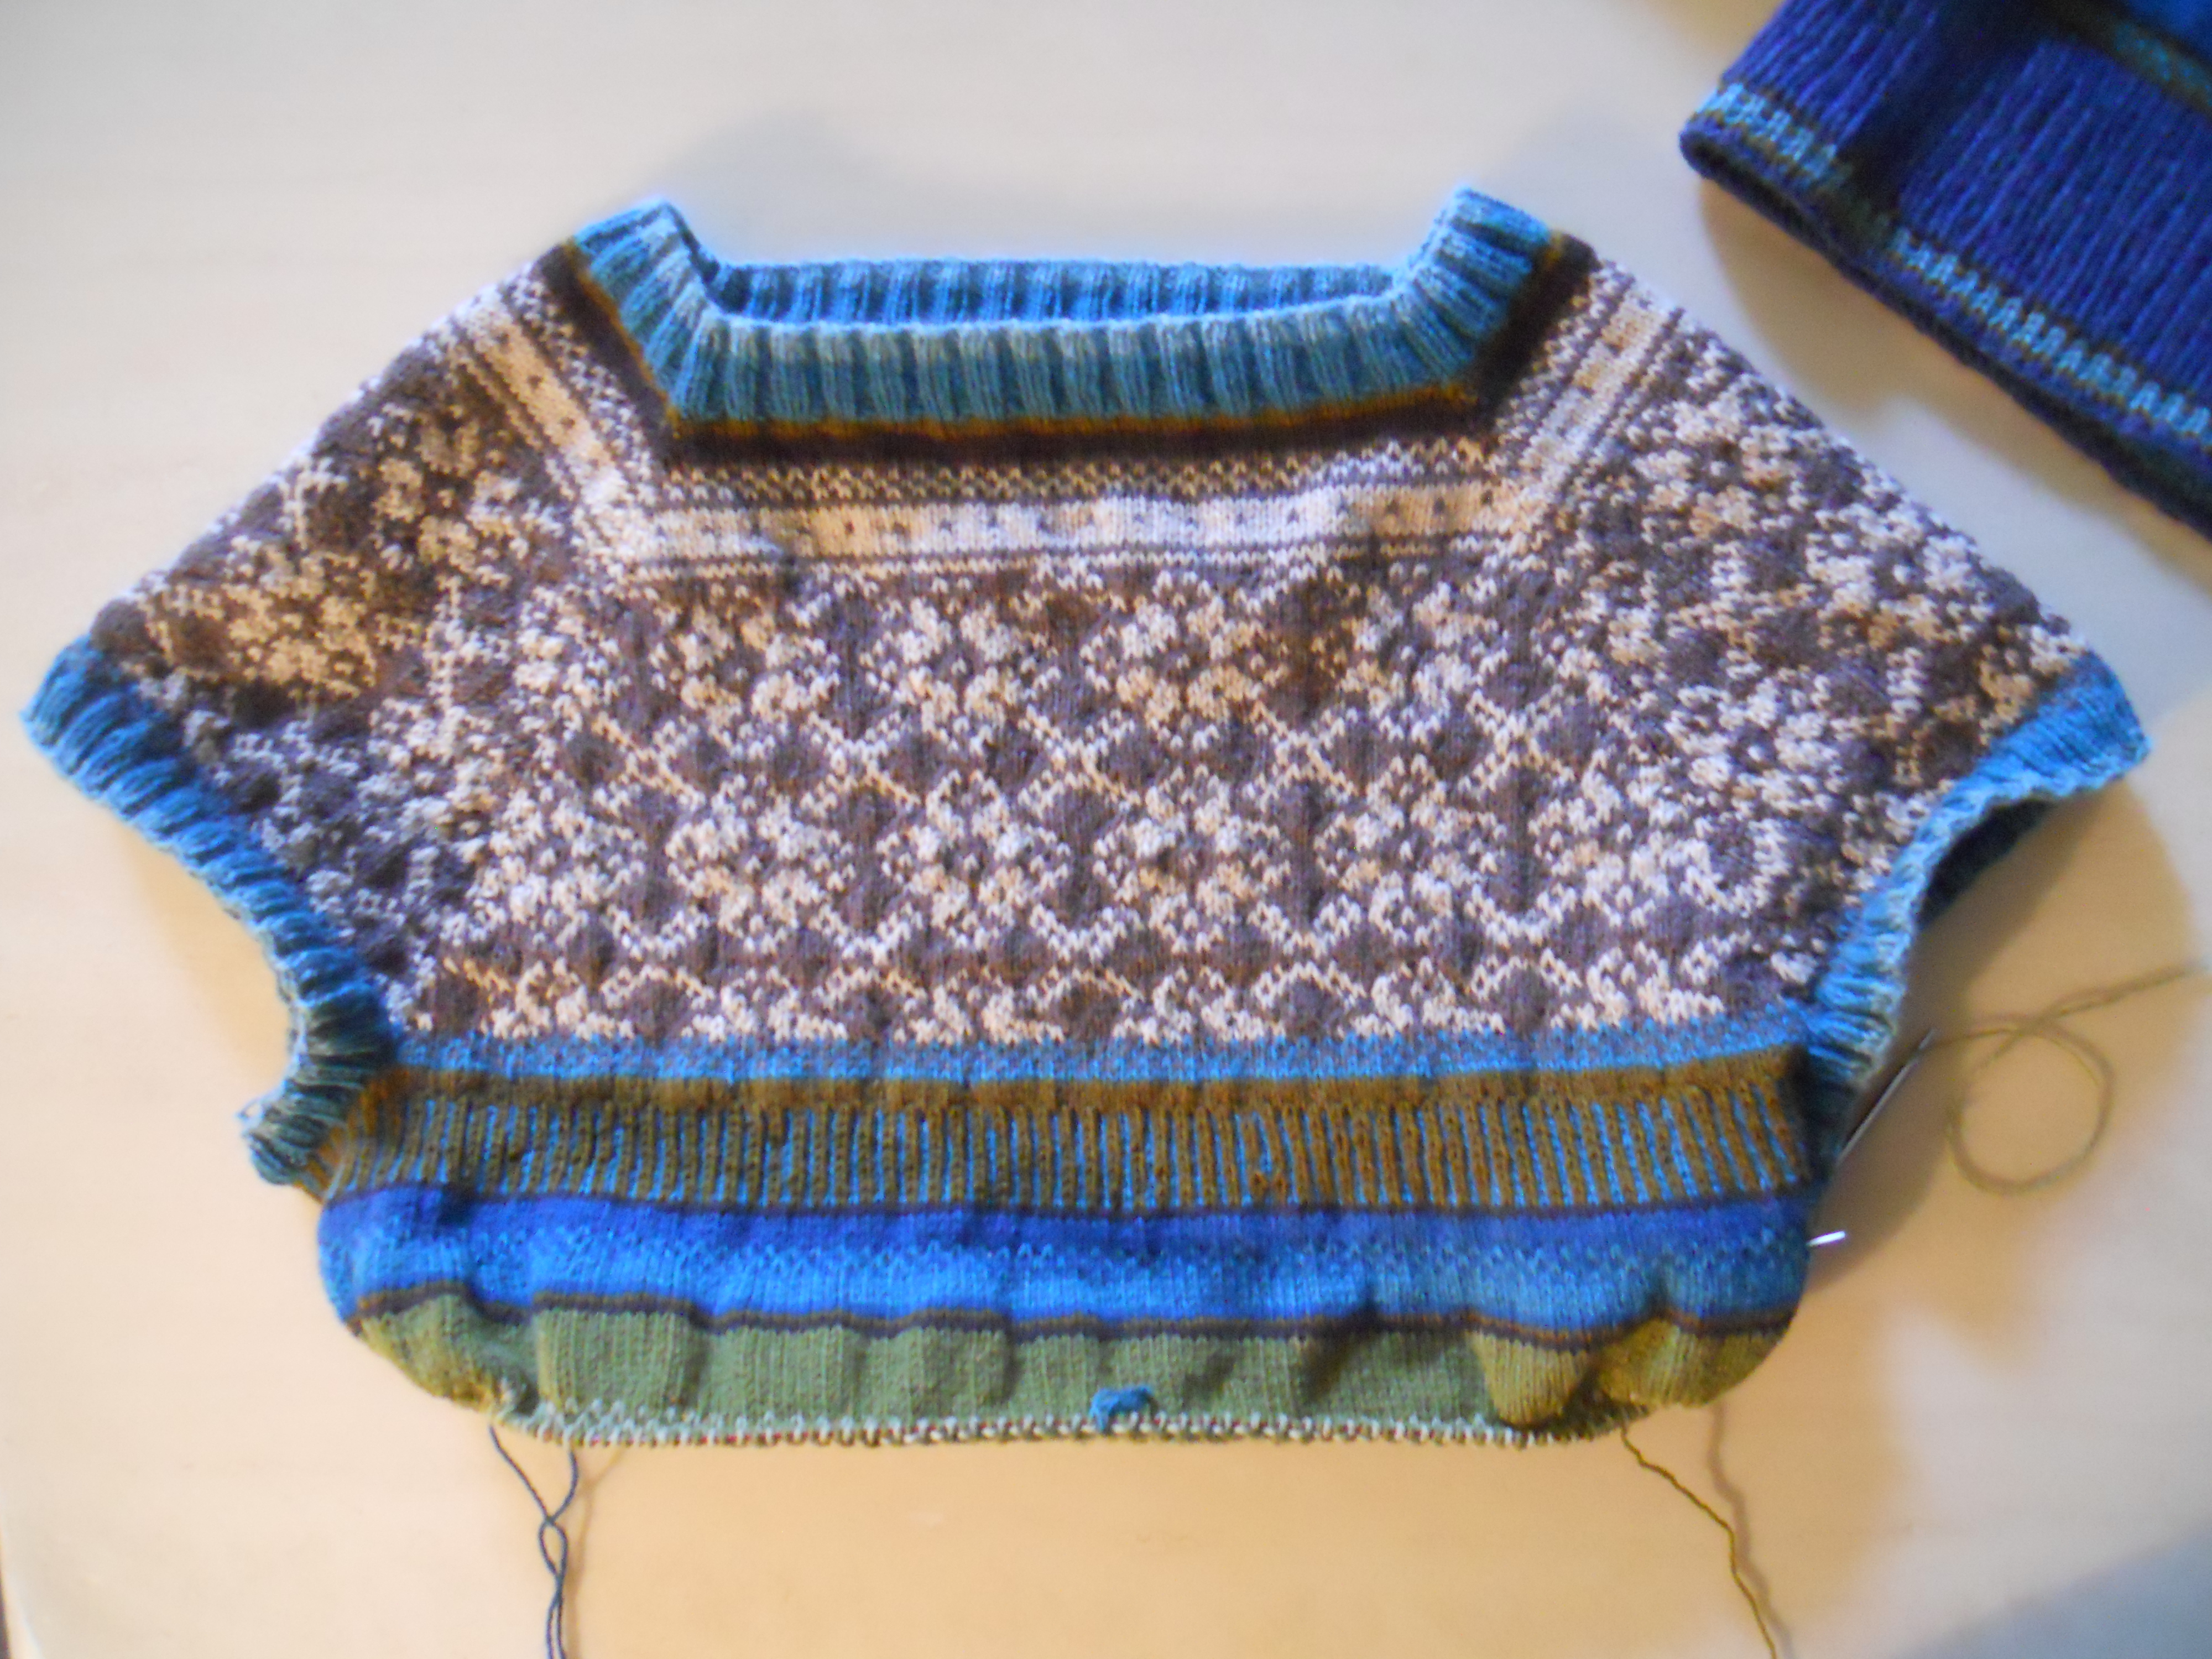
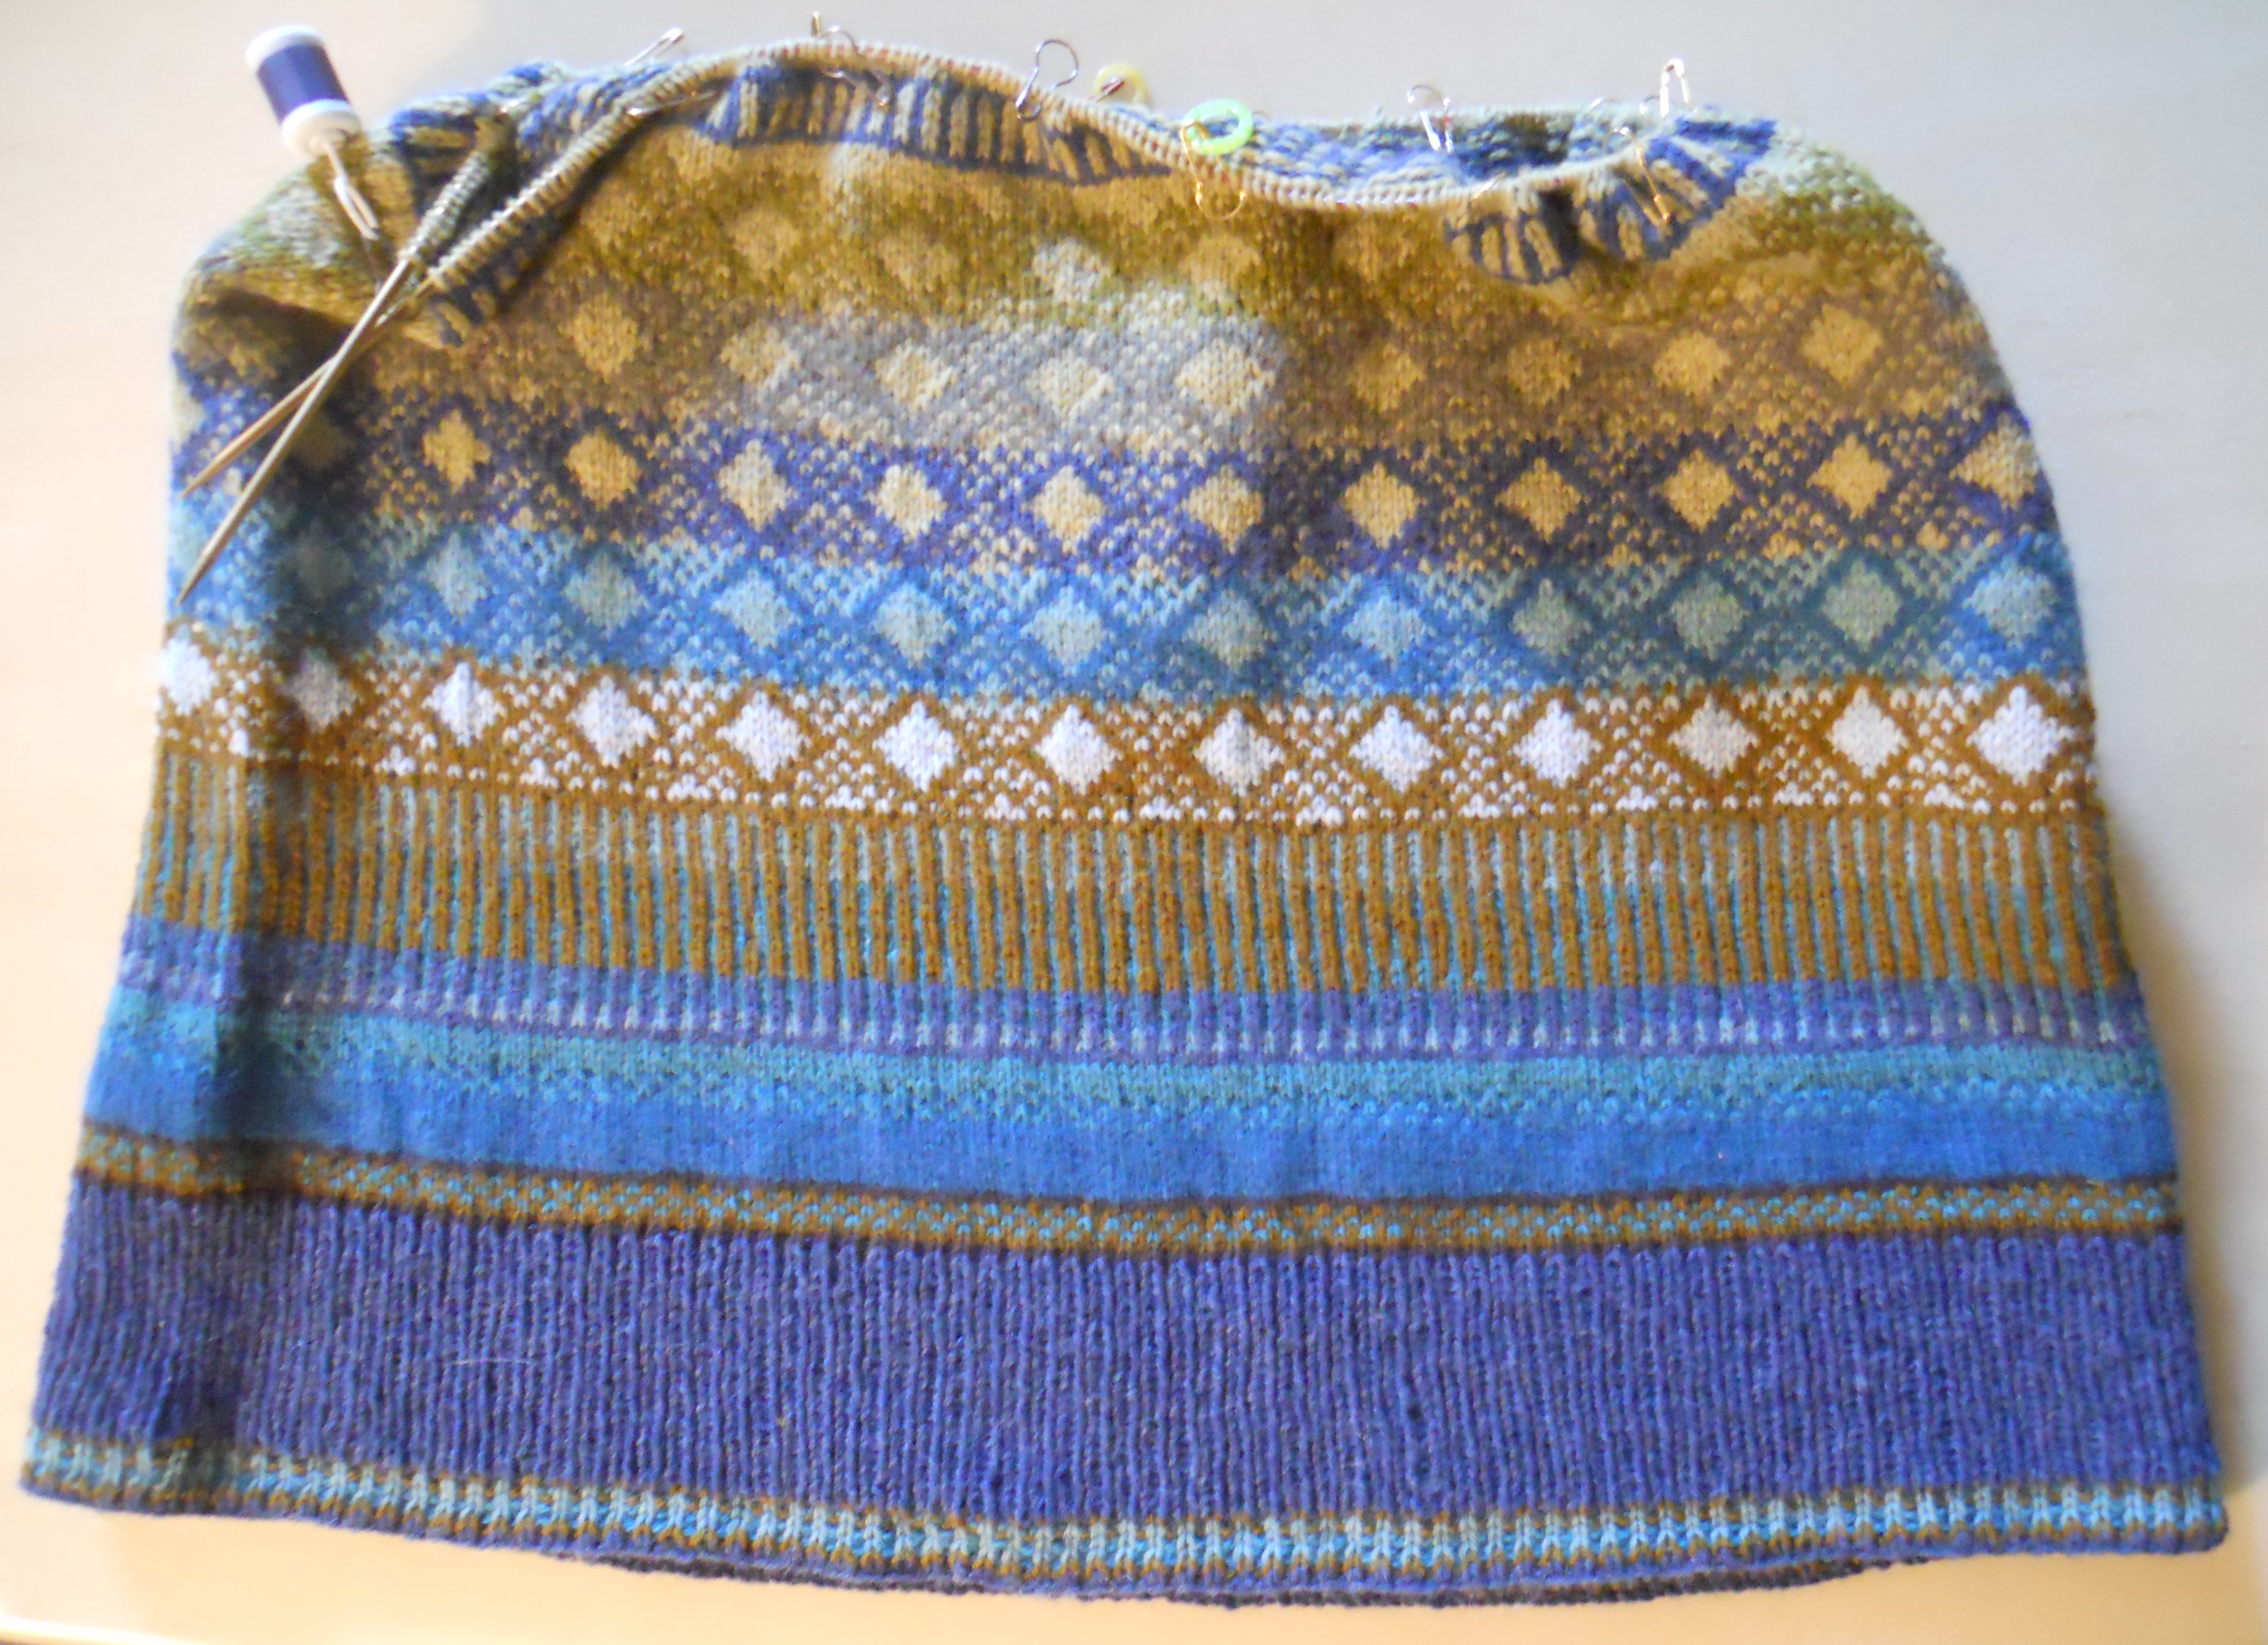
Then followed Colorwork Tee Progress (Aug 23, 2015), Yes, I am still working on the Colorwork Tee! (Oct 23, 2015), …and we have color! (Jan 20, 2016), Colorwork Tee Update (Feb 4, 2016), Winter Ramblings (Feb 19, 2016), and Sweater Surgery, or How I Cut Into my Sweater and Lived to Tell About It (May 5, 2016).
Finally, I threw in the towel with The Creative Project from H-E-Double Toothpicks (Sept 26, 2016). Well, maybe I didn’t throw in the towel, but I put the sweater away for a bit (a year plus!), hoping that the ideas might ruminate for a while and finally coalesce into a pleasing organic whole.
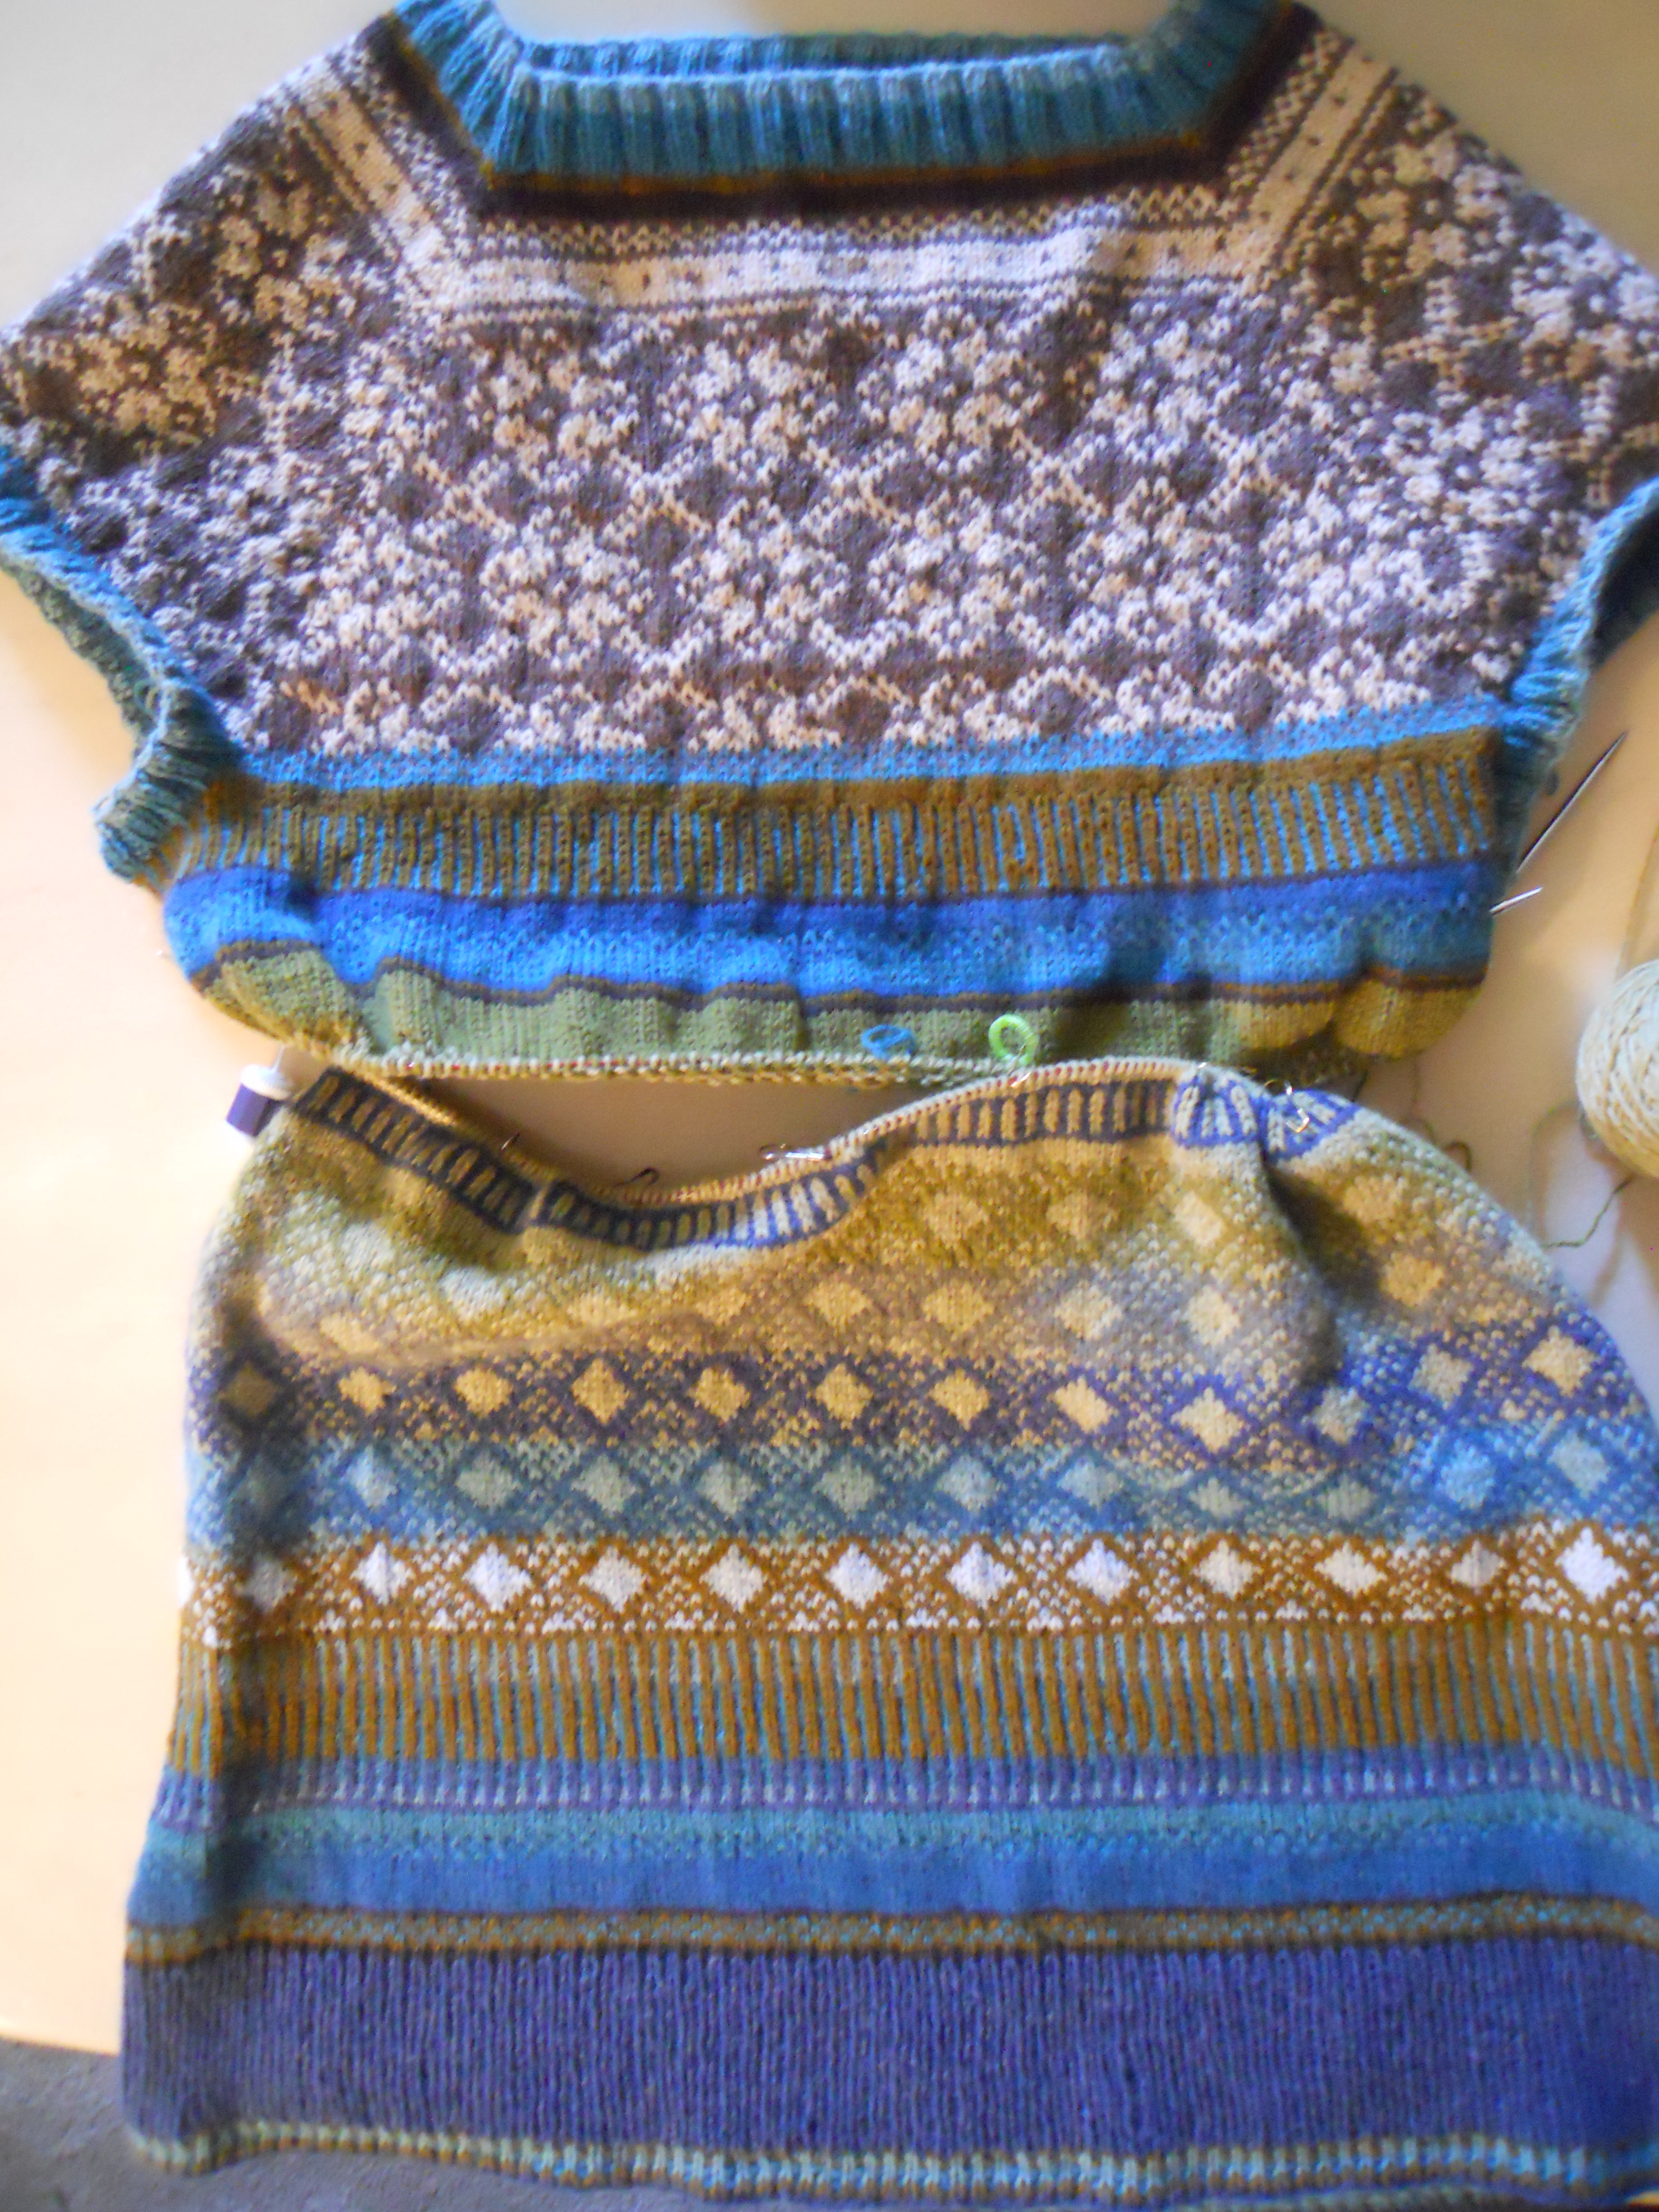
You just don’t know which events will give you the confidence to give something a try. Last year, our local yarn shop, Tangled Purls, hosted a series of customer trunk shows. It was a lovely way to create community and to allow us to appreciate the talent of our fellow local knitters. Toward the end of the series, they graciously invited me to participate. I included the old version of the Colorwork Tee in the tubs with my other knits, not really thinking it would be displayed since I didn’t use a yarn that the shop carries. However, they did display it, and people responded very positively (thanks, guys!), causing me to reconsider and to think that it might be time to give it the old college try once again.
During this year’s February week of vacation, I reconstructed the neck, shoulders, and sleeves, changed the palette slightly, and loved the result. Finally, I had the sweater I had dreamed of. In the writing of it, though, I was not able to make it work in many sizes, as I had the Color Bliss Sweater. So, this pattern is currently available for Ladies Small (32-34 in.) and Medium (36-38 in.) at bust. If there is interest, I will continue to work to come up with a different construction that will work for more sizes.
Here are the pattern deets:
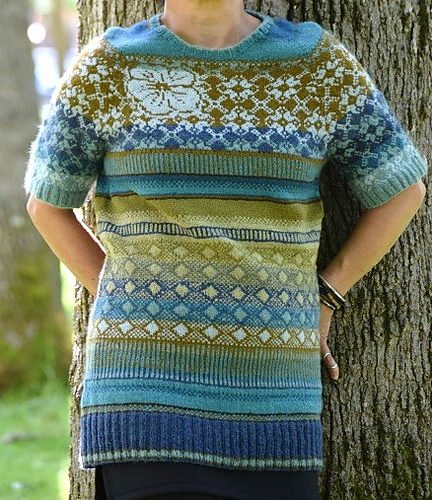
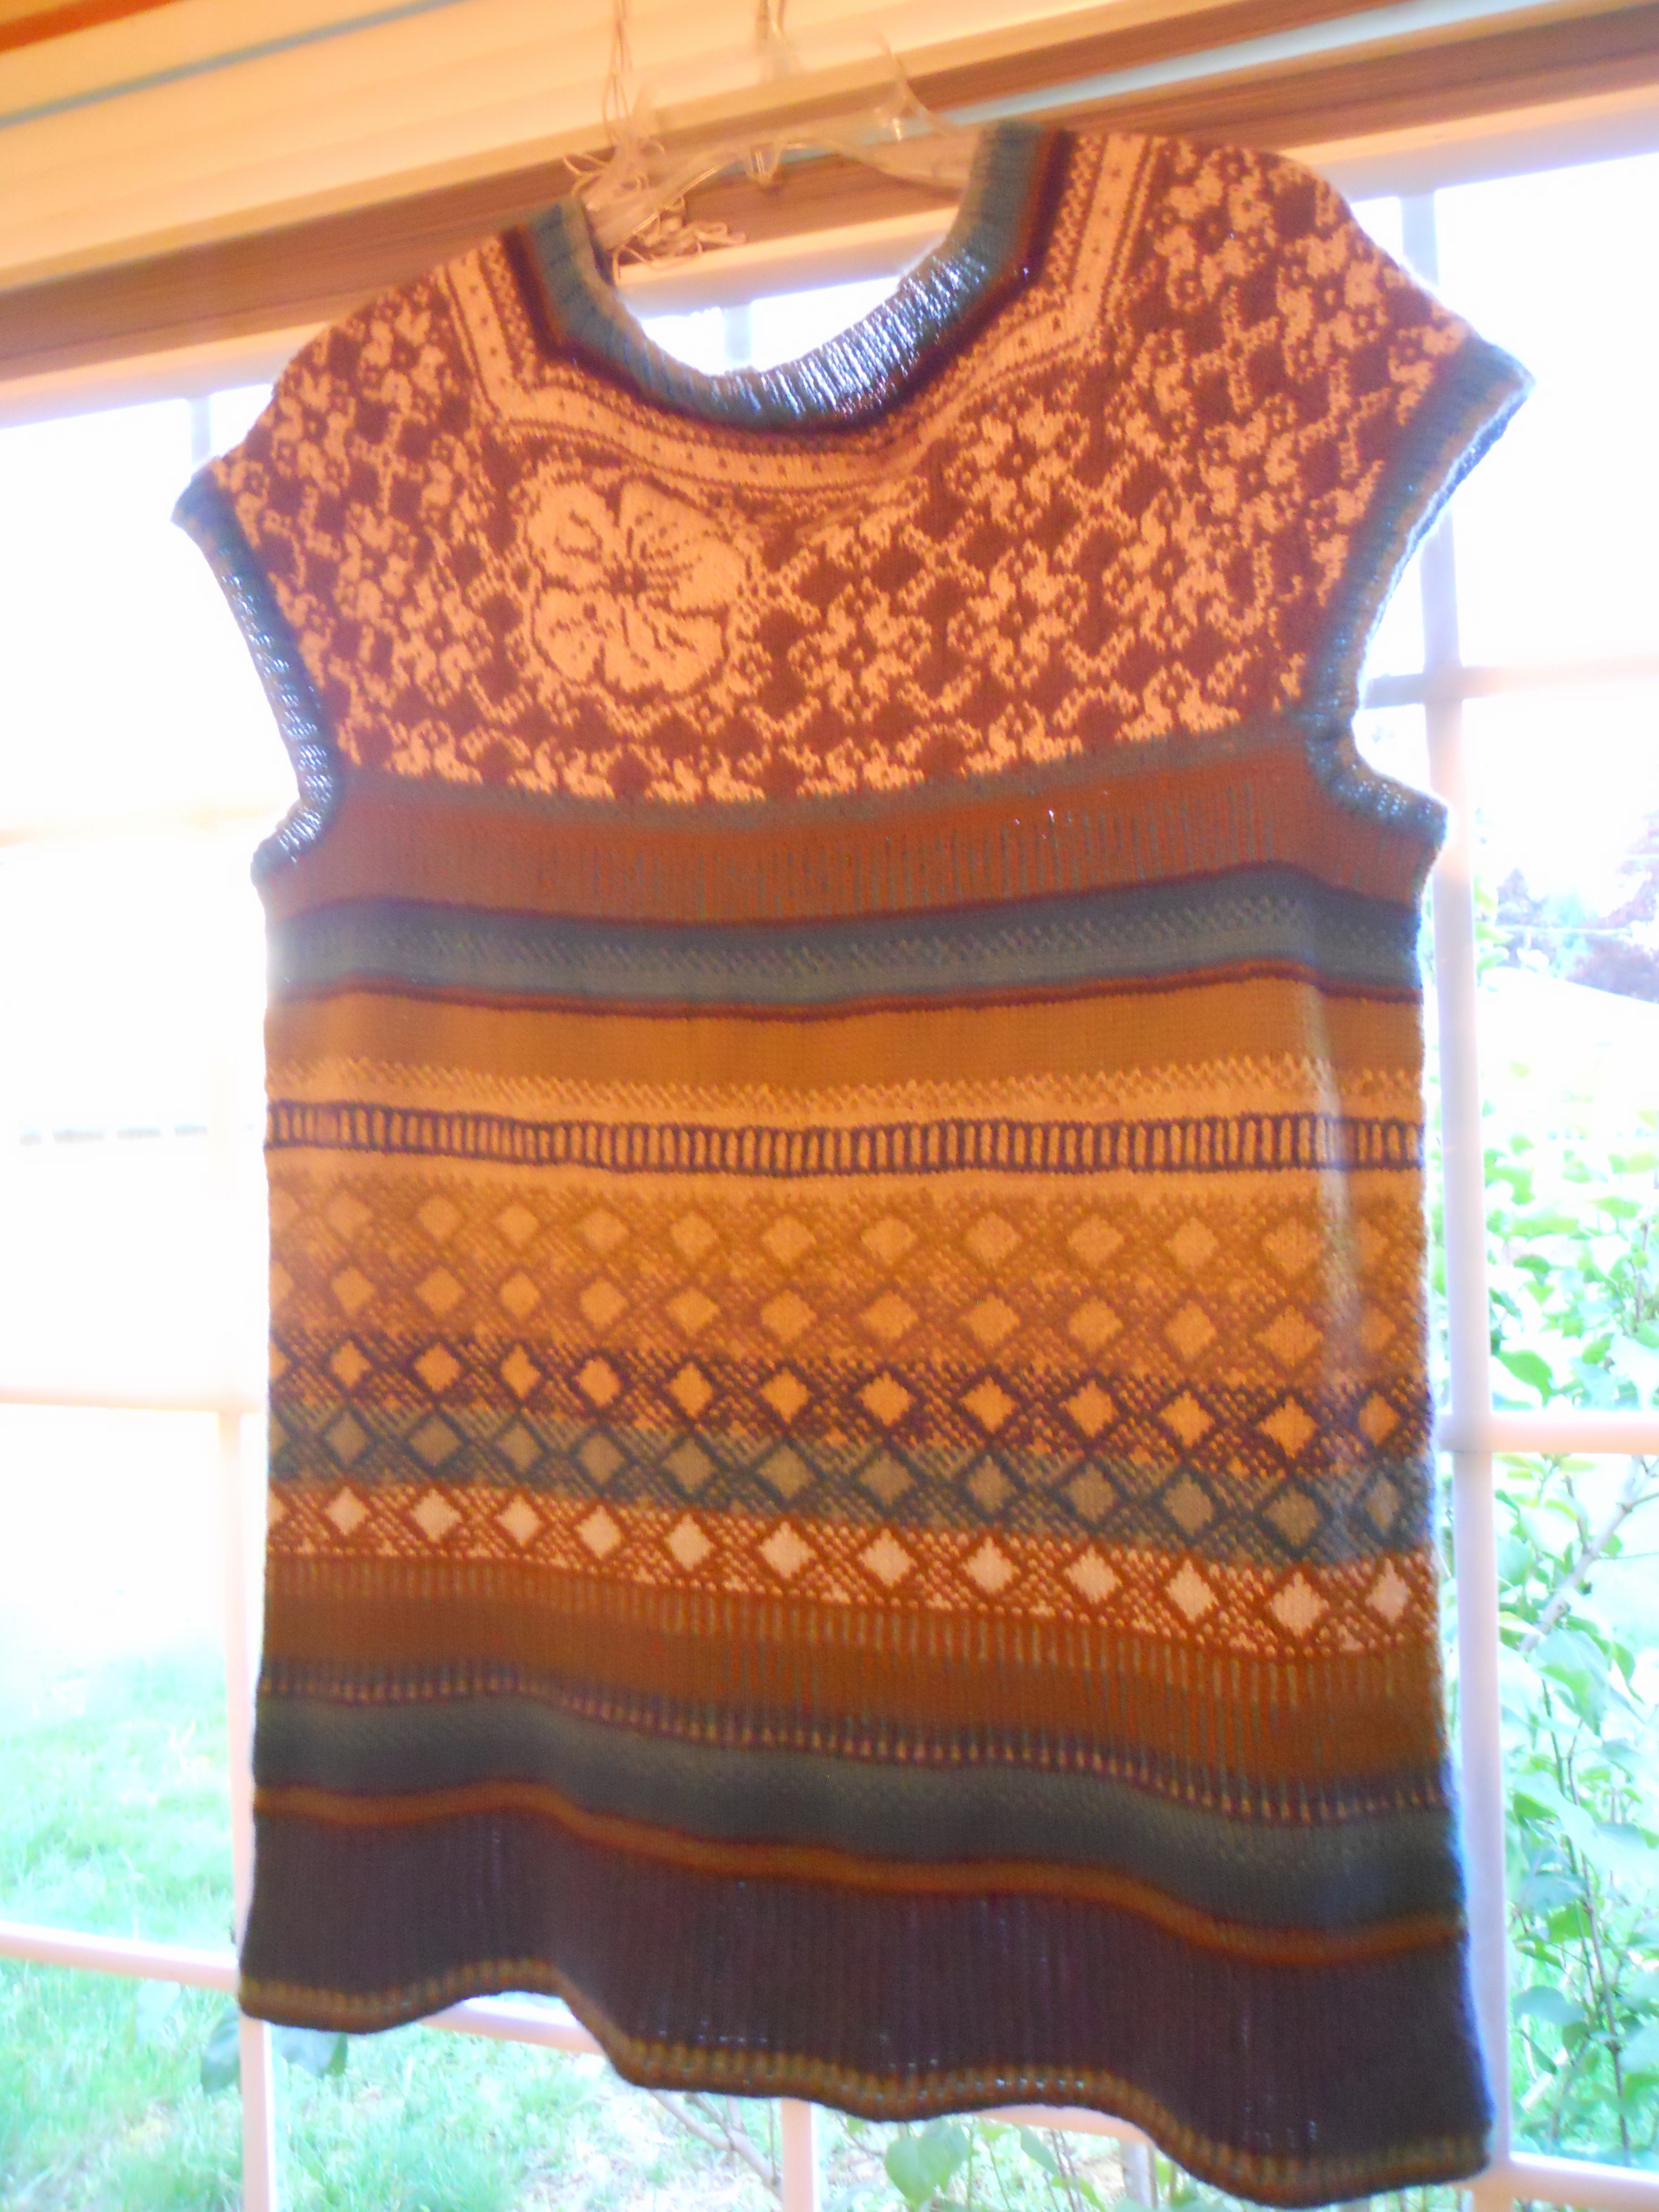
This wearable piece of art is a delight to make and wear. Using ten colors to create a beautiful interplay of pattern and light, this sweater would also look lovely in just two or three colors. Or experiment with stashbusting to create your own unique work of art.
This sweater is designed to be worn with 1 1/2 to 5 3/4 inches positive ease at the bust. It is knit top-down, with no seaming necessary.
Yarn:
The sweater shown was knit using Sunday Knits Yarn in 3-ply (light sport weight) (50 grams/approx. 246 yards), (20 grams/approx. 98 yards), in three interchangeable bases, Angelic, Eden, and Nirvana in the following colorways:
A. Bronze (Eden) 2 50g skeins.
B. Teal (Angelic) 2 50g skeins.
C. Lagoon (Eden) 1 50g skein.
D. Aqua (Angelic) 2 50g skeins.
E. Rain (Nirvana) 1 20g skein.
F. Ocean (Nirvana) 2 50g skeins.
G. Espresso (Nirvana) 1 20g skein.
H. Pickle (Nirvana) 1 50g skein.
I. Celery (Eden) 1 50 g skein.
J. Khaki (Angelic) 1 20g skein.

Needles:
Body: US size 4 (3.5 mm) 24 in. (60 cm) and 36 in. (90 cm) circular needles, or size needed to obtain gauge.
Sleeve: US size 4 (3.5 mm) DPNs (set of 5) or appropriate needles for small-circumference knitting.
Neckband: US size 3 (3.25 mm) 24 in. (60 cm) circular needles.
Optional, for single-color sections: US size 3 (3.25 mm) 36 in. (90 cm) circular needles, or size needed to obtain gauge.
Discount:
Introductory Special: Use the coupon code WVT25 for 25% off through September 30, 2018 (Pacific Time).

NOW, finally, I am so thrilled to be able to offer this pattern to you. It truly was a labor of love, and I am grateful and pleased that it has, at last, become the design it was meant to be.
Knit Equals Joy
xoxox


")


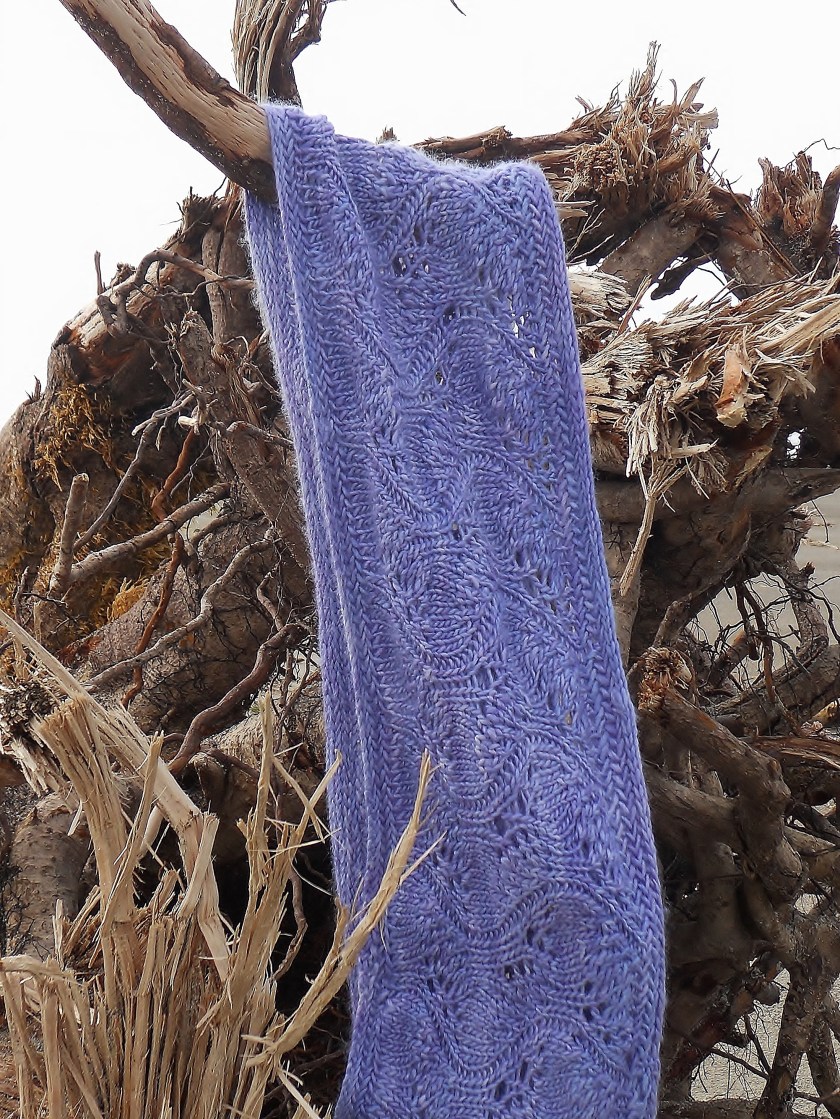
 in Fjord and Shibui Cloud (kid mohair, silk) in Cove")