
Wild daisies, with open, trusting faces, dance freely in coastal breezes – jubilant.
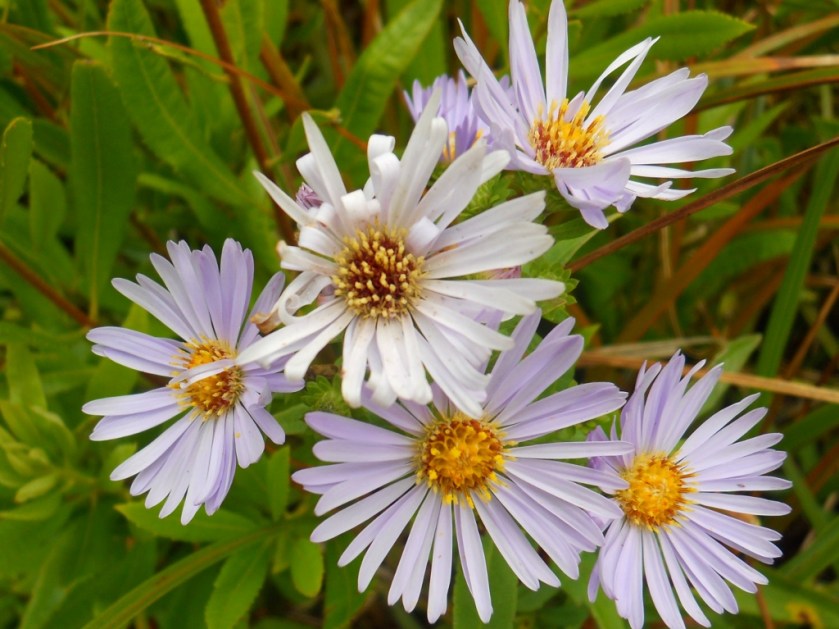
Wild daisies, with open, trusting faces, dance freely in coastal breezes – jubilant.
The best colour in the whole world is the one that looks good on you. ~Coco Chanel


featuring photos from unsplash.com.

The beach, friends, knitting, seafood, yarn shop. Not a bad way to spend a weekend!


A huge “thank you” to everyone who came out to share this knitting weekend. I am fortunate to know such wonderful, talented and generous people, and I look forward to our next knitting retreat!
knit equals joy


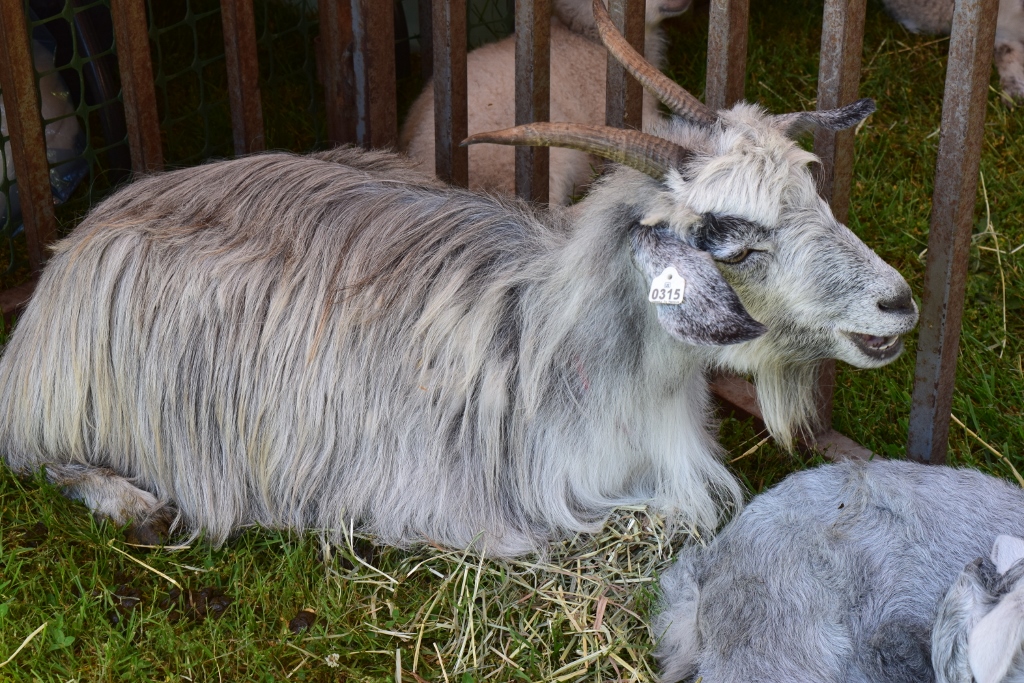
Last weekend I visited the Sheep to Shawl Festival at the Willamette Heritage Center. It was a warm day and lovely, and I enjoyed the music, the festival food, the animals, and the obvious joy of creativity that was occurring all around.

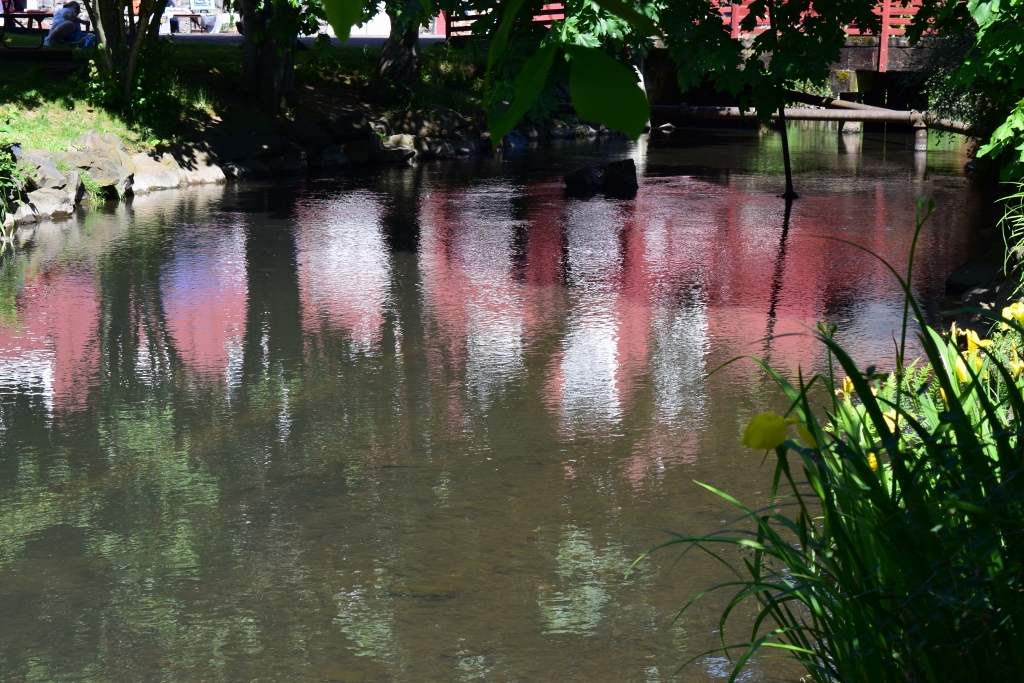
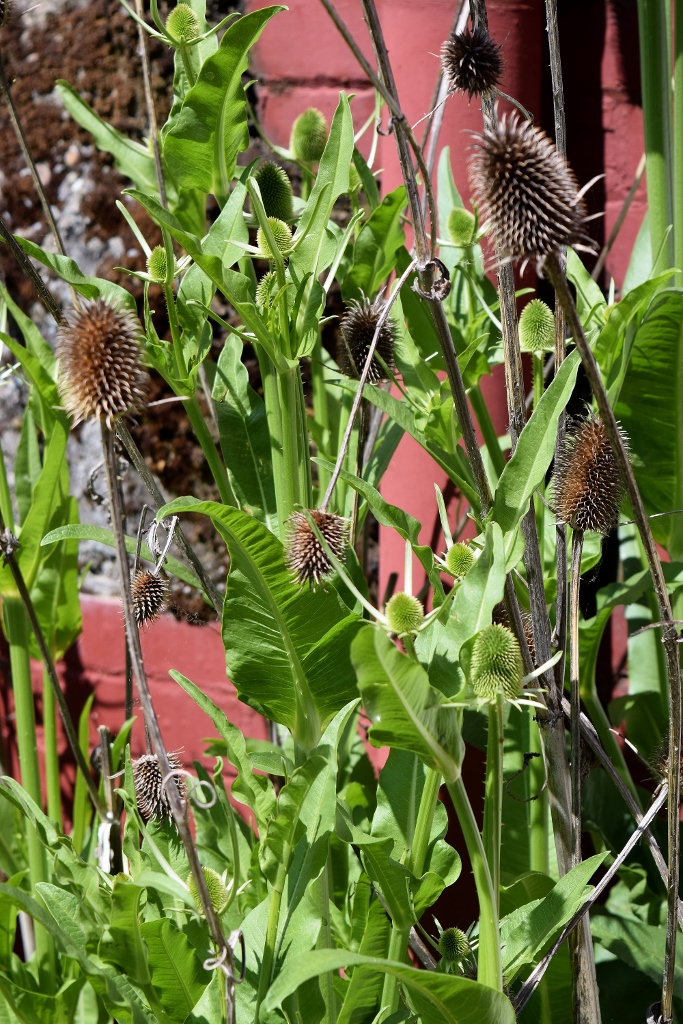
The thistles outside this building caught my eye:

I’ve always thought thistles interesting, texture- and shape-wise.

These are also known as teasels, a specific variety of thistle, considered a noxious invasive plant in some areas of the country.
Inside the historic Mill, I learned something new about thistles and how they were historically used in the manufacture of woolen fabric. How fascinating to learn this!
Hand Raising – This slow and tedious operation was accomplished with a hand raiser mounted with teasels which was drawn either warp or weft directions of the fabric.
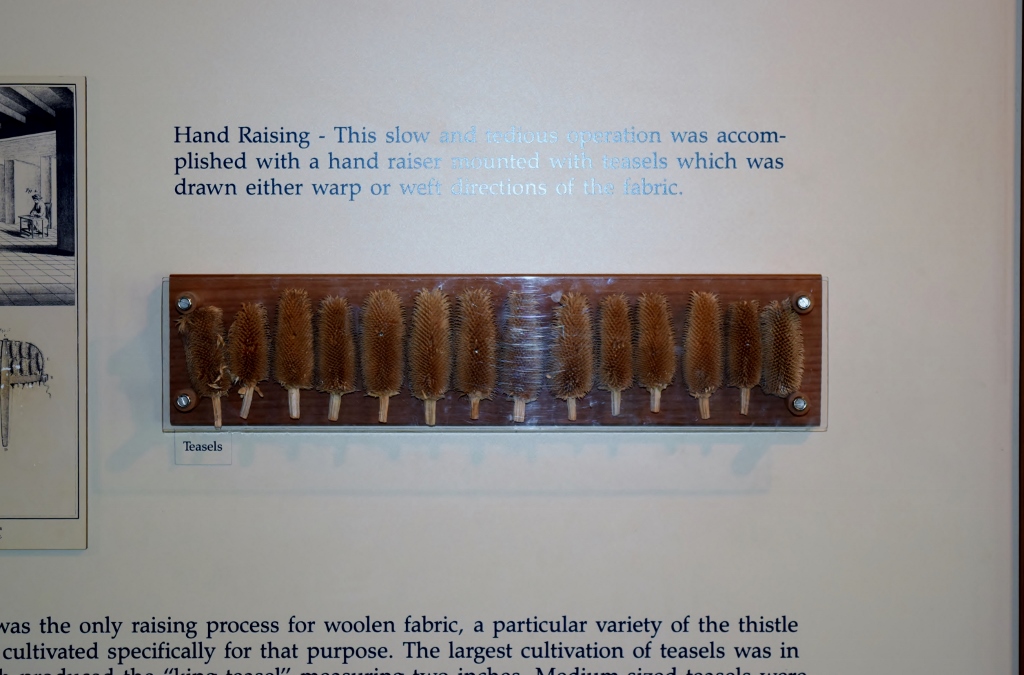

Such a cool use of a plant in manufacturing!!!
The grounds were full of folks enjoying the beautiful day, the music, the demonstrations of art and craft. I came home with a couple of skeins of fibery goodness – a skein of Shetland sock yarn for me, locally raised and milled, and another skein of local, speckled bulky yarn which will eventually end up a prize for the Ravellenic Games this summer (more on that in future posts). It was a lovely way to spend a Saturday afternoon and I look forward to next year’s festival!


Here’s my contribution to this week’s photo challenge, Earth. It’s a bit of a macro view…I find it interesting to see all of the things that “earth” comprises.

Last week I girded up my loins, picked up my scissors, and cut my sweater in half. Done with careful preparation, I survived, the sweater survived – and in fact it was much improved by the process.
Here’s how knitwear design works for me: I try something. I like it. Well, except for just one thing. I rip back. I re-knit, and now it’s much better. But it’s not quite right, let me try this other color. At some point, I will determine to knit on no matter what. In the case of the Colorwork Tee, I knit the entire sweater before determining that, although I loved the torso of the sweater, I wasn’t happy with the fit of the yoke and sleeves.
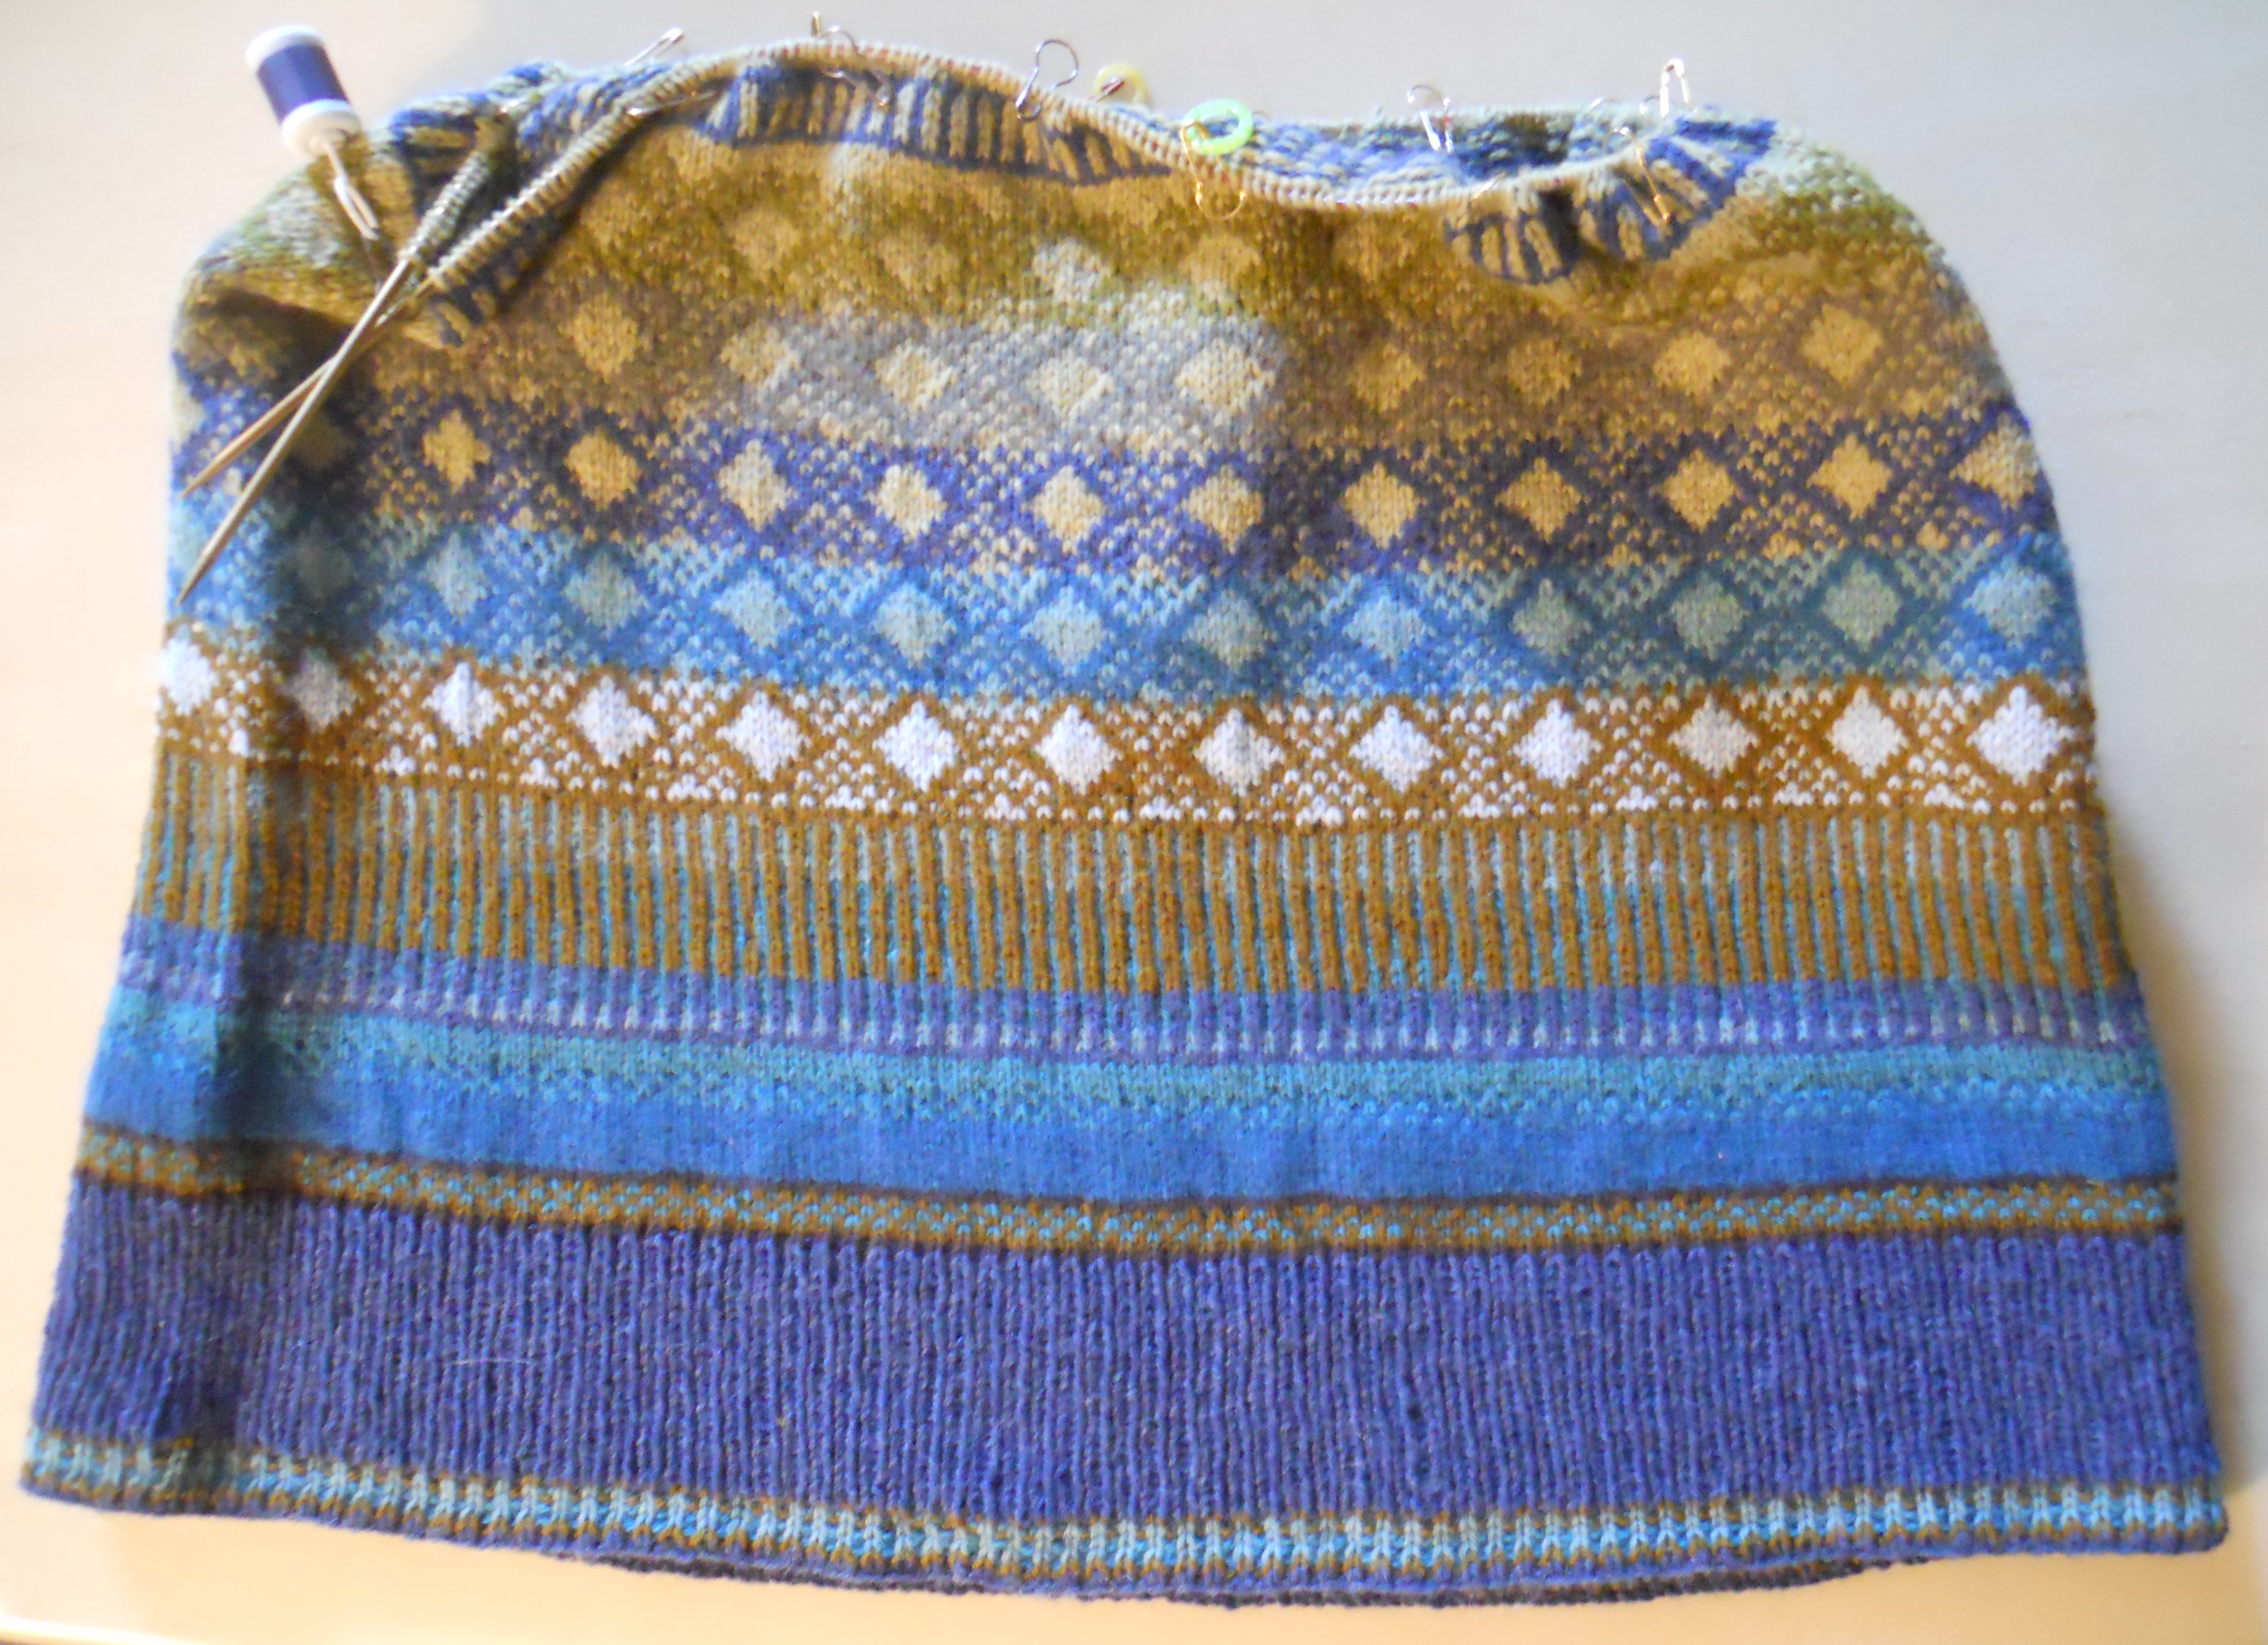
So, I began again, armed with better numbers. This time, things were much better! The fit was much more flattering.
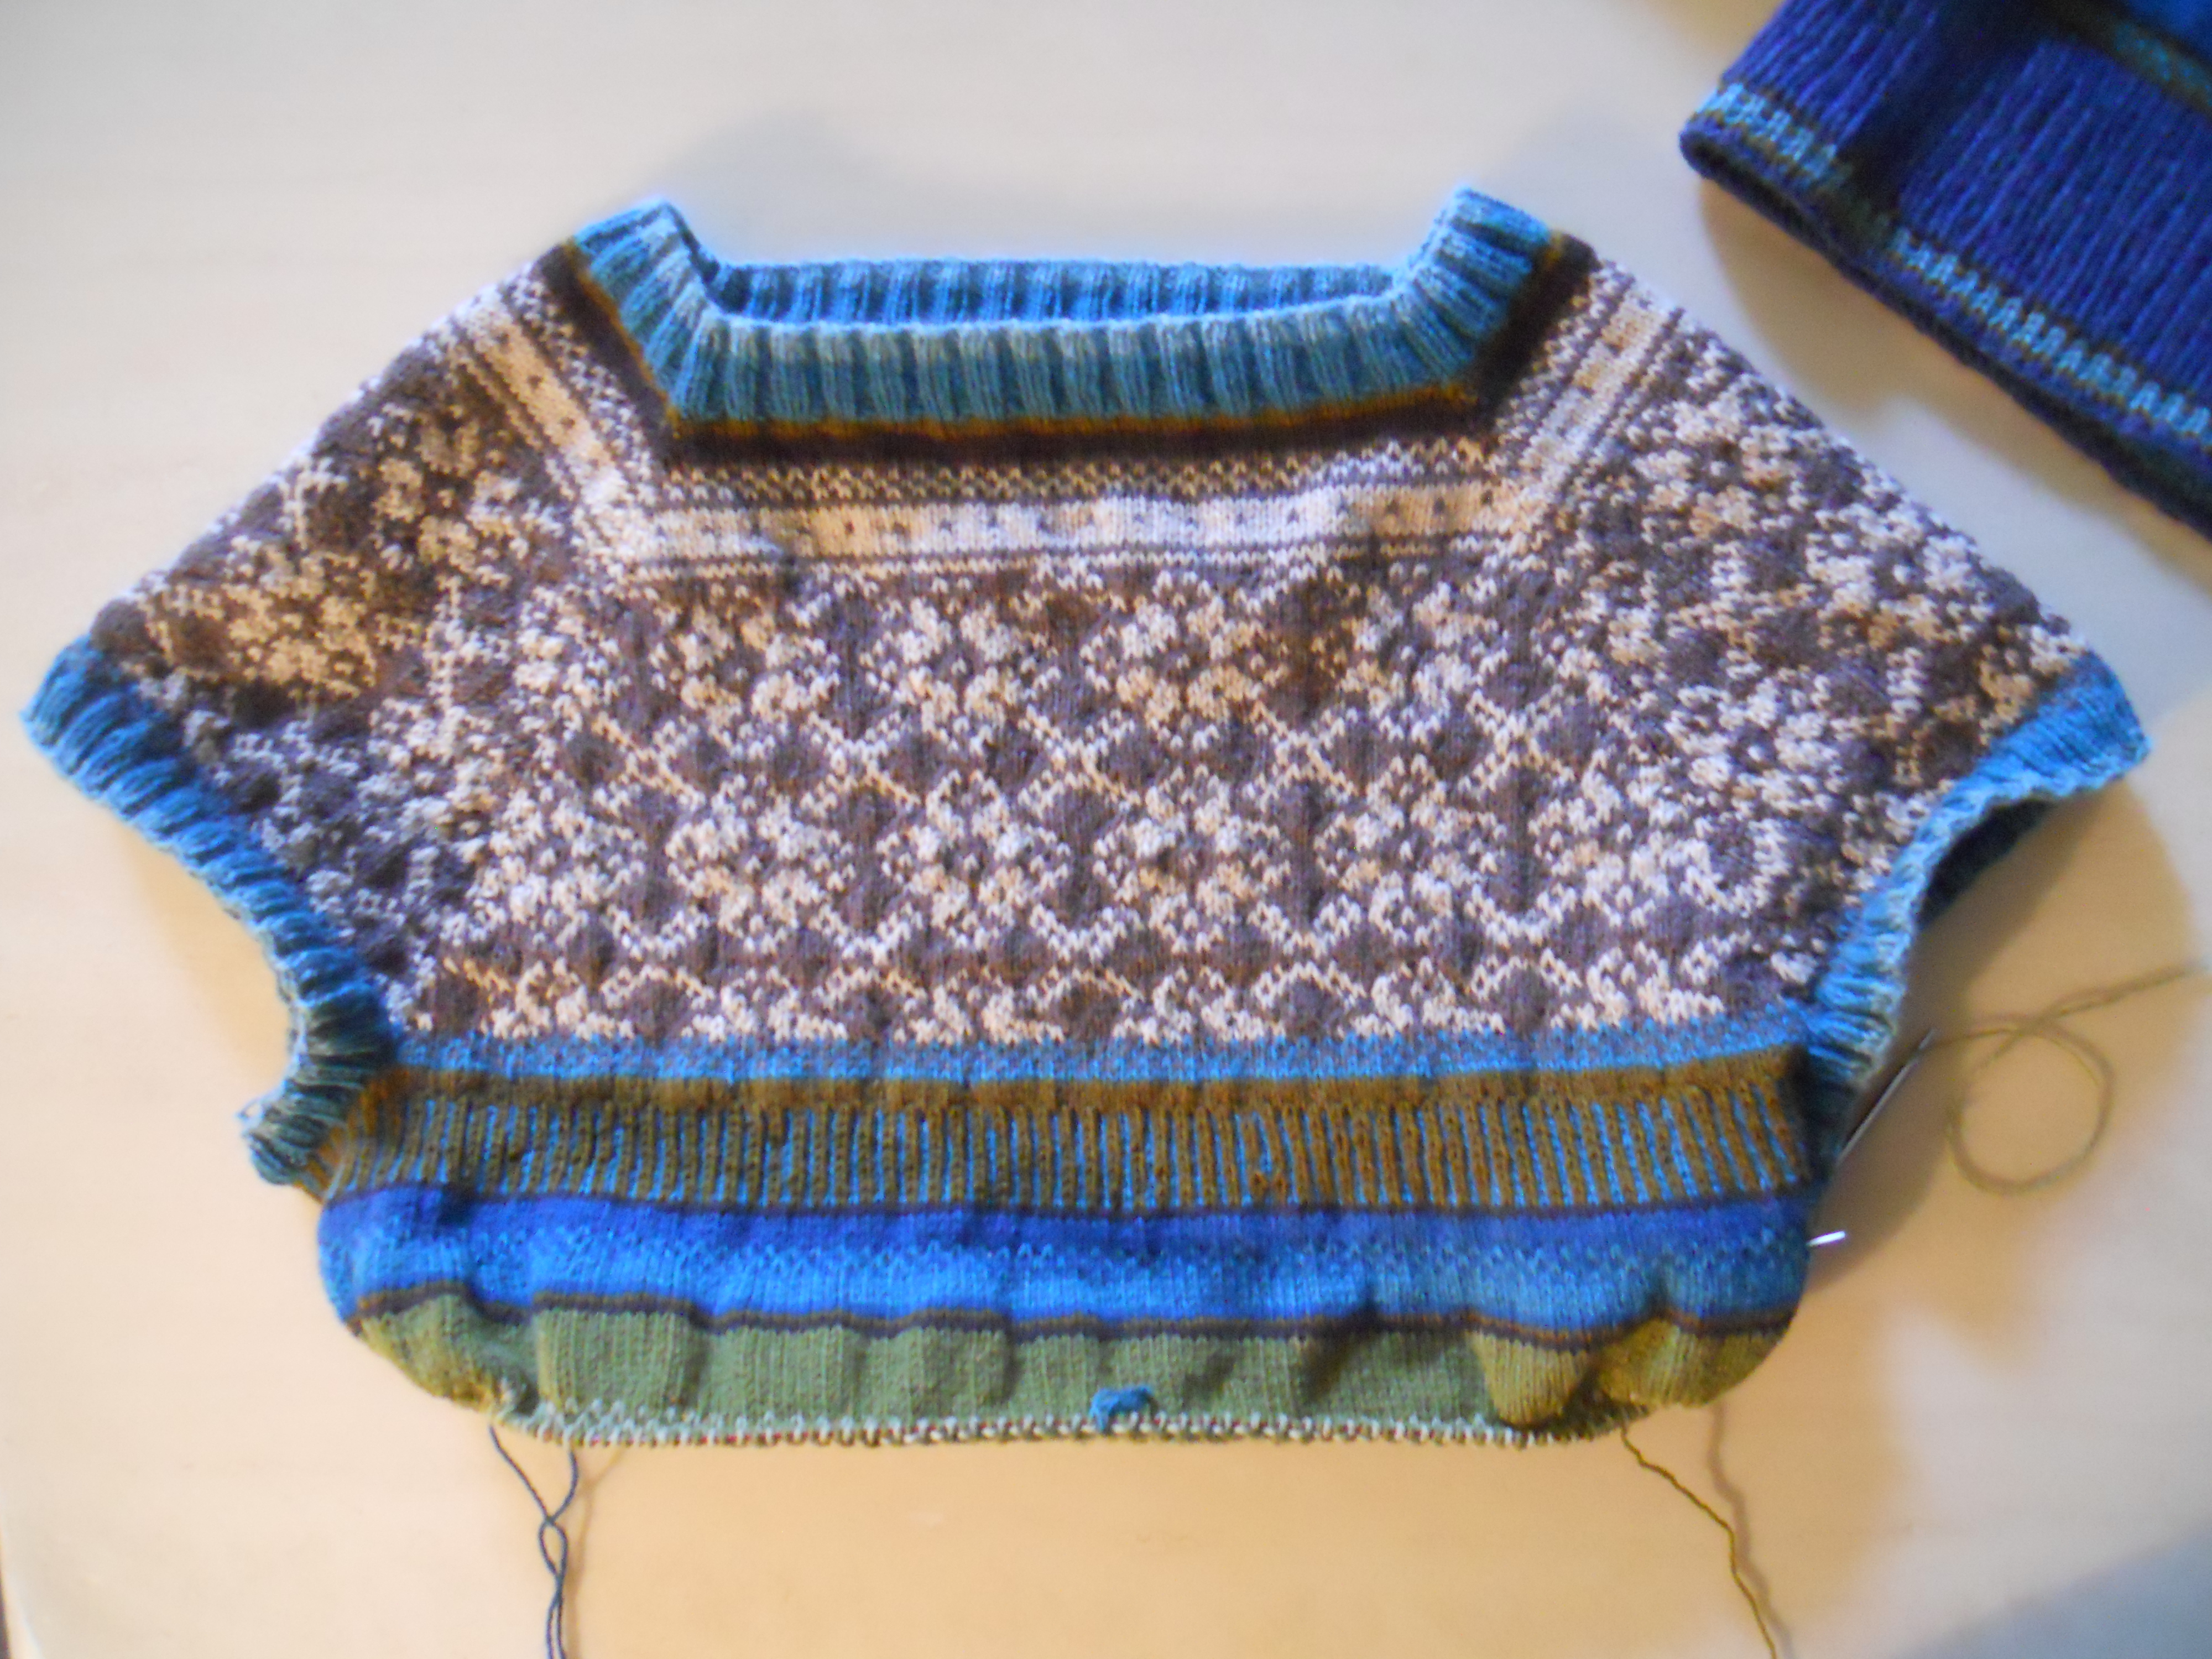
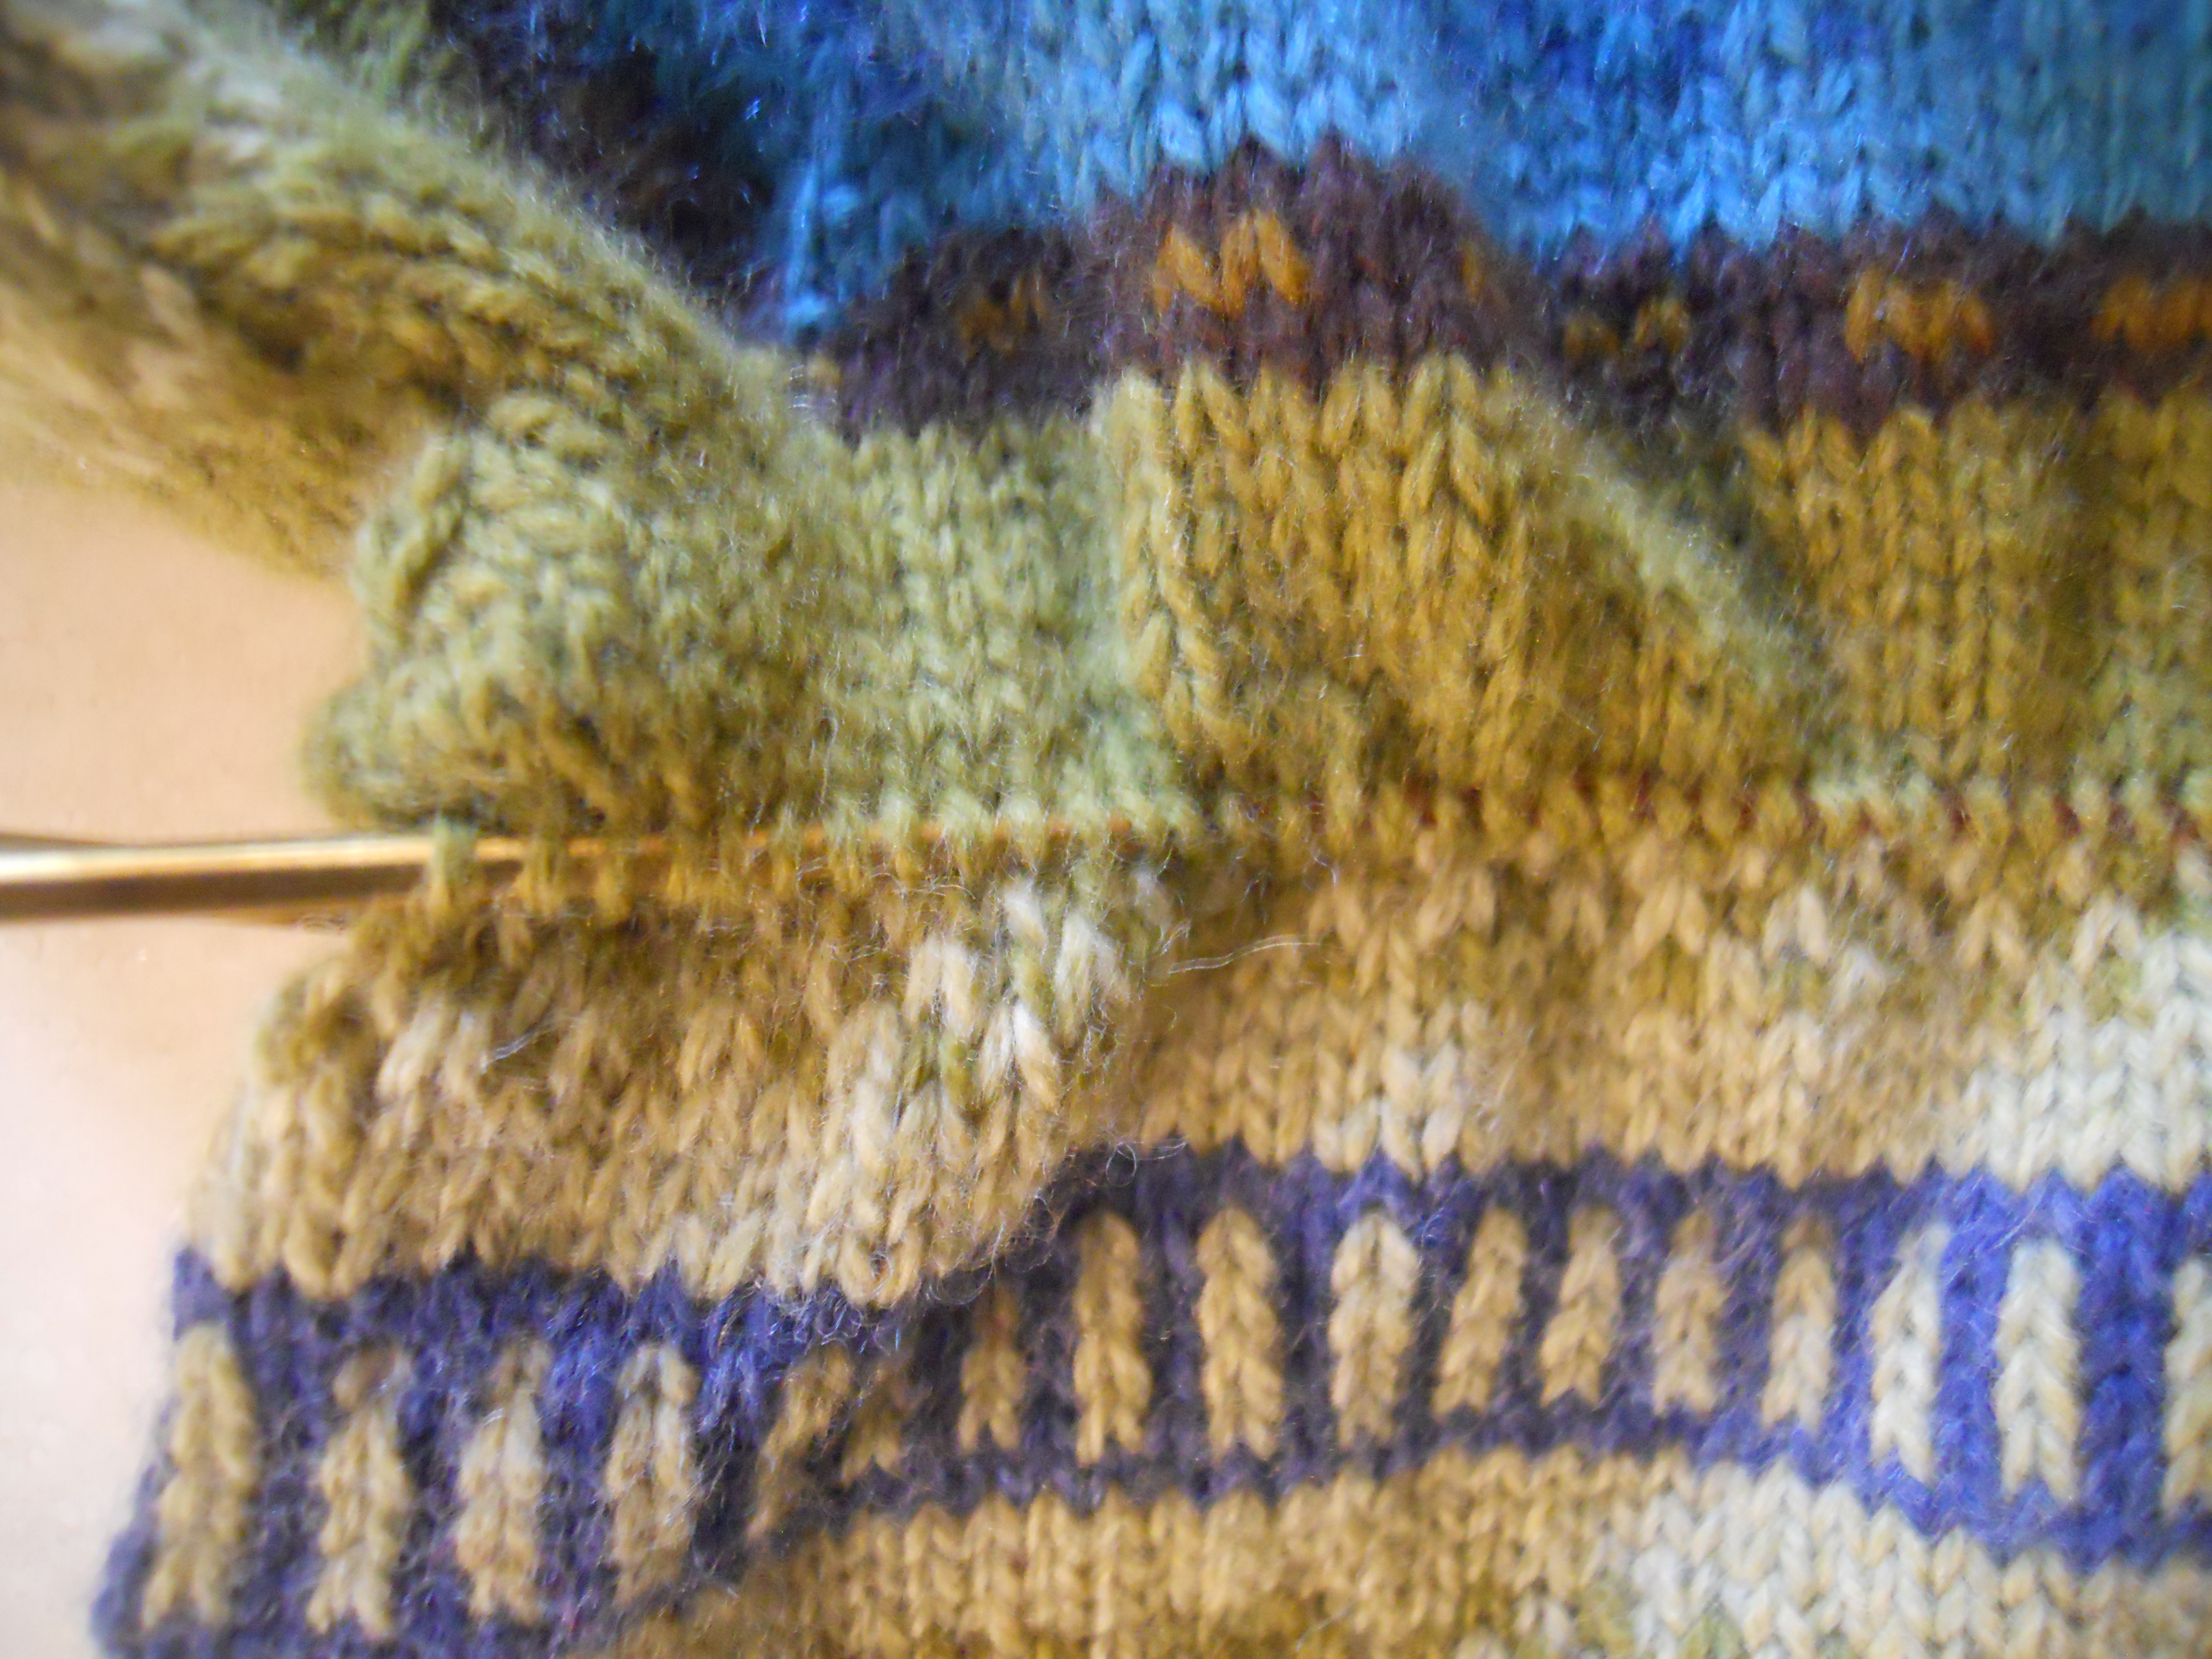
I’m not even going to show you the old yoke and sleeves, but here’s the section of the first sweater that I loved and kept. I could have continued knitting from the new yoke and sleeves and have knit all those rounds again, but…I thought that I had a better idea…grafting!
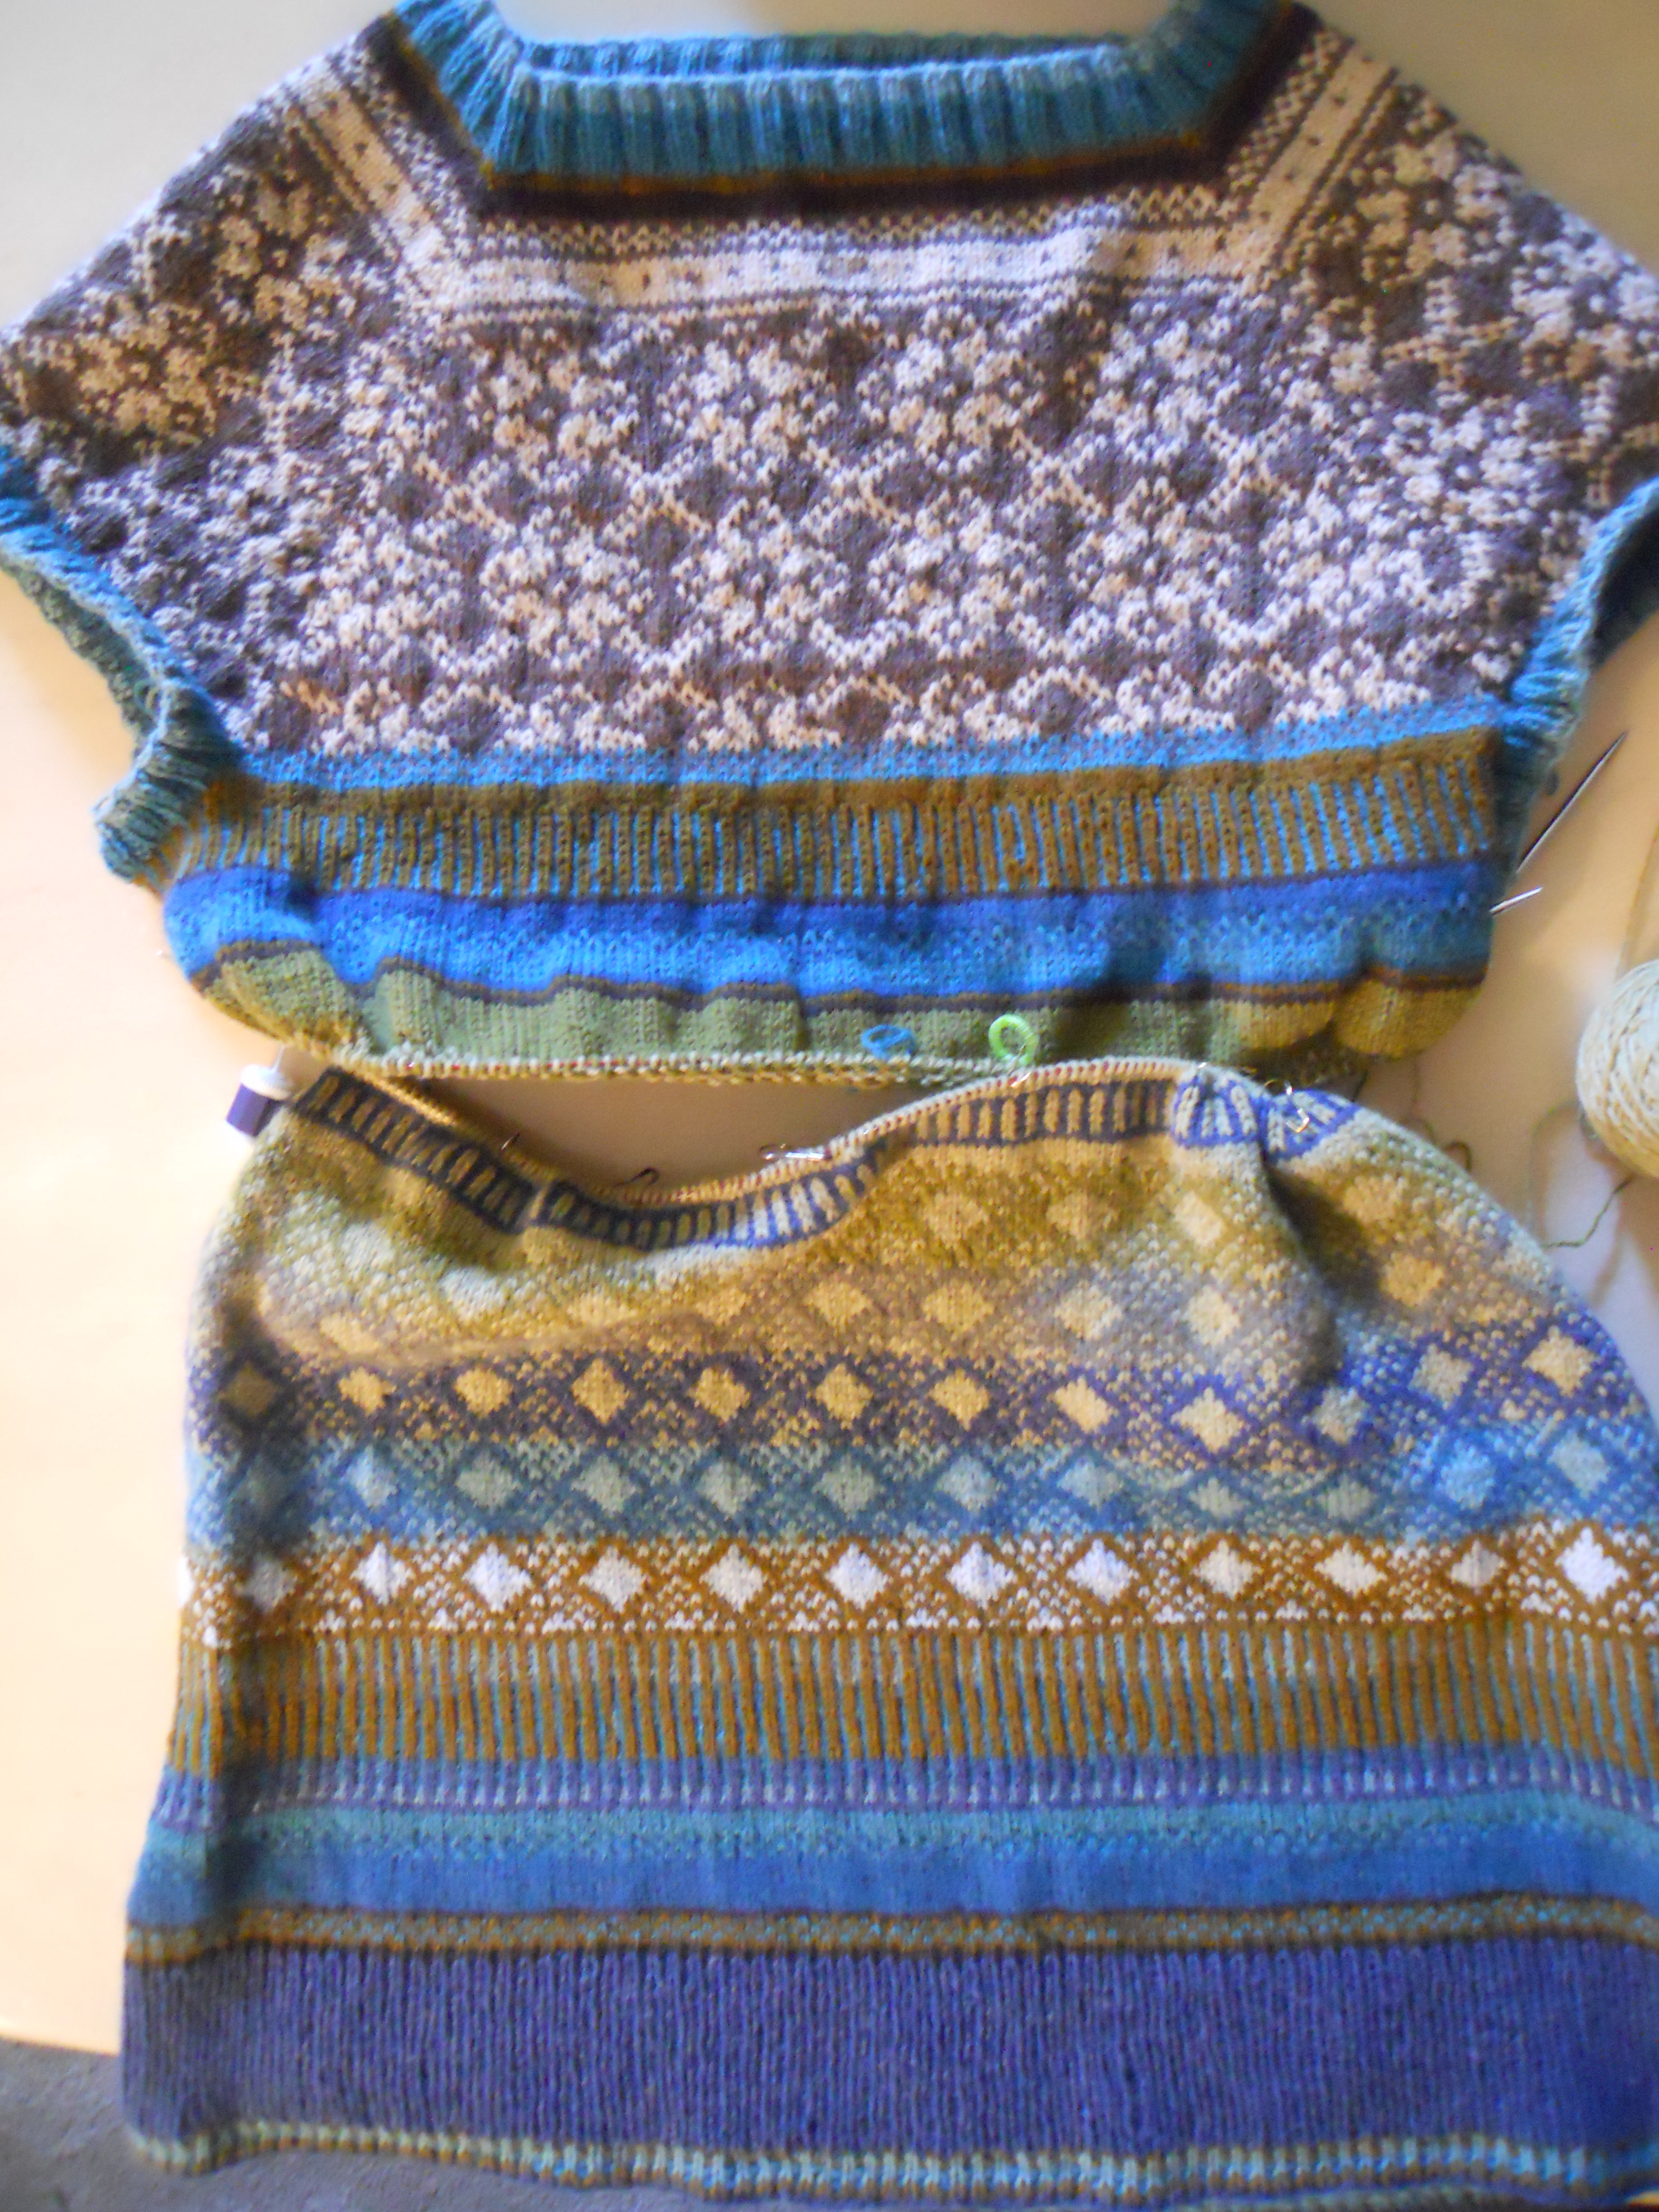
The plan was that, using Kitchener stitch, I would graft the top and bottom sections together. It would be an elegant solution that would save both time and yarn.
Careful preparation was key to a successful operation. My motto, to misquote Bob Vila, was “Measure twice, stitch once!”
A Lifeline
~I learned this technique from a sock pattern, Basic Sock by Churchmouse Yarns and Teas. Insert the needle into the first leg of each stitch. After the needle has been inserted into every stitch, the yarn can be unraveled down to the needle and the live stitches will remain on the needle.

Helpful hint for seeing the “first leg” of each stitch: use finger to push out the fabric. You can see the separate legs more easily. I also find color changes to be helpful in seeing the separate legs.

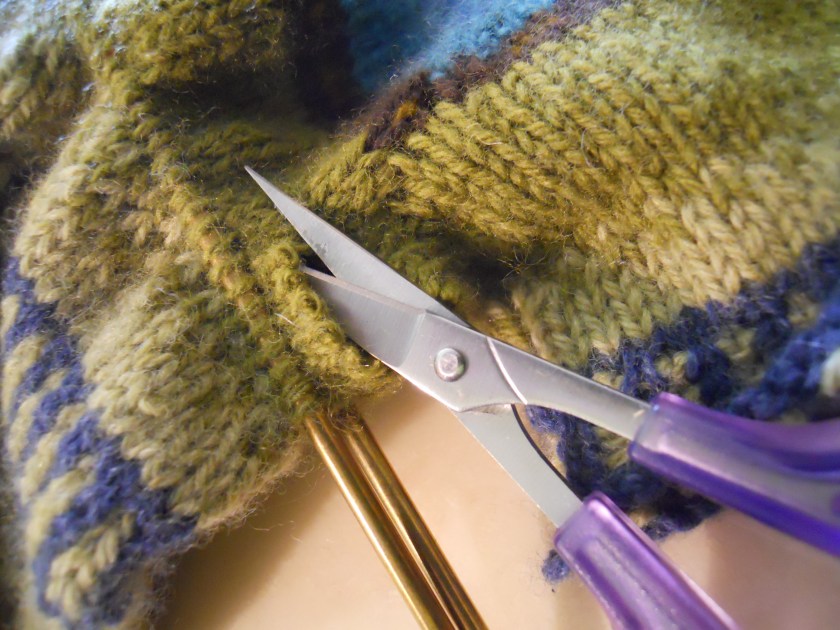
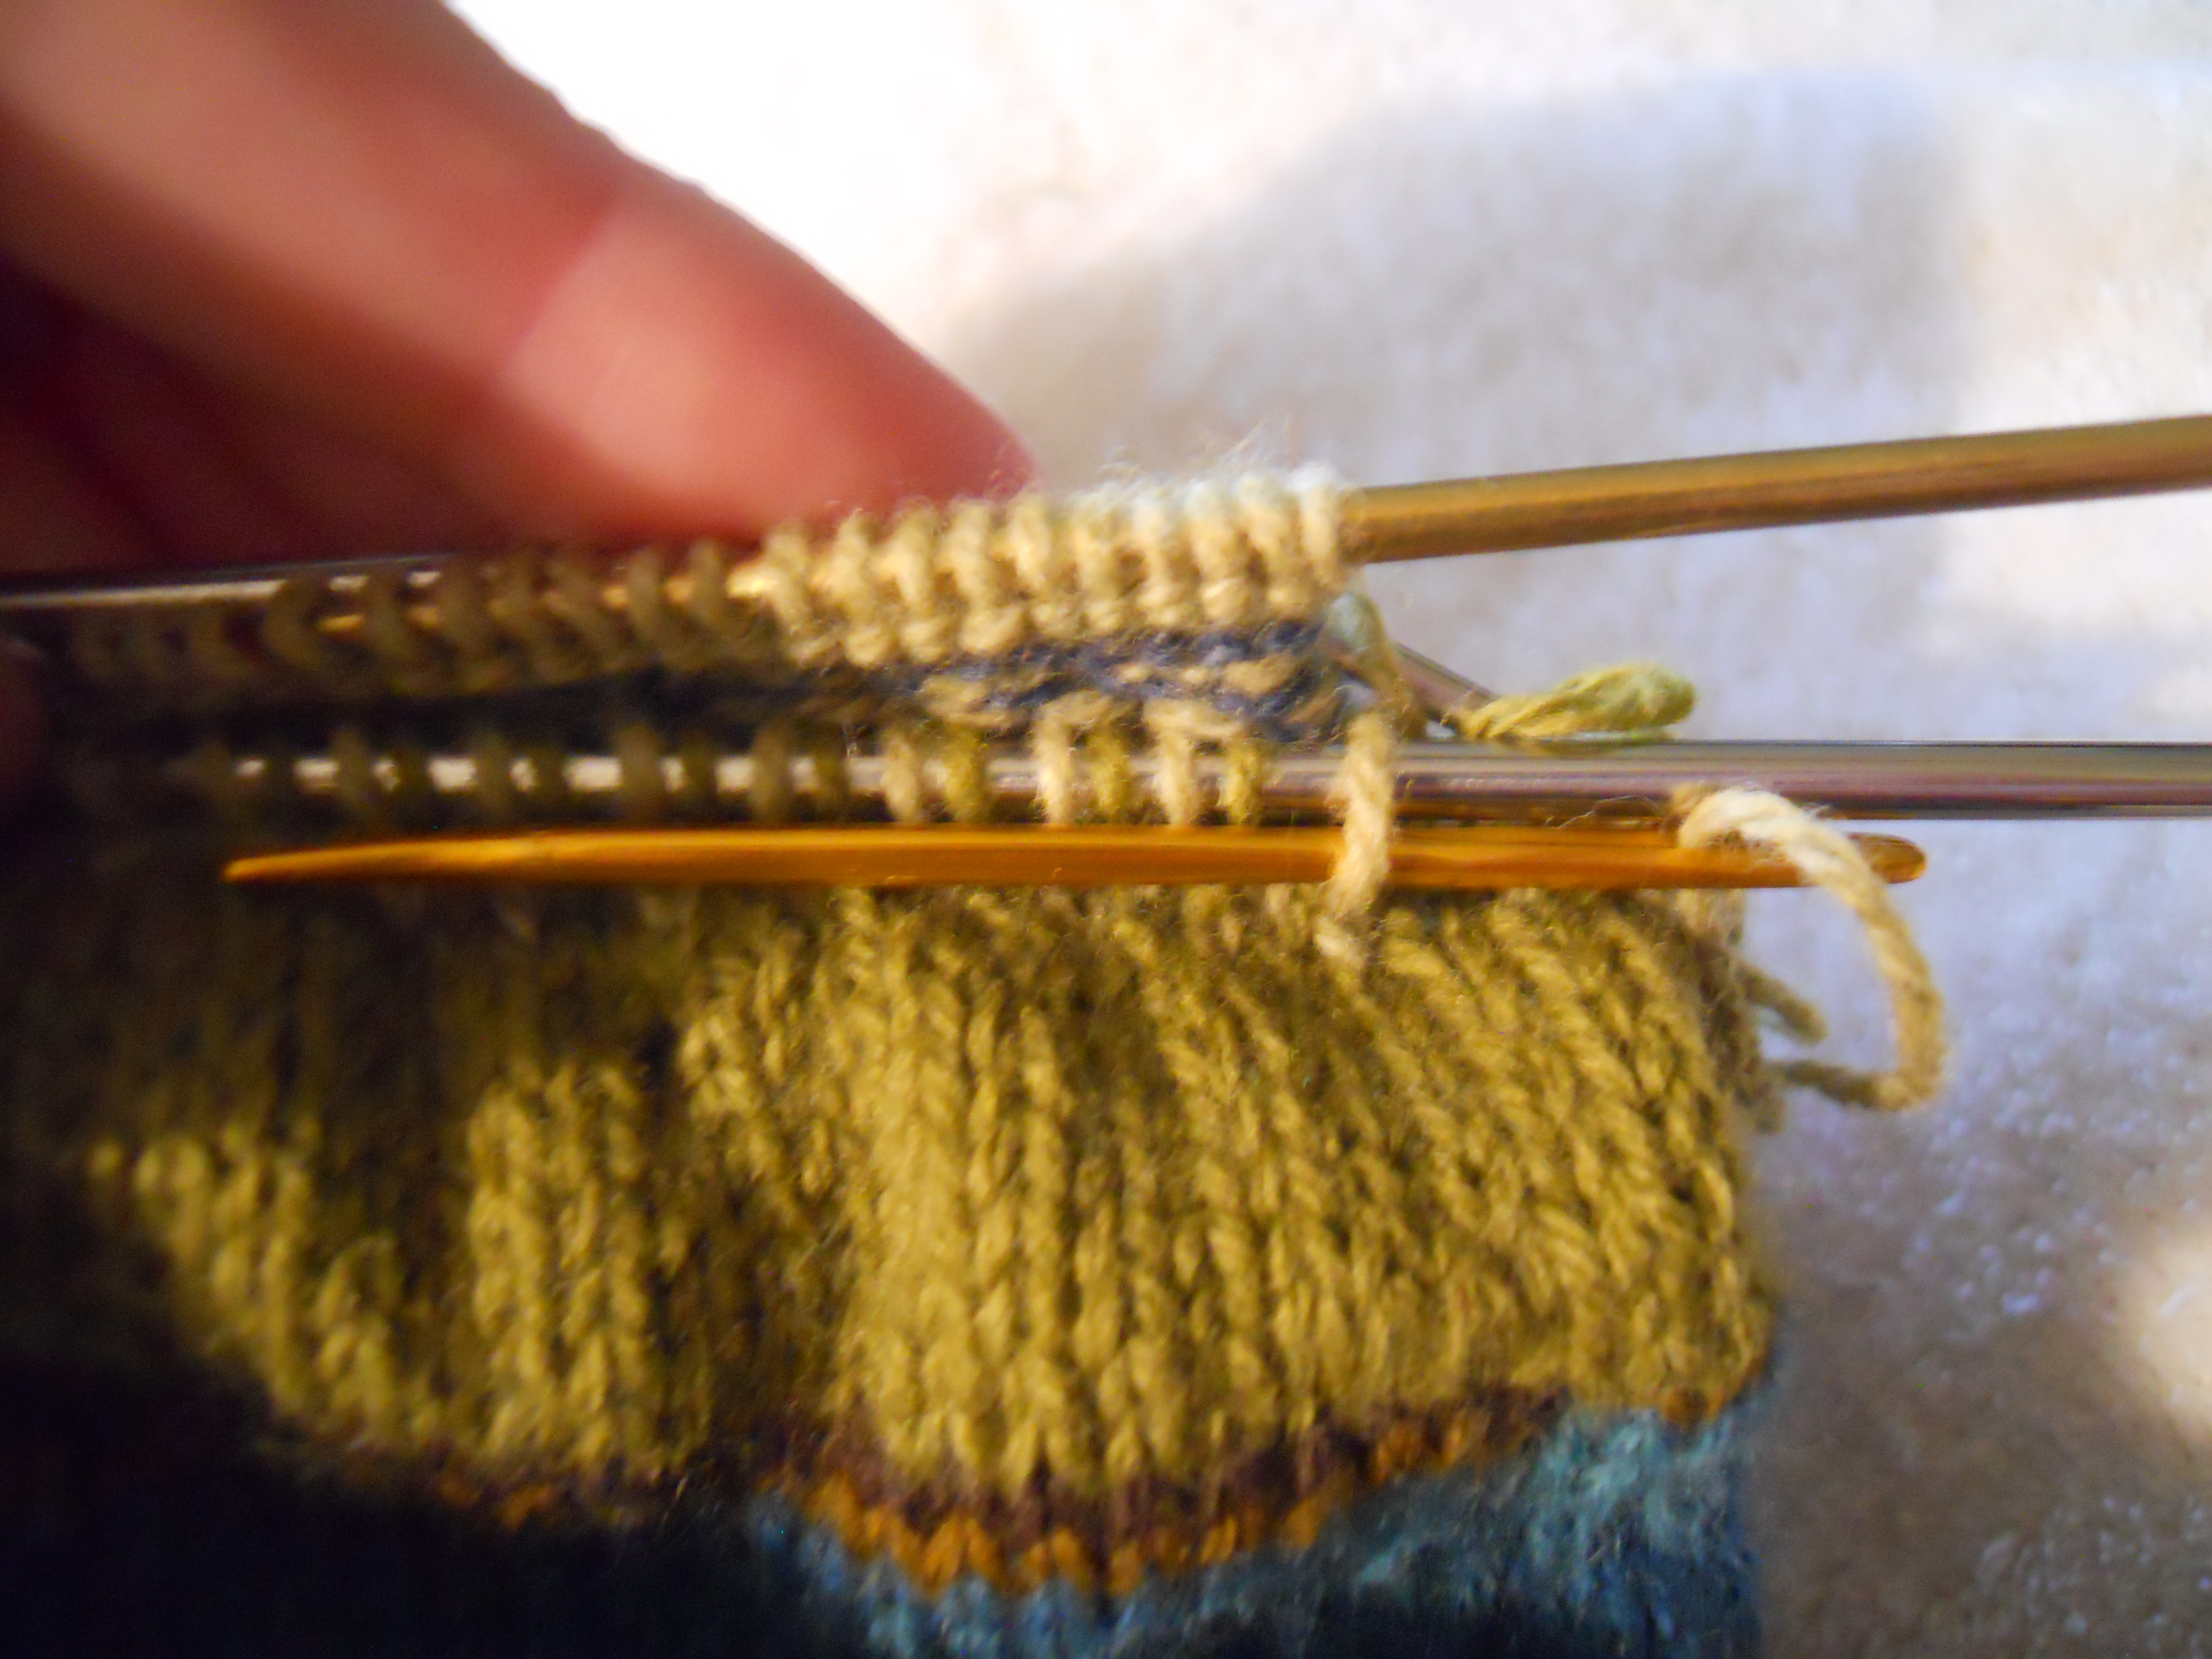
After all of the stitches are on the needles…
…the fabric is ready to cut:

There was some weird problem unraveling, so I put in a new lifeline a few rounds further down.

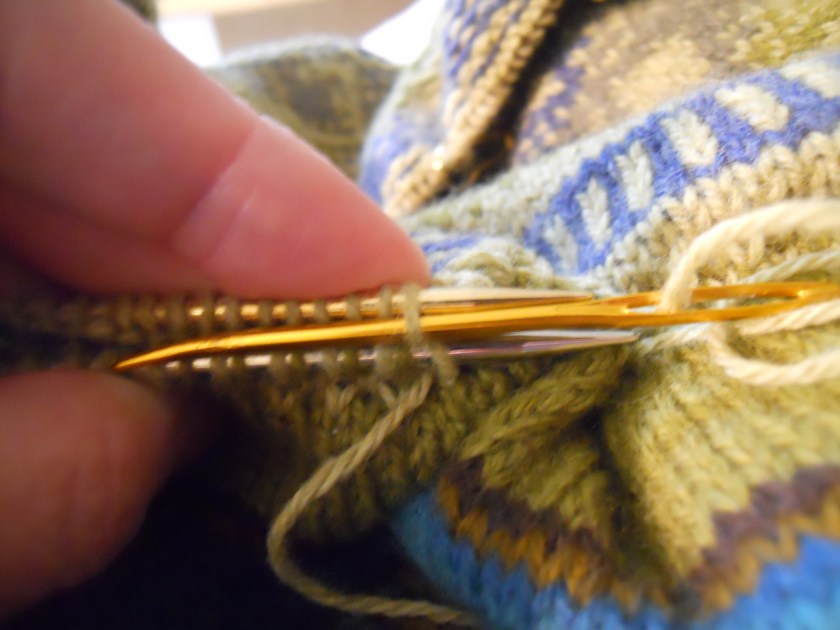
Now I was ready to begin stitching. For instructions and a cheat sheet on how to work the Kitchener Stitch, read here.
Here, about 3 inches of grafting is completed (to the right of the needles):
After grafting, there was a bit of a ridge, noticeable to the touch but not visible. Once blocked, though, it was practically imperceptible.
I’m excited to share some much more professional looking photos soon, but here’s the sweater right after blocking.
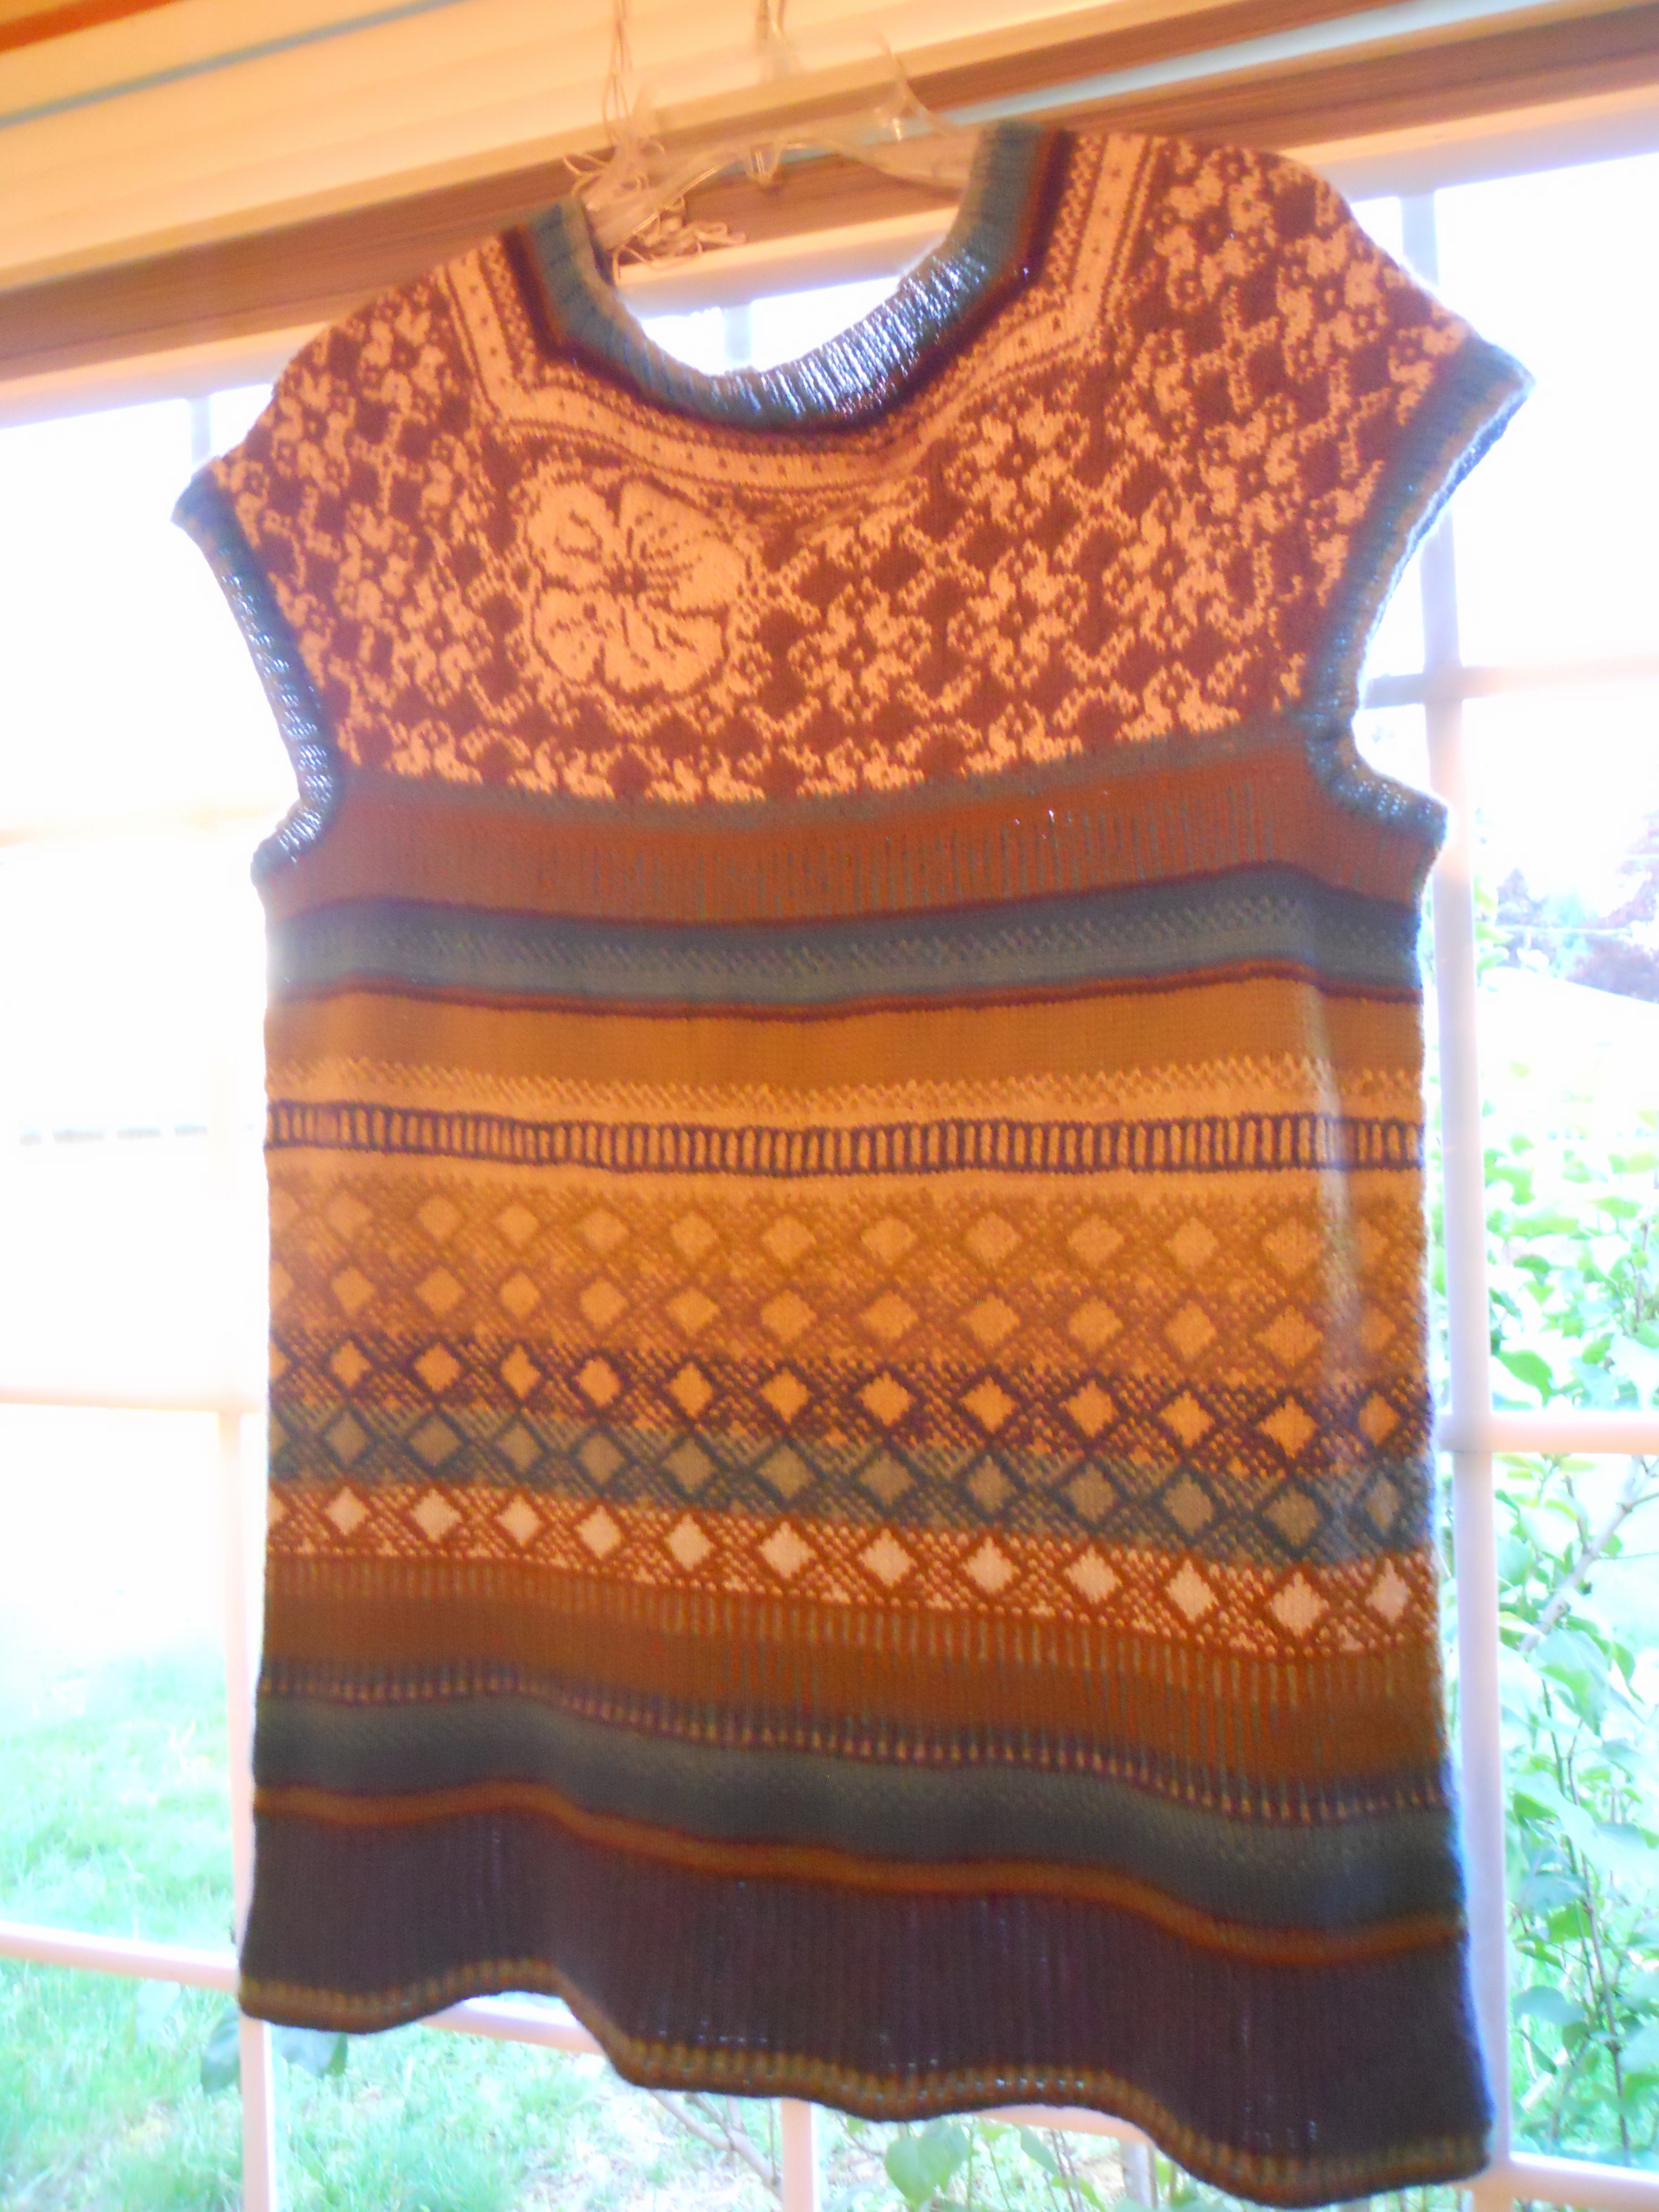
And that’s how I grafted 312 stitches and lived to tell about it!
The Kitchener Stitch is an amazing, magical way to graft together two live knitted edges. Using a tapestry needle, you work your way through the stitches exactly mimicking the way knitting stitches are worked through each other.
The whiteboard pictures below are from a Basic Christmas Stocking class I taught last fall.
The red lines in the illustration represent knit stitches. The faint horizontal red lines represent knitting needles. Finally, the blue lines represent the manner in which Kitchener Stitches are worked through both legs of the stitches on the front and back needles. As you can see, Kitchener imitates knit stitches.

1. Place the two needles with the live stitches parallel to each other, wrong sides of fabric facing each other and the right side of fabric on the outside. We will call these the front needle and the back needle.
2. Thread either the remaining end of yarn from the back needle or a new length of yarn onto a tapestry needle, coming from the right (as opposed to left) side of the project.

3. Each live stitch on the front and back needles will be worked twice with the yarn on the tapestry needle. Here’s a little chart I put together to help remember the steps.

To interpret this chart:
There are two needles, front and back. During each repeat of this chart, you will perform actions on the first two stitches on the front needle and then, in different order, on the first two stitches on the back needle. An asterisk means that you will slide the stitch off the needle after you have performed the action indicated.
In these instructions, “knit” means to insert the tapestry needle in the same way you insert a knitting needle “as if to knit” and “purl” means to insert the tapestry needle “as if to purl.” In the pictures above, you can see the tapestry needle inserted as if to purl.
Set-Up Step: Front needle: purl first stitch, leave on needle. Back needle: knit first stitch, leave on needle.
Next Step (repeat until there is only one stitch left on each needle):
Last Step (when only one stitch is left on each needle:
That’s it! Congratulations, you have mastered the Kitchener Stitch!

A HUGE thank you to everyone who participated in the giveaway in my Ravelry group!! It was so much fun, and I appreciate everyone who dropped by, whether it was just for a quick “hello” or to stick around and chat and get to know us a little better!
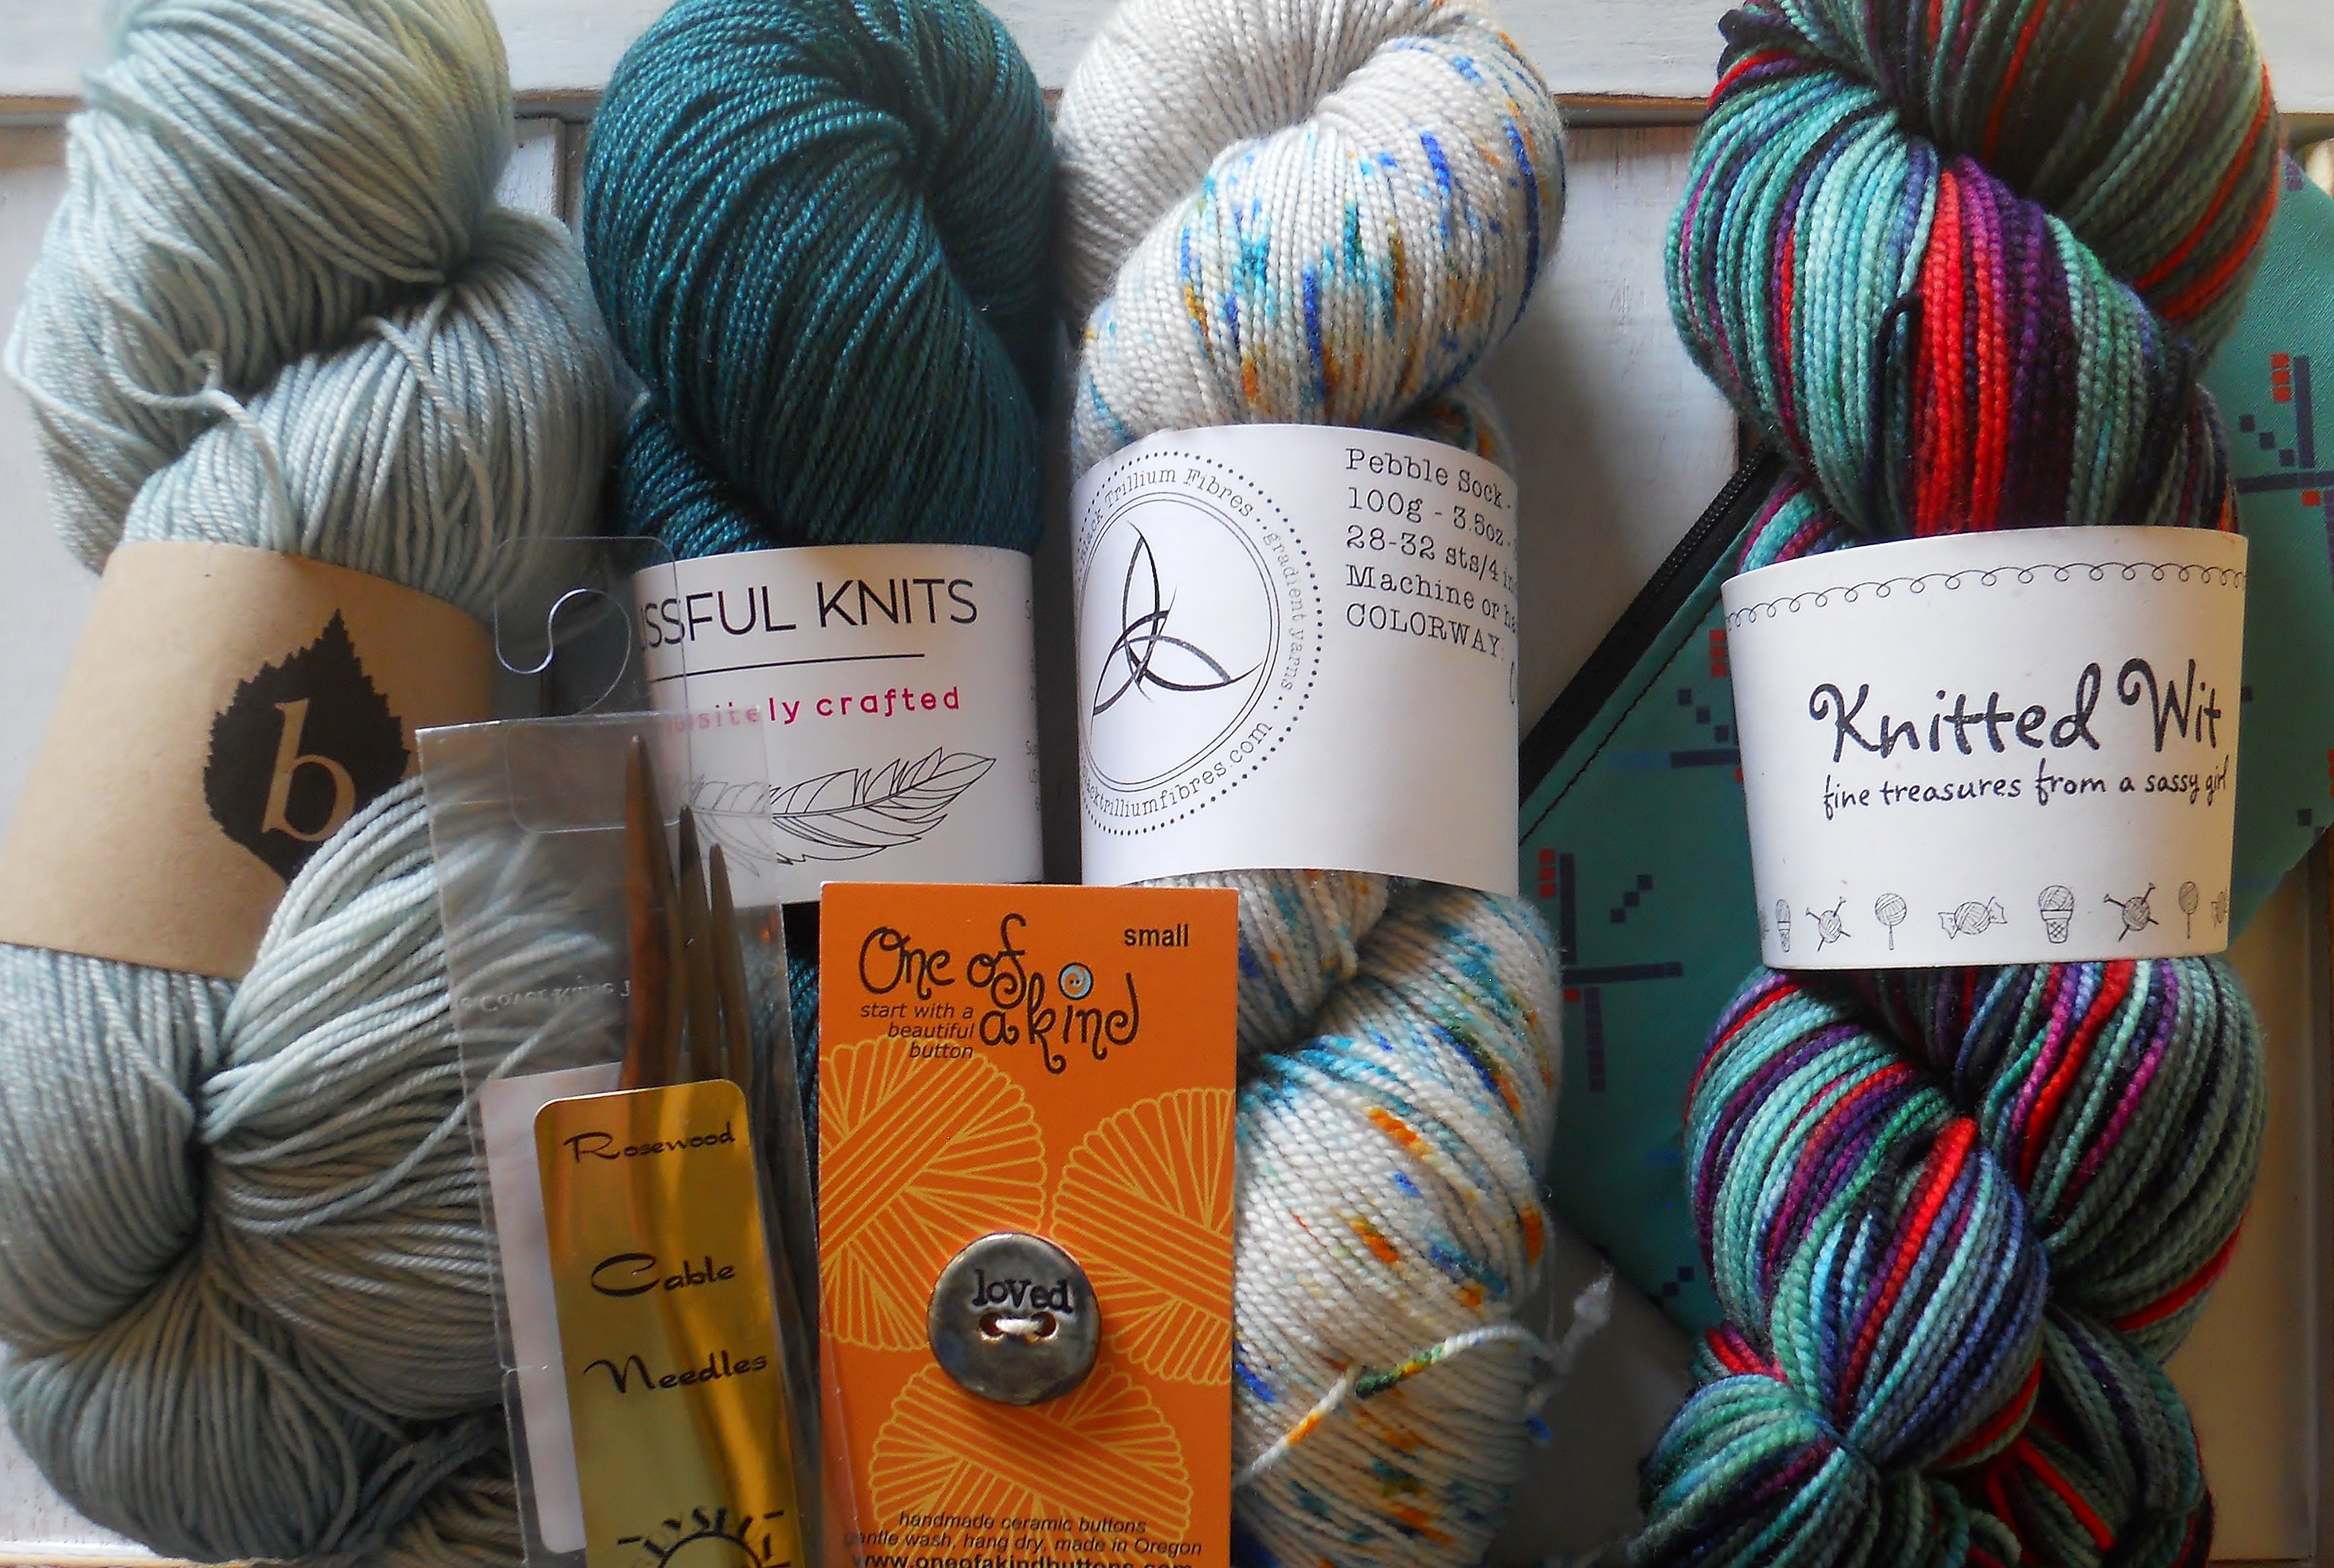
Congrats to Ravelry user Kepanie, winner of the grand prize! Here’s her swag! I had sooooooo much fun choosing these wonderful yarns and knitting notions at the 2016 Rose City Yarn Crawl.
Gathersnomoss won a mini-giveaway for these Gobstoppers:

And heatherg7 snagged these Unicorn Tails:

Congrats Becky and Heather!!!
A great time was had by all and I hope you will join us for one of our next great events! Coming soon: a fantastic summery swap – sign-ups most likely will start in May – and the Ravellenic Games in August – a Ravelry-wide event, with knitting all during the Olympics, (virtual) medals, fun competition (mostly with yourself) and, of course, in my group, prizes!!!


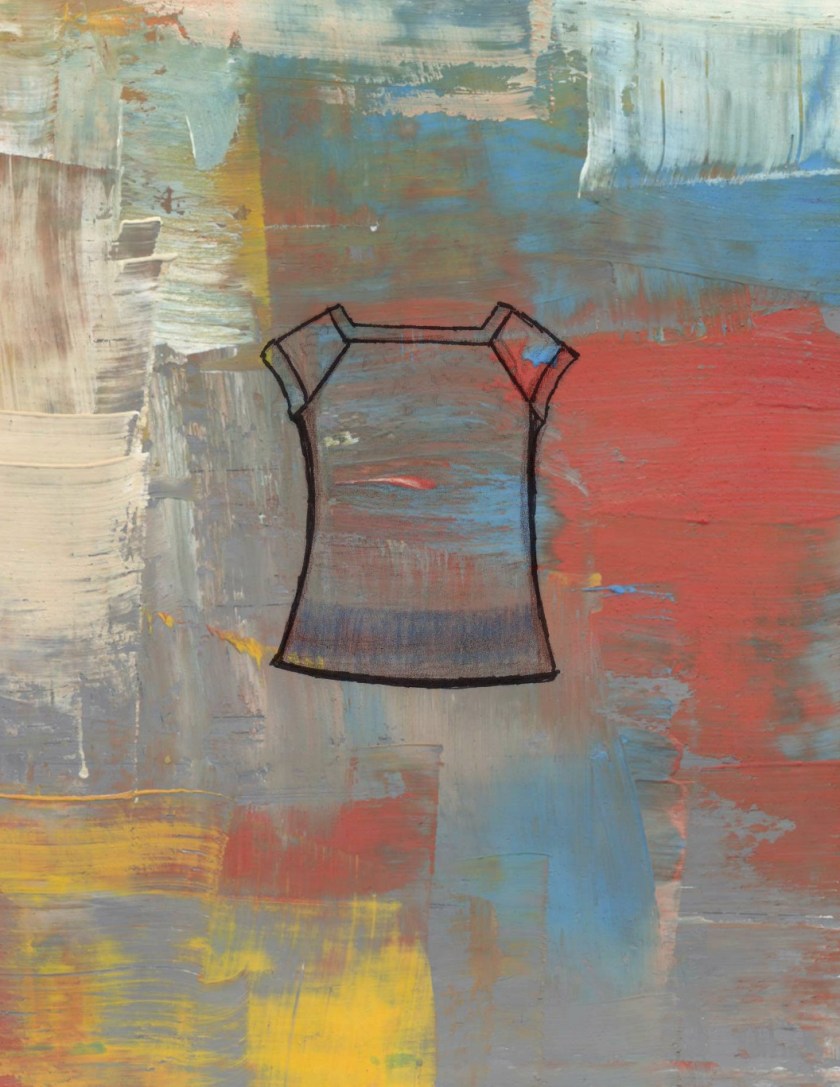
After finishing a sweater last night, I gave it a good long soak to relax the fibers. So thrilled to have it done! And it fit so well with the theme of the weekly challenge that I had to share it: Abstract 3.
