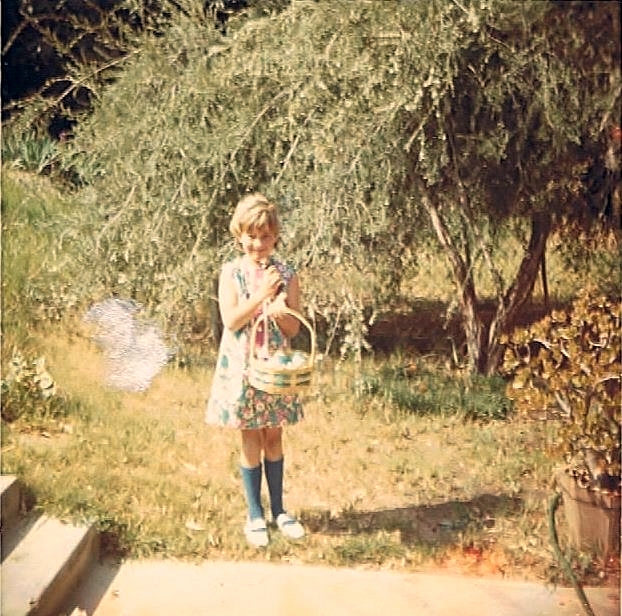
Hello, dear friends! Easter is nearly upon us, and Holy Week is here. This means choir rehearsals and much singing for me over the next six days. It also means many happy memories of coloring Easter eggs, egg hunts, dresses made by Mom…
Every year Mom made me an Easter dress. I always loved the pretty fabrics and the pretty dress designs. Looking at the fabrics she chose – maybe she influenced me in my love of color. Did anyone else have this Easter tradition in your family? What other Easter traditions did you or do you have?
Speaking of Easter, my friend Torunn designed this adorable Easter egg hat pattern.
Good news, the Willamette Valley Tee is in testing!
After much thinking and problem-solving – and practically throwing in the towel – I realized that the pattern was already nearly written for size 38 – and I was confident that it would work in this size. So why not move forward and write the pattern for sizes 35 and 38?
Therefore, this design is available for sizes 35 and 38. The actual measurement of the sweater is 37 ¾ in. (39 ½ in.) at the bust, and could also work for those in the 32-34 in. range, if a looser fit is acceptable. The pattern uses fingering weight yarn on size 4 needles. It is written to use 10 colors, but fewer colors may be used. It also could be a stash buster.
A couple of people are testing the pattern, but I could use a couple more experienced colorwork testers. If you would like to test this sweater in one of these two sizes please let me know. I expect the test knit to run about 2 months.
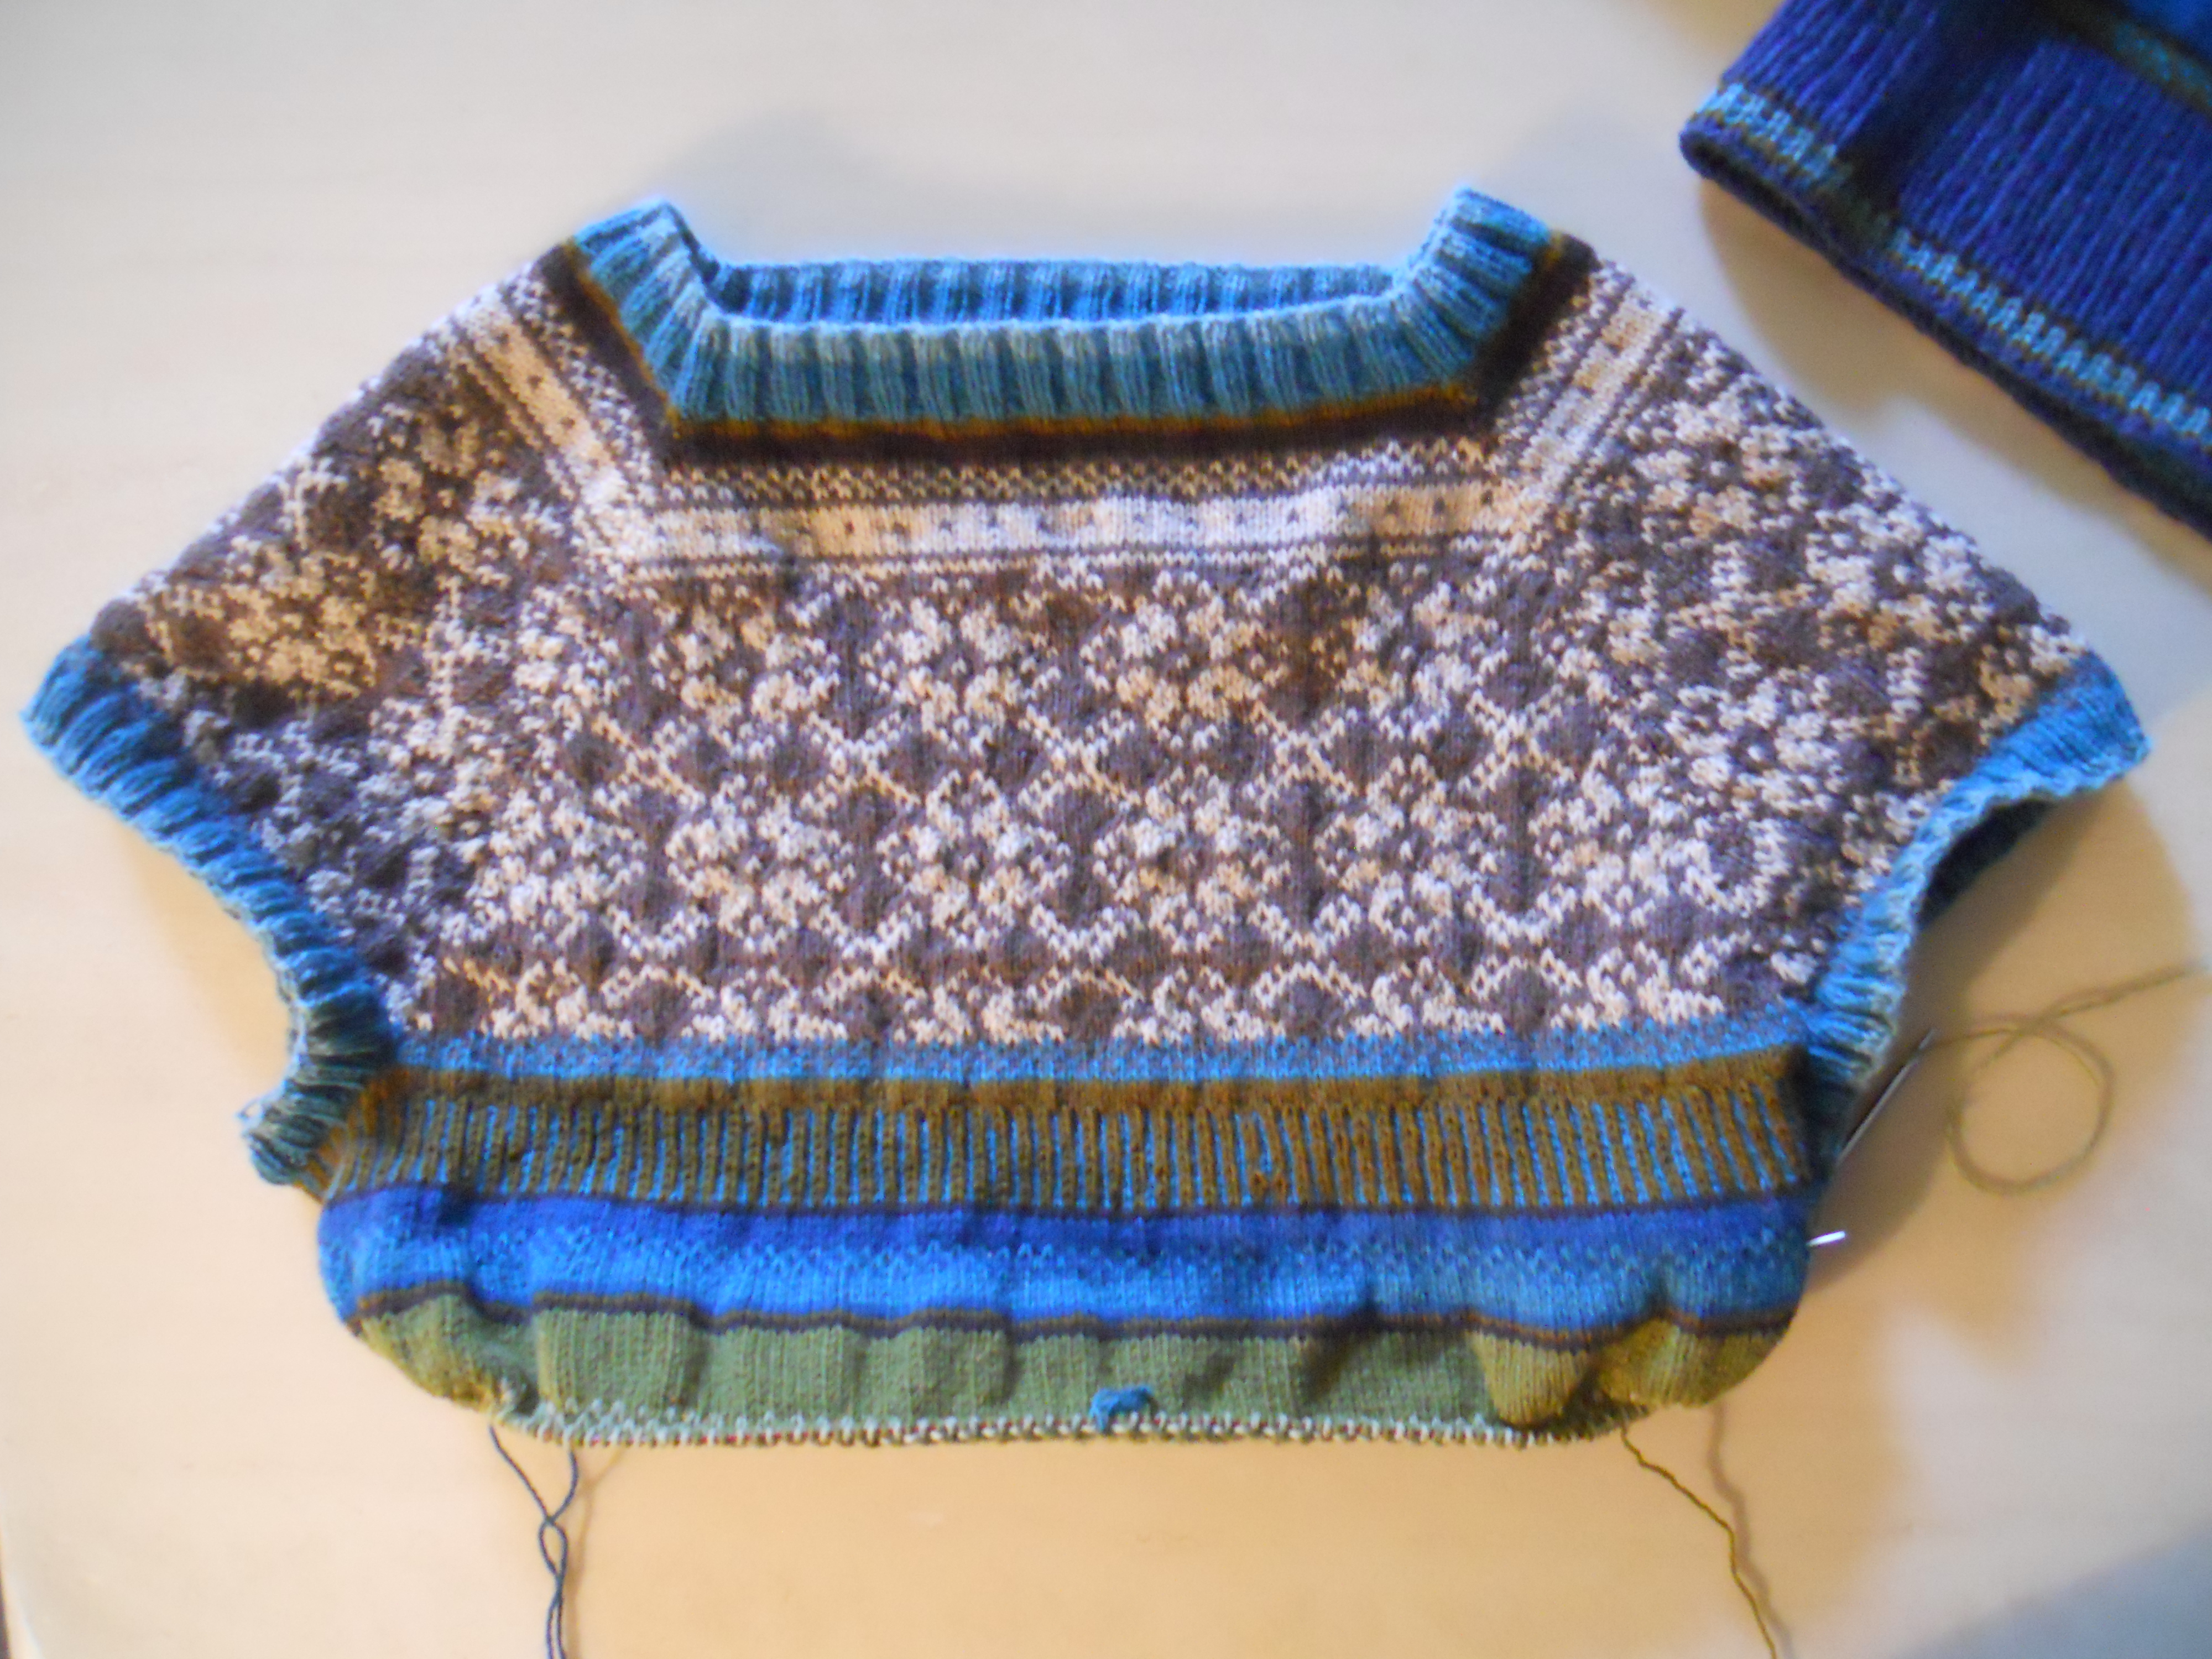
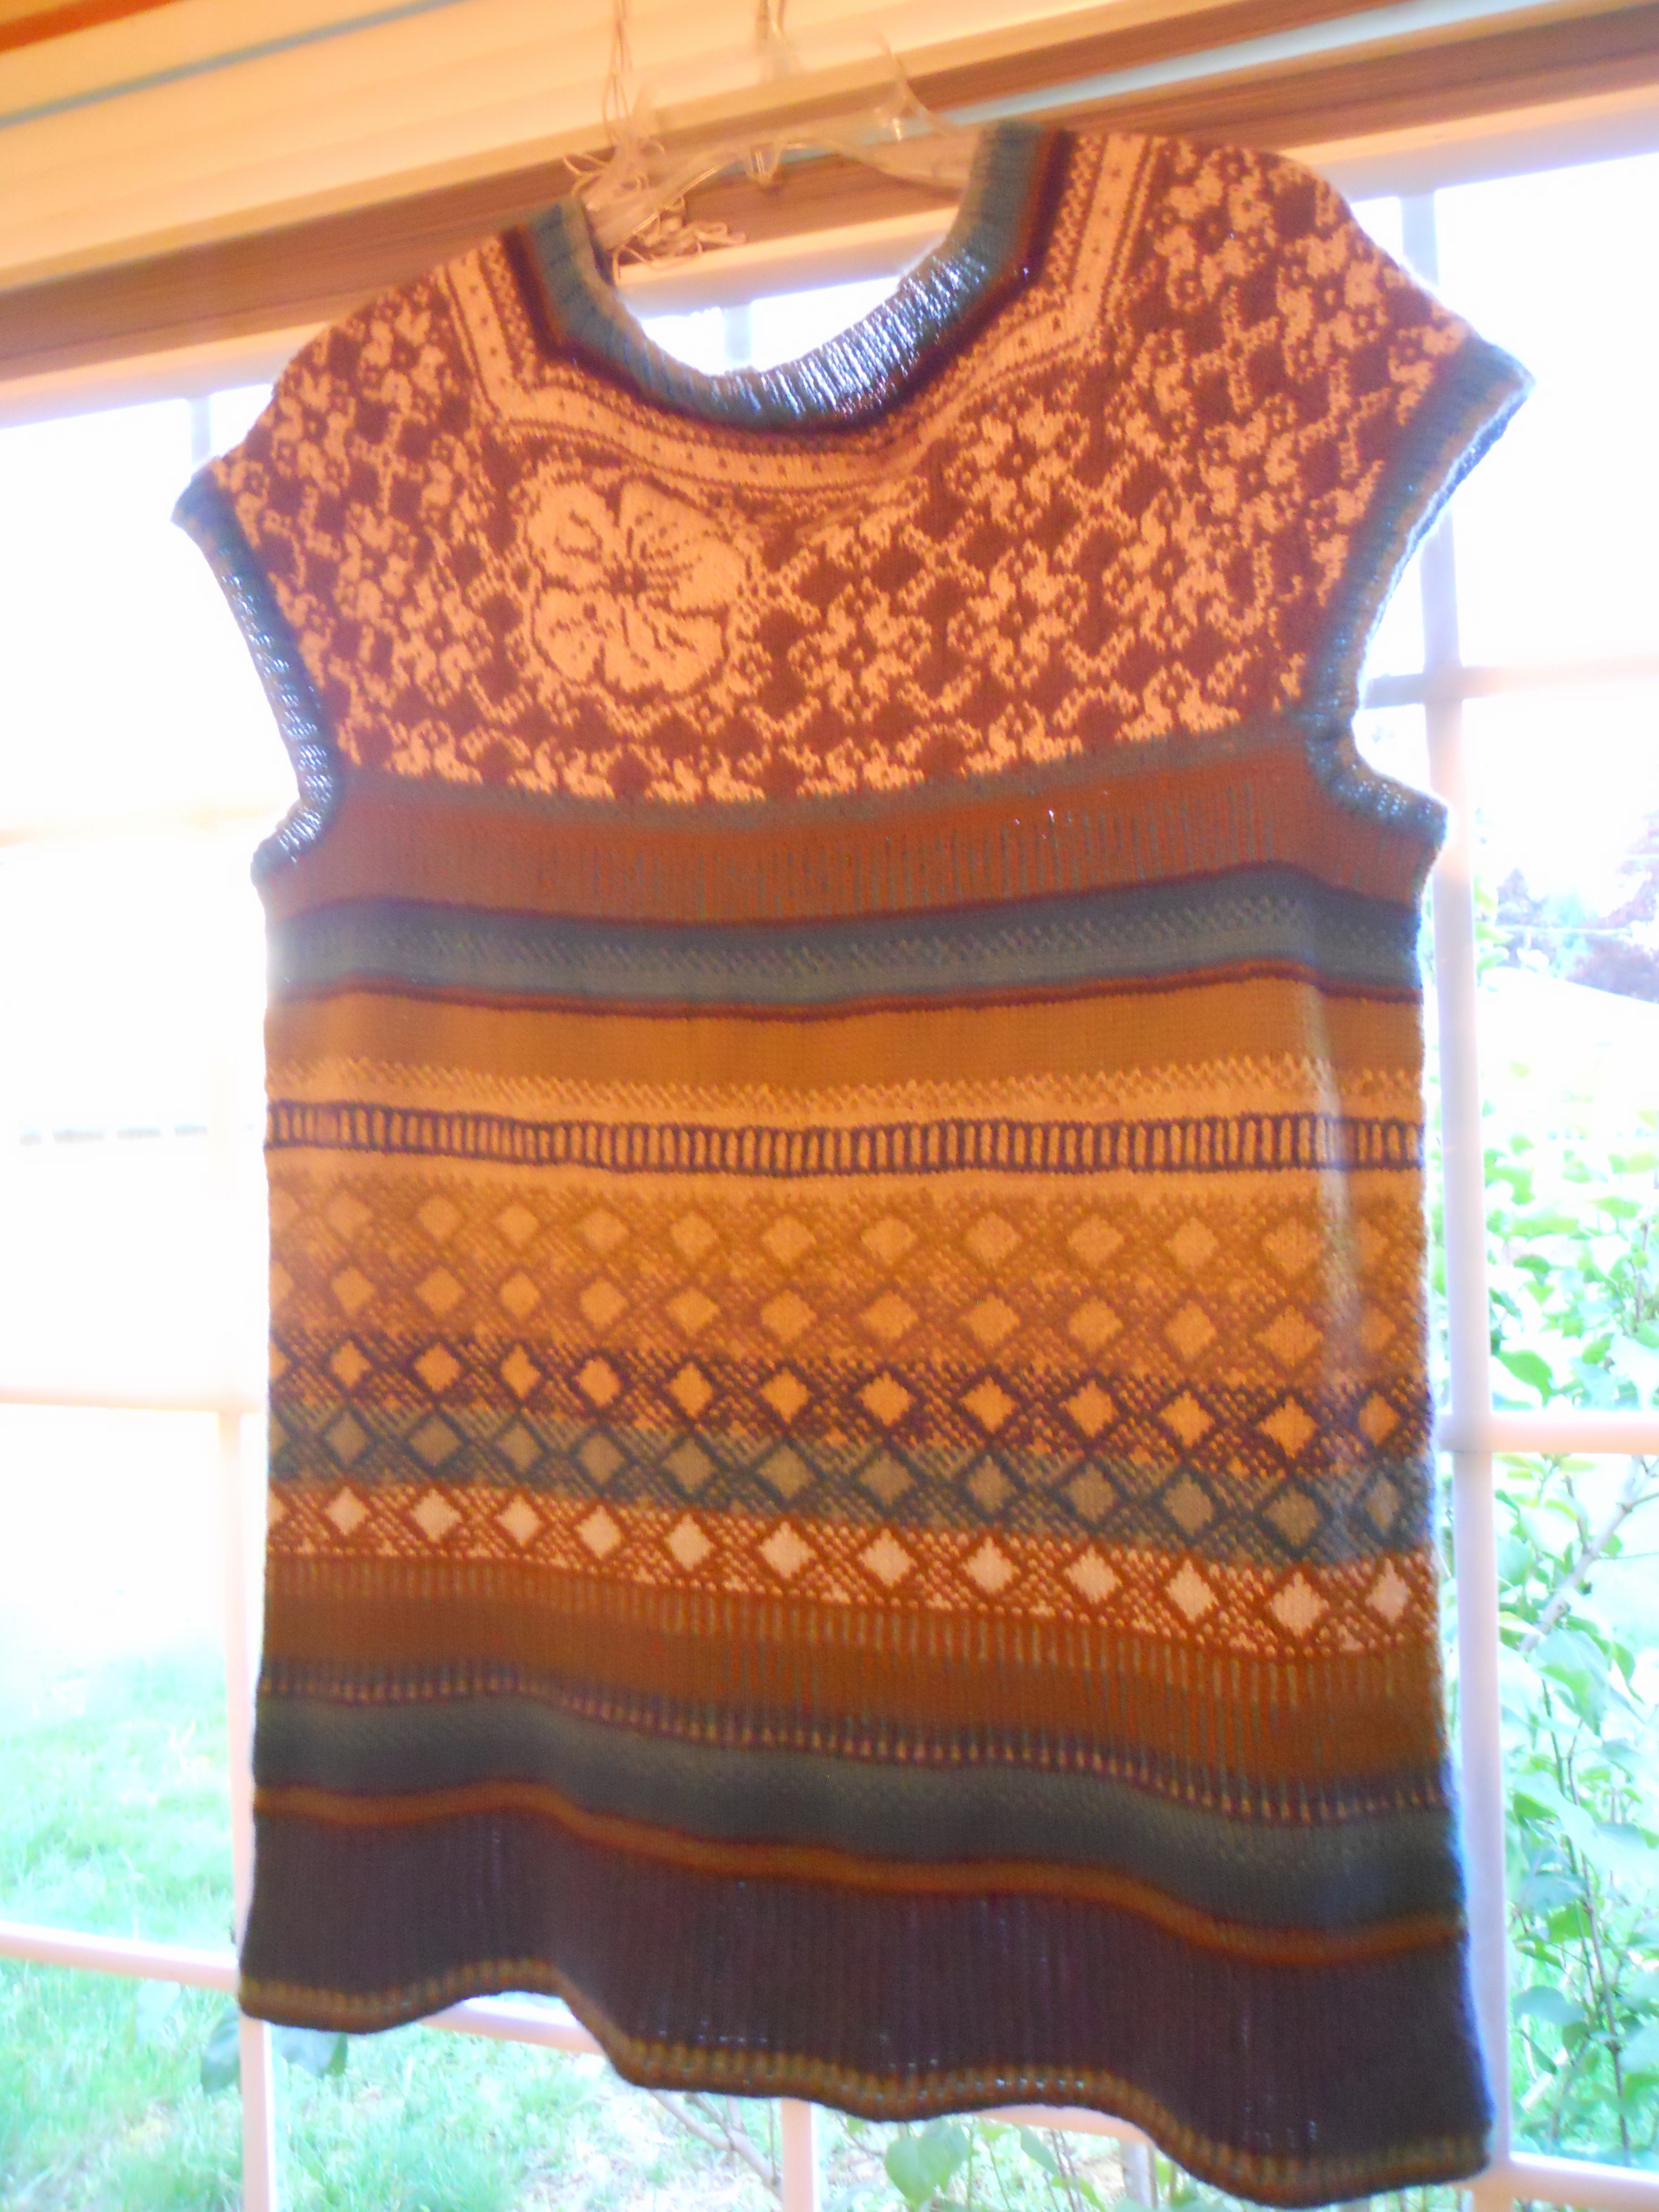
Here’s the pre-blocking photo:
Thanks for stopping by, and have a wonderful Easter!
Over a year ago, I was struck – “hit up ‘side the head” one might say – with the inspiration and desire to design a colorwork sweater. Nevermind that I had never designed a sweater. I was confident about the colorwork; not as confident about the construction of the sweater – but I had my reference books, so I was ready to go.
I started by building a secret Pinterest board – a mood board, so to speak. It is now a public board, if you want to check it out, here: Tee Inspiration. Using it as a springboard, I began choosing colors for the tee, charted out a flower, and began swatching.
This blog examines the design process. When I am designing, I’m not only designing and coming up with something that is (hopefully) pretty, but I am also thinking about how my mind is processing information in order to come up with that design. Basically, I’m thinking about how I think while I’m thinking. I believe this caused me some anxiety when the design wasn’t coming together like I thought it should. I was experiencing roadblocks, and I didn’t know why. I do know enough from experience to know that when this happens, I should stop whatever I am doing and let my thoughts go work on some other problem for awhile.
However, at this point, probably 9 months after the initial inspiration, I had too much invested in the design. I felt driven to finish it. Even if it didn’t come out exactly as I had hoped, I just wanted it DONE.
So, I finished it. I finished the knitting, I finished the writing, and sent the pattern for tech editing. Whew, such a relief!
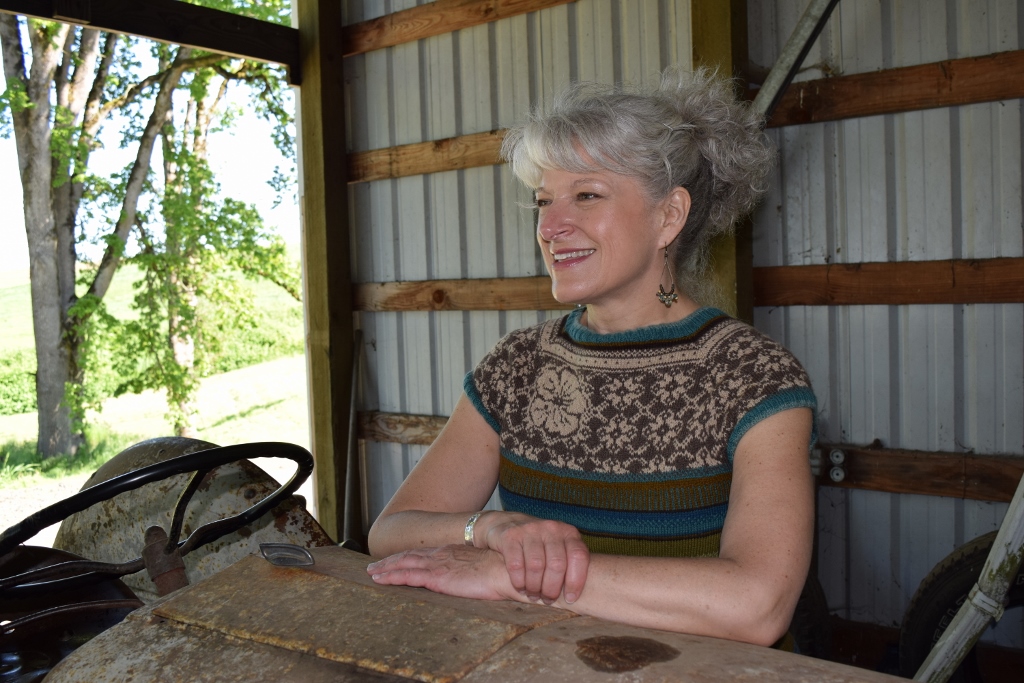
I think it’s telling that what I love most about the pattern are the photos. That photo shoot was great fun and practically all of the pictures turned out well. I also loved being able to use the Kitchener Stitch with this sweater and working with the fabulous yarn.
Love this photo from the photo shoot
Still, I don’t feel confident in this pattern. I don’t think it is ready to go out into the world yet. A friend is testing it, and I worry that it’s not going to fit correctly. I know that sometimes those worries are completely unfounded; yet, there it is.
What this tells me is that the pattern needs to go into time-out for awhile. Perhaps I won’t ever publish it. Perhaps more time needs to go by and I need to work on other projects. Then suddenly one day, something will click, and I will know what this pattern needs. In the meantime, I may make my sweater into a dress (with a feather and fan skirt) and add long sleeves in teal. –Perhaps that’s what the pattern needs. Maybe I stopped too soon by making it a tee instead of a dress.
I’ll conclude by saying that now that I have finished writing the pattern, I feel incredible lightness. My brain cells are freed to think in other directions and about other designs. I had felt as if the life had been sucked out of me – and now it is back.
…more to think about in the design process…when something takes over like that and becomes nearly an obsession, perhaps that is the time to drop it and turn in another direction. Or perhaps one must pursue it to its conclusion to learn whatever lessons there are to be learned.
Note: This post was written a couple of months ago, in July. The pattern is still in time-out. Other patterns have been written. Is it time to move on? We’ll see…I’m still considering other methods of construction and other variations for the colorwork sections – kicking those ideas around to see if they will coalesce into something new.
Thanks for taking the time to stop by and to read about my experience with the project from H-E-Double Toothpicks!
This week, share an image of partners. A pair, a trio, a sextet; people, buildings, plants — whatever you choose to shoot, give us subjects that are in tune with one another.
Daisy decided to hang out with us on a recent photo shoot for the Willamette Valley Tee. The pictures of these two together are some of my favorites from that afternoon. The special bond that they share is palpable and unmistakable, and it is one of those simple things in life that brings joy in seeing it.
I’m doing a happy dance because I recently finished up the Willamette Valley Tee. After many months of design, redesign, knitting, ripping out and knitting again, it was a huge relief to have finished this sweater design! Whew! See postscripts at the bottom of this page for details about sizes, availability, and test-knitting.
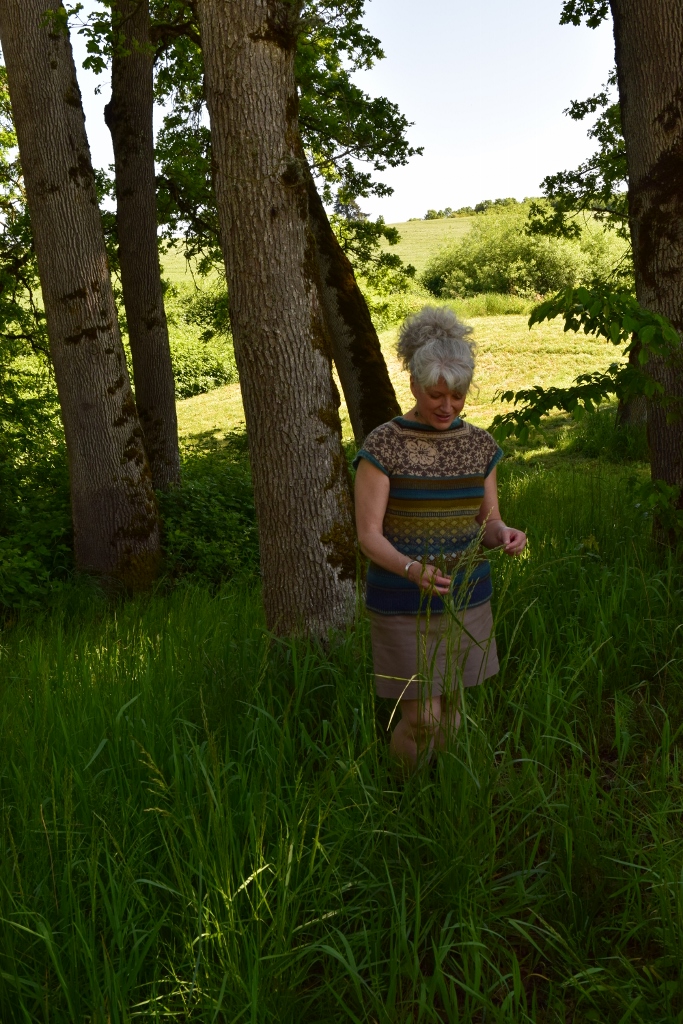
We had a great time at the photo shoot. The countryside was breathtaking, and it was a sparklingly beautiful day. You can see the expanse of the Willamette Valley, the inspiration for the colors in this tee, in some of these photos.
It’s great to now have space freed up in my brain for new designs. I’ve just finished designing a little spa cloth for the upcoming mini summer spa swap in my Ravelry group. Come check out the group here. We will be having swap sign-ups soon!
I’ll leave you with some of the photos from the photo shoot. Thanks for taking the time to stop by!
Many thanks to Marianne for modeling the sweater and to her sister and family for allowing us to traipse all over their beautiful property. And for sending me home with homemade sushi! It is a gift to know such generous people!
knit equals joy
P.S. If you are interested in making this sweater, it is currently being tech edited and tested, and I anticipate that the pattern will be released in late summer or early fall. It is available in sizes 35, 38, and 41.
P.P.S. I am always on the lookout for good pattern testers. We’ve just started the test for this sweater, here, in my Ravelry group. If you’re interested, let me know. Thanks!!!
Last week I girded up my loins, picked up my scissors, and cut my sweater in half. Done with careful preparation, I survived, the sweater survived – and in fact it was much improved by the process.
The Problem
Here’s how knitwear design works for me: I try something. I like it. Well, except for just one thing. I rip back. I re-knit, and now it’s much better. But it’s not quite right, let me try this other color. At some point, I will determine to knit on no matter what. In the case of the Colorwork Tee, I knit the entire sweater before determining that, although I loved the torso of the sweater, I wasn’t happy with the fit of the yoke and sleeves.
So, I began again, armed with better numbers. This time, things were much better! The fit was much more flattering.
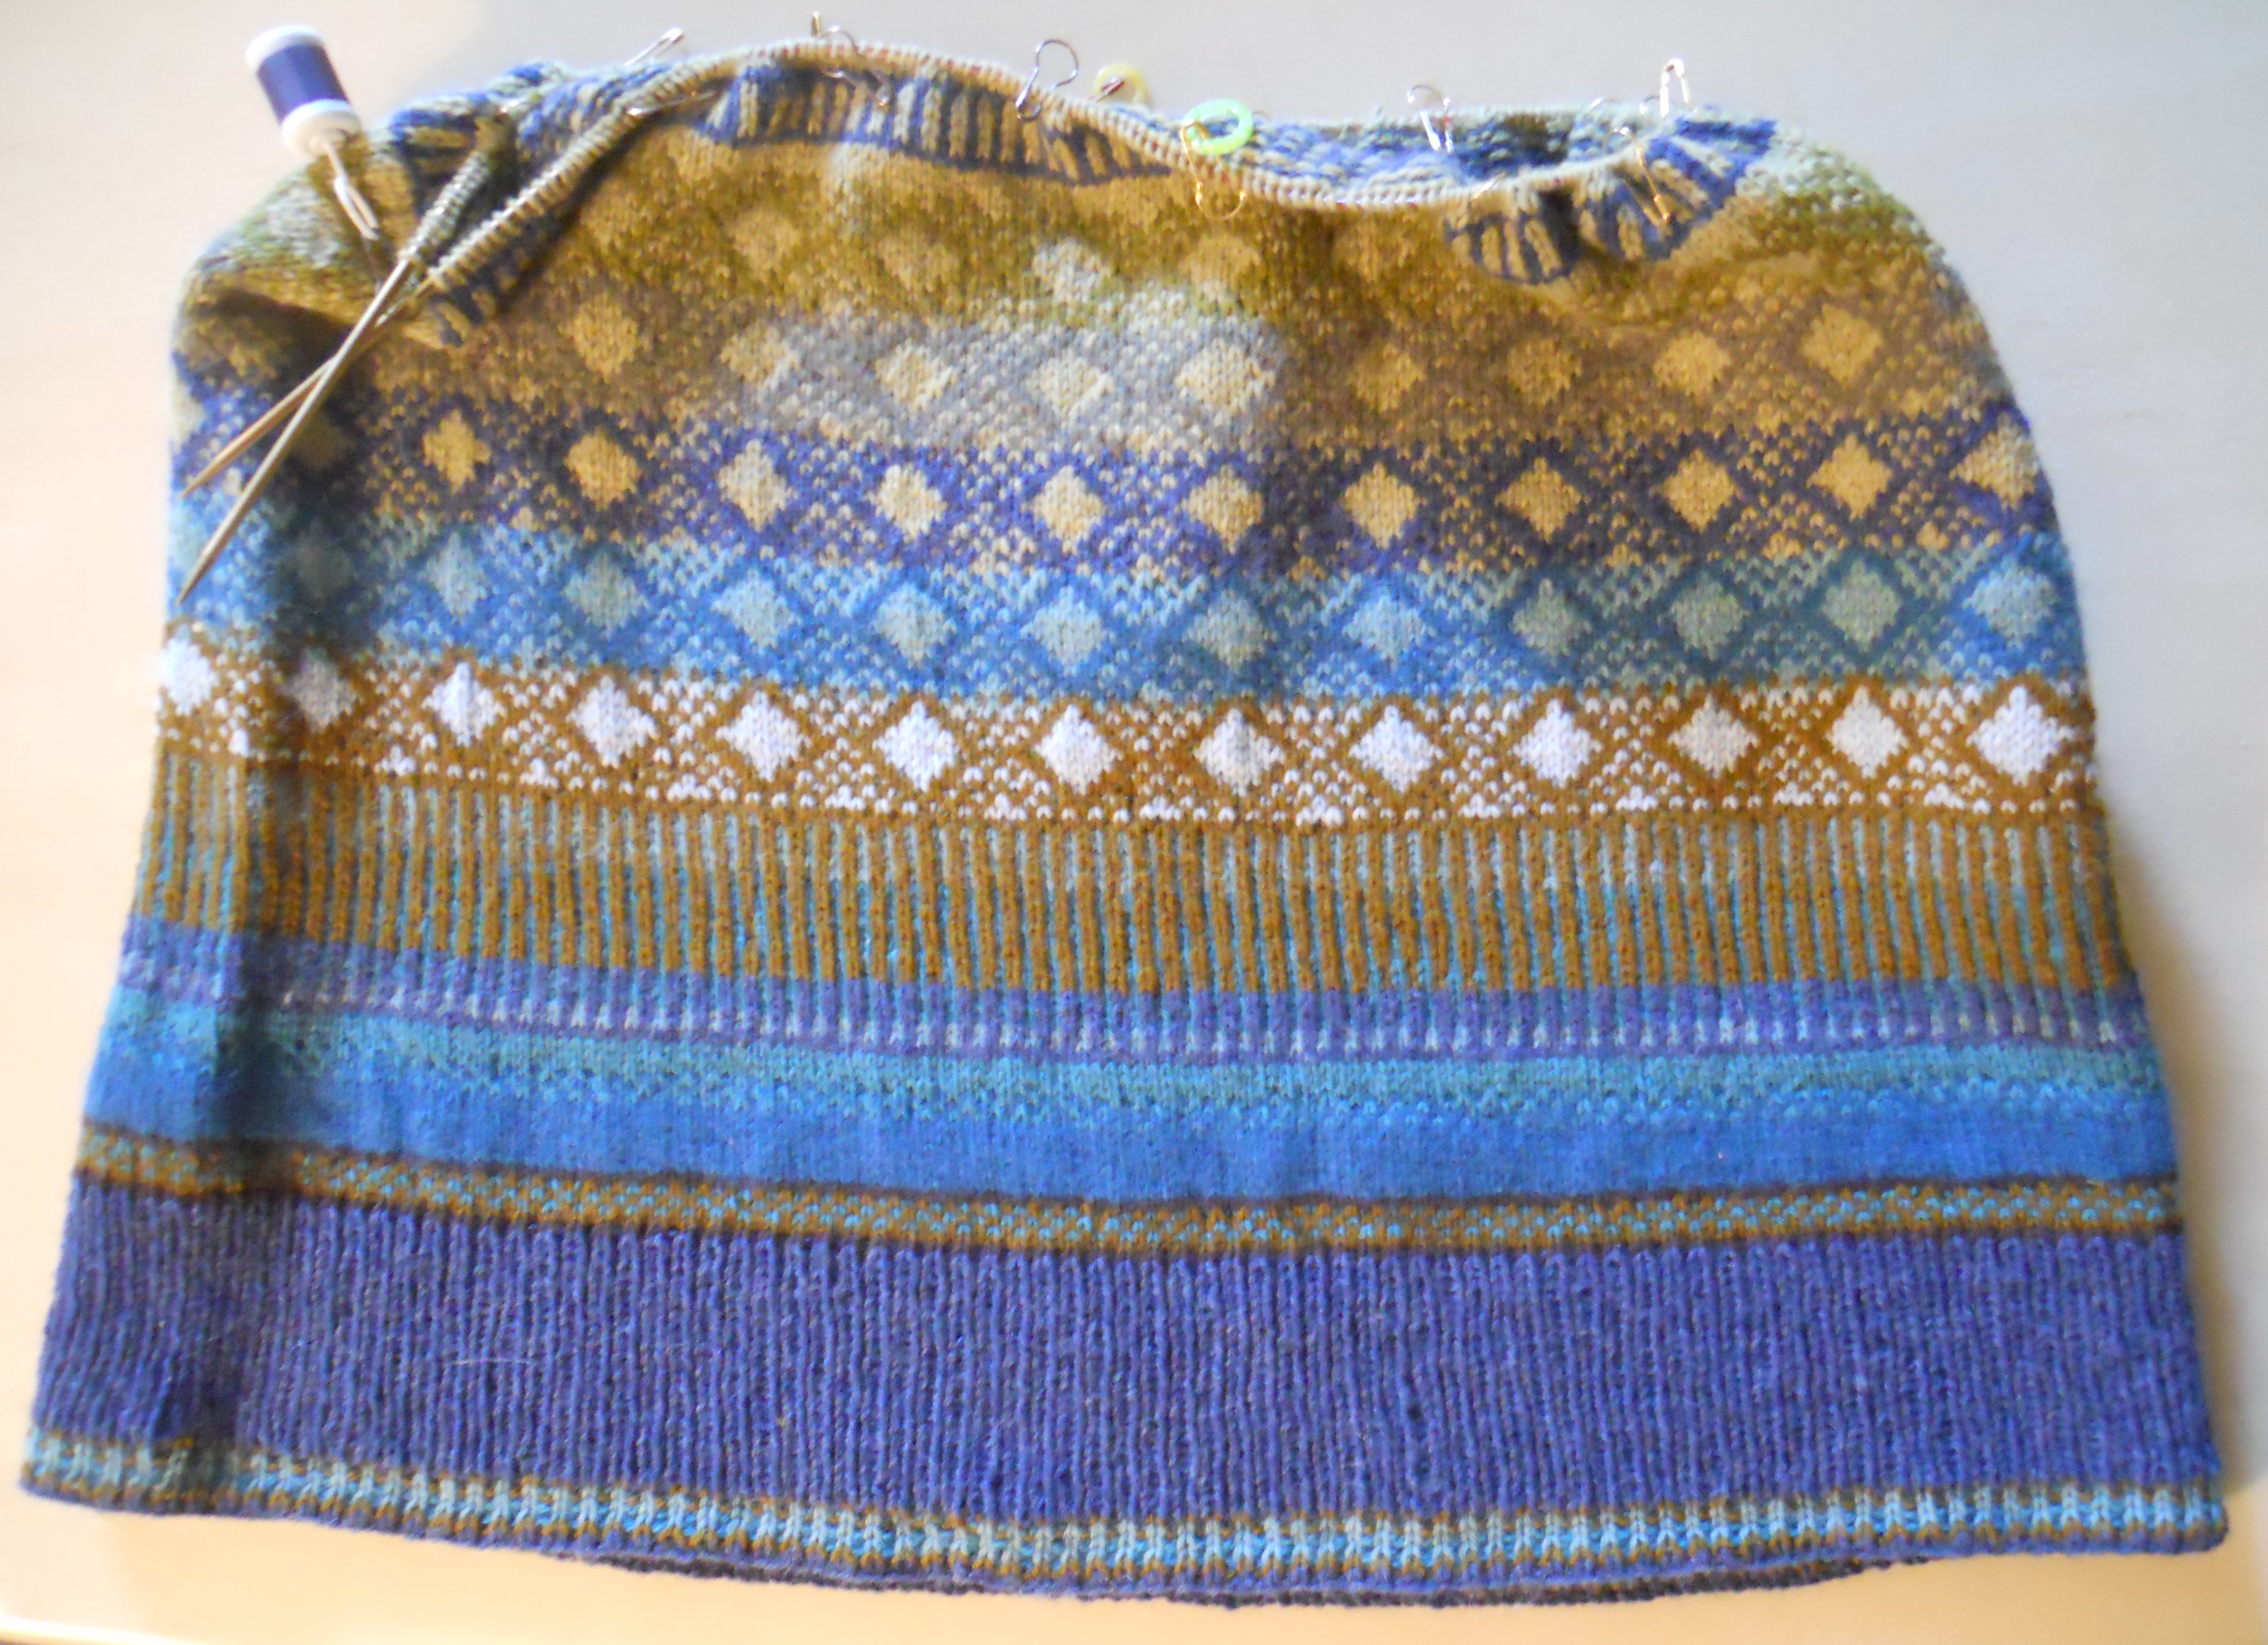
New yoke and sleeves
I’m not even going to show you the old yoke and sleeves, but here’s the section of the first sweater that I loved and kept. I could have continued knitting from the new yoke and sleeves and have knit all those rounds again, but…I thought that I had a better idea…grafting!
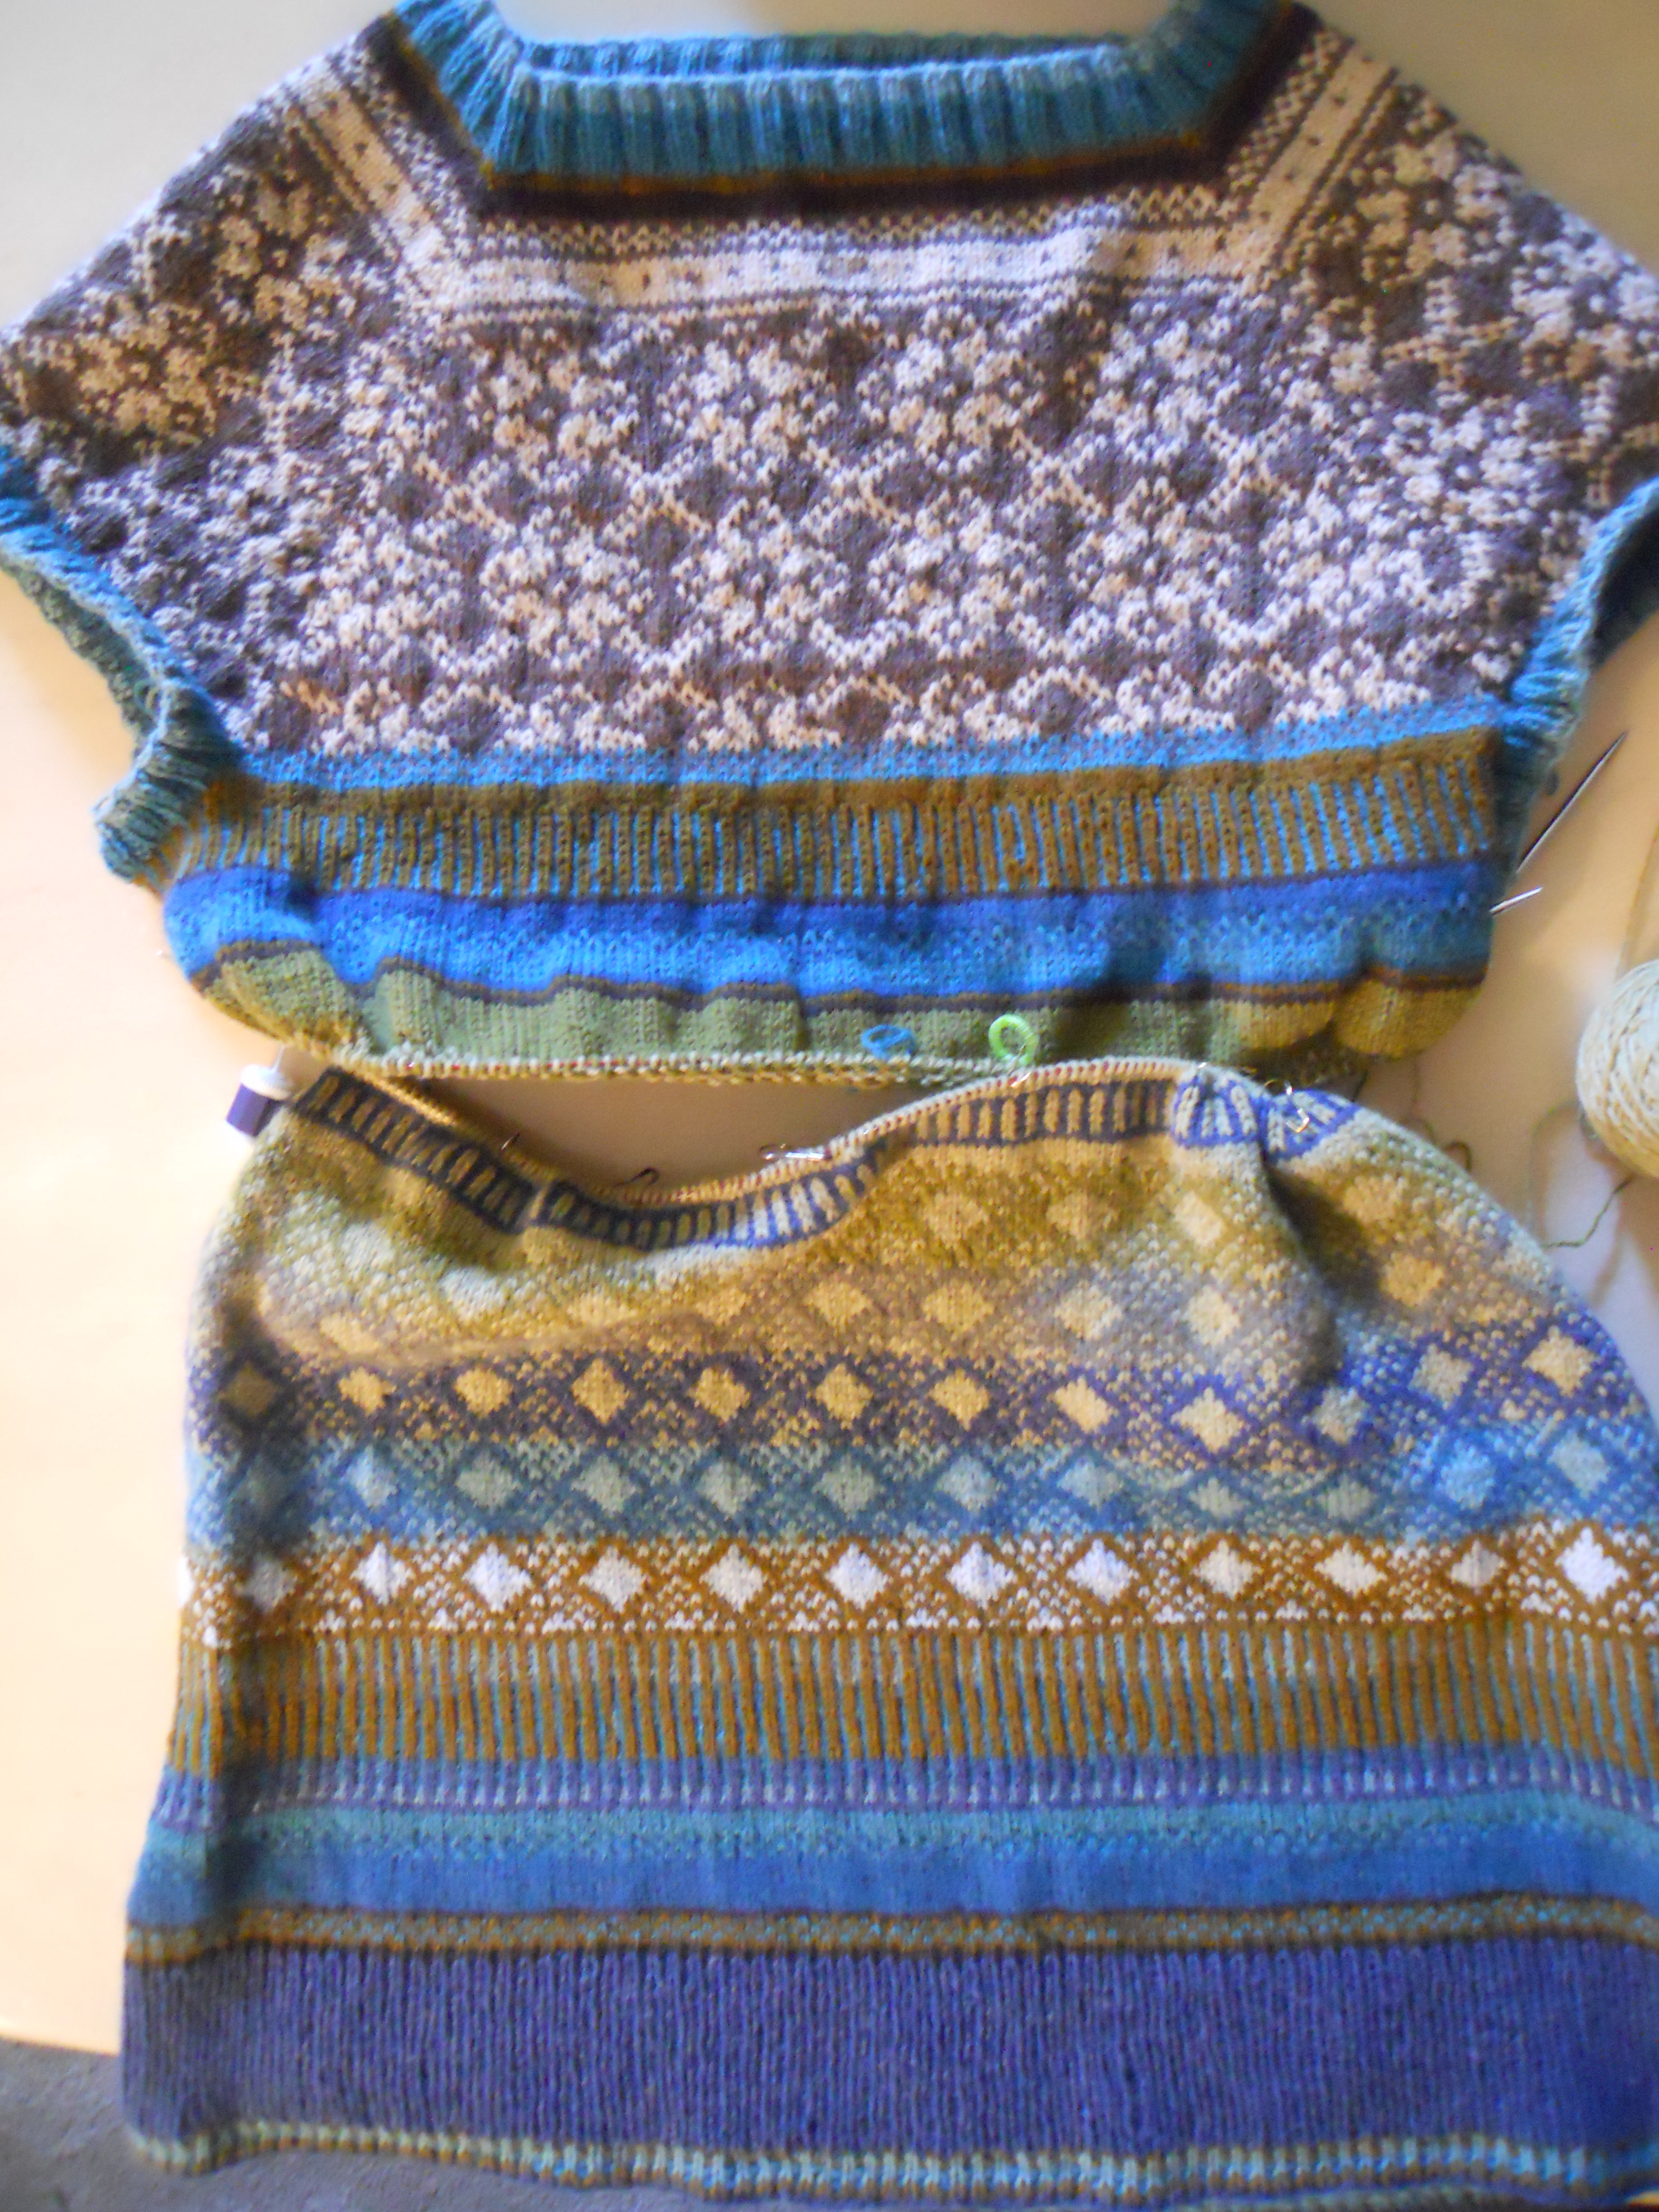
The Plan
The plan was that, using Kitchener stitch, I would graft the top and bottom sections together. It would be an elegant solution that would save both time and yarn.
Careful preparation was key to a successful operation. My motto, to misquote Bob Vila, was “Measure twice, stitch once!”
The Procedure
A Lifeline
~I learned this technique from a sock pattern, Basic Sock by Churchmouse Yarns and Teas. Insert the needle into the first leg of each stitch. After the needle has been inserted into every stitch, the yarn can be unraveled down to the needle and the live stitches will remain on the needle.
Helpful hint for seeing the “first leg” of each stitch: use finger to push out the fabric. You can see the separate legs more easily. I also find color changes to be helpful in seeing the separate legs.
After all of the stitches are on the needles…
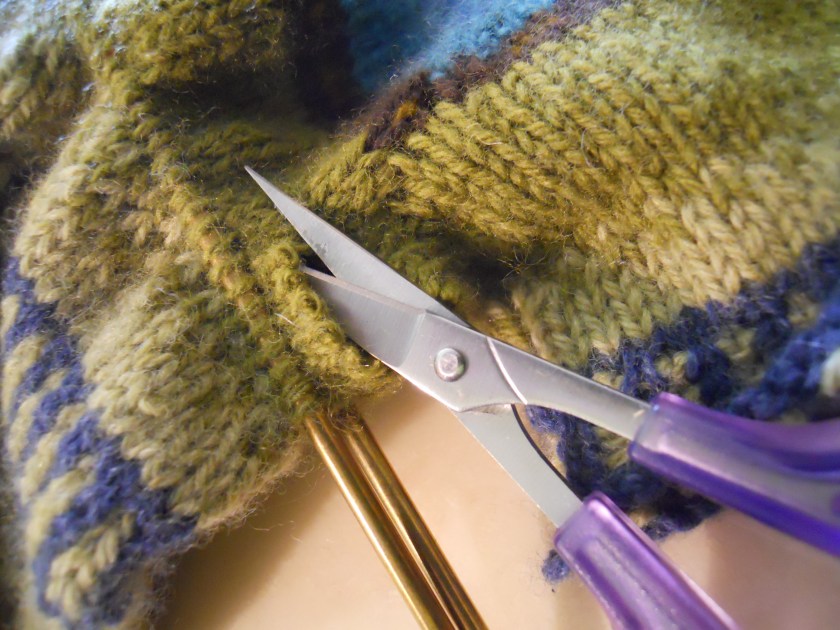
…the fabric is ready to cut:
Eek!!!
There was some weird problem unraveling, so I put in a new lifeline a few rounds further down.
Now I was ready to begin stitching. For instructions and a cheat sheet on how to work the Kitchener Stitch, read here.
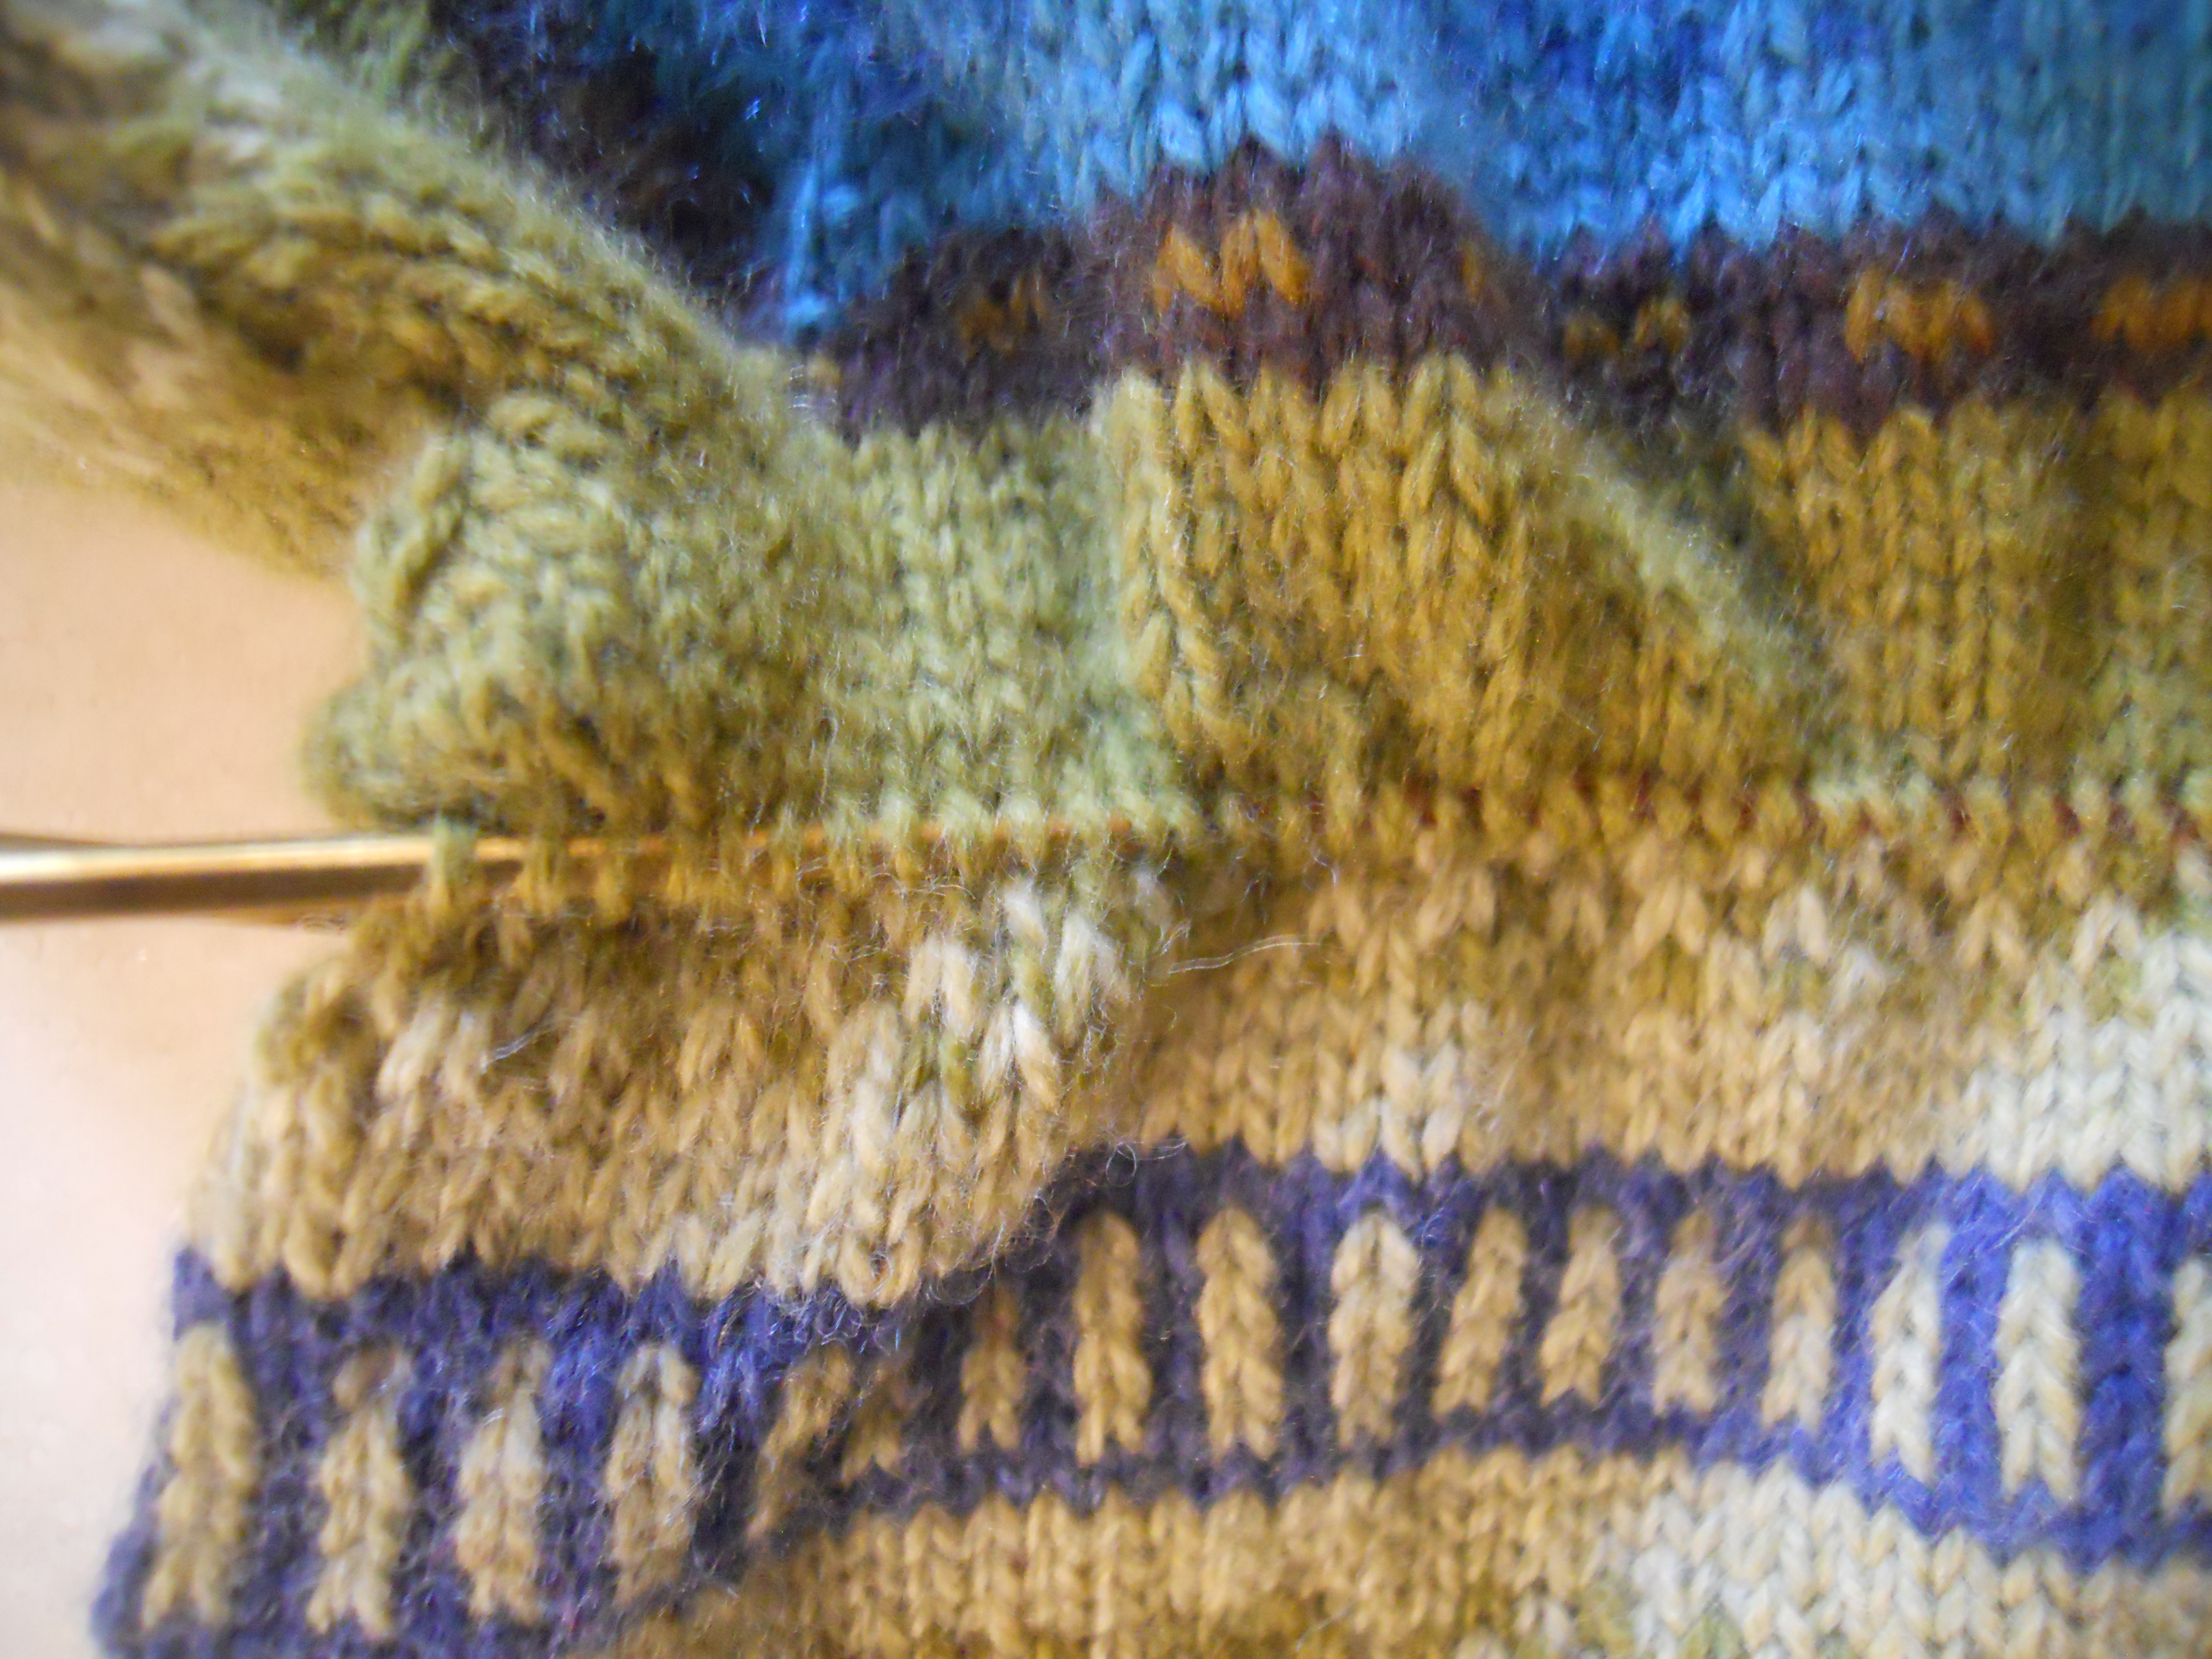
Here, about 3 inches of grafting is completed (to the right of the needles):
After grafting, there was a bit of a ridge, noticeable to the touch but not visible. Once blocked, though, it was practically imperceptible.
The Finished Product
I’m excited to share some much more professional looking photos soon, but here’s the sweater right after blocking.
And that’s how I grafted 312 stitches and lived to tell about it!